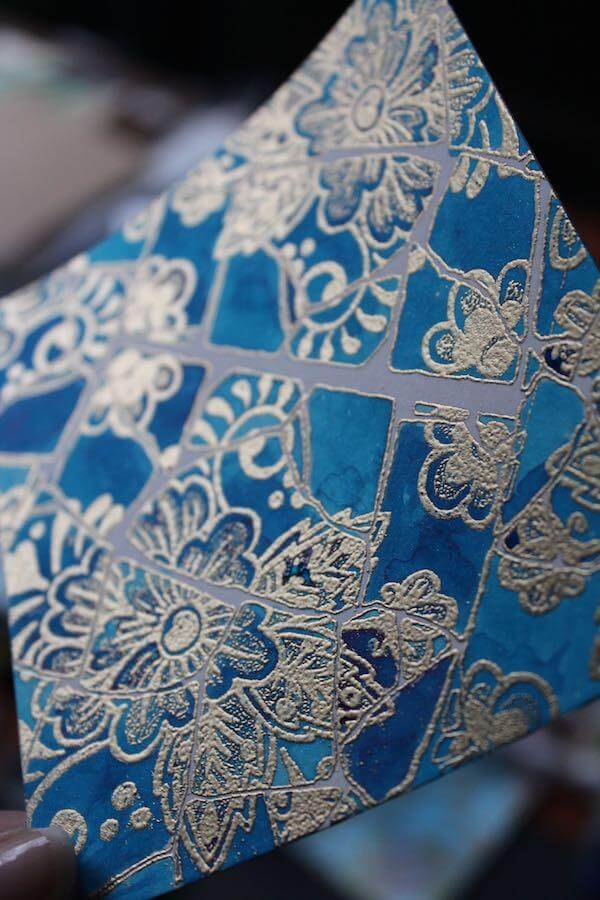
A fresh interpretation of Jacqueline's incredible artistic skill emerges with every monthly theme. Upon researching the Delft style, I fell in love with a unique mosaic style of artwork and presented it to Jac. At first, she didn't think she could design it. But after several attempts, she found a way to make my dream a reality. The Dk. Blue Print from the Lite kit is one of my favorites!

Let's take a closer look at the eight layouts created with the Delft Lite assembly instructions.
LAYOUTS 1 & 2
The kit includes a wide cotton printed ribbon with a blue swirl design, and a little goes a long way. Wrap around a small strip of Med. Blue paper, secure ends with tape, and balance with a silver windmill charm.

Set off a painted wood button by nesting it onto a 1.5" Yellow square with rounded corners.

Create a combo with printed ribbon, yellow silk ribbon, nested cutaparts and a silver charm.

LAYOUTS 3 & 4
Glue three buttons plain side up onto their pre-planned home on the White printed cutapart.

LAYOUTS 5 & 6
Accent the page title with a row of three Delft style glass domes.

Trim an end of the yellow silk ribbon to a narrow point and thread through the tulip stem charm.

LAYOUTS 7 & 8
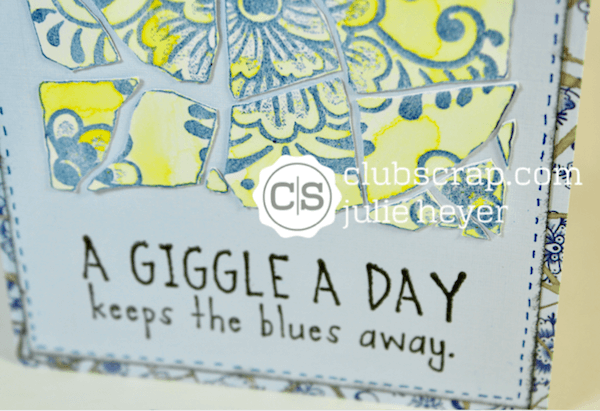
Top the round tulip charm with yellow ribbon and adhere to the top of the journaling prompt with CS® Bookbinding Glue.

Cut along the design on the 12x12 White Print and slide the Med. Blue photo mat beneath the artwork. Cut slits into the border on the left edge of the page and slide the nested cutapart strips beneath the border.

Look for a slightly new page format when you download the assembly instructions. We've changed the layout of the cover page to accommodate larger cutapart sketches.
Enjoy!
Tricia