The collaboration between our own Jacqueline Carney and guest designer Swarup Murthy continues with today's release of the Dahlia Lite kit! Let's take a tour of some of the details from the pages you can assemble by following our free instructions.
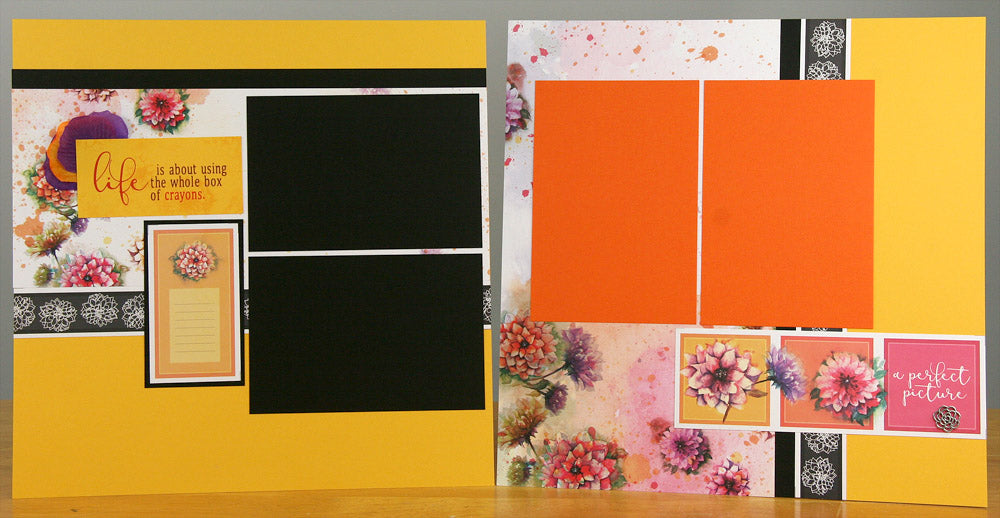
LAYOUTS 1 & 2
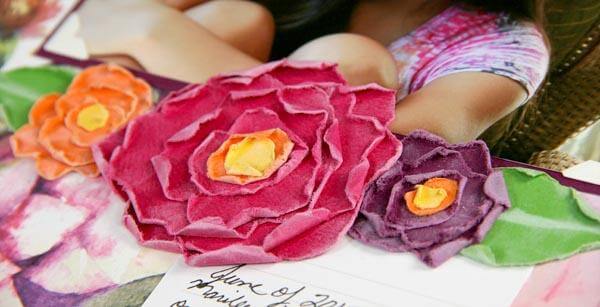
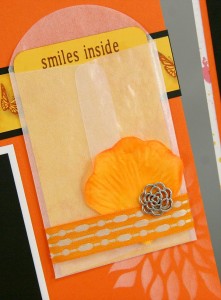
Tuck a few silk petals behind a ribbon-wrapped photo mat for a springy look.
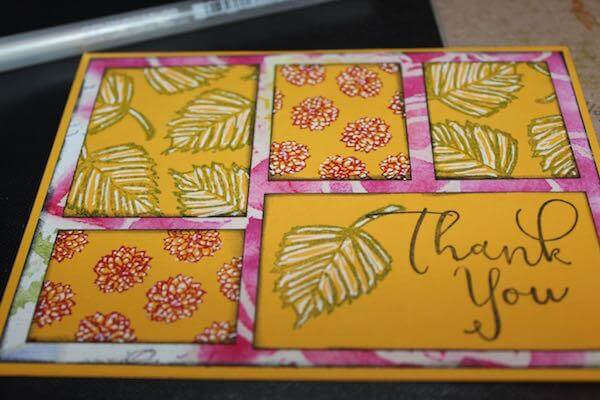
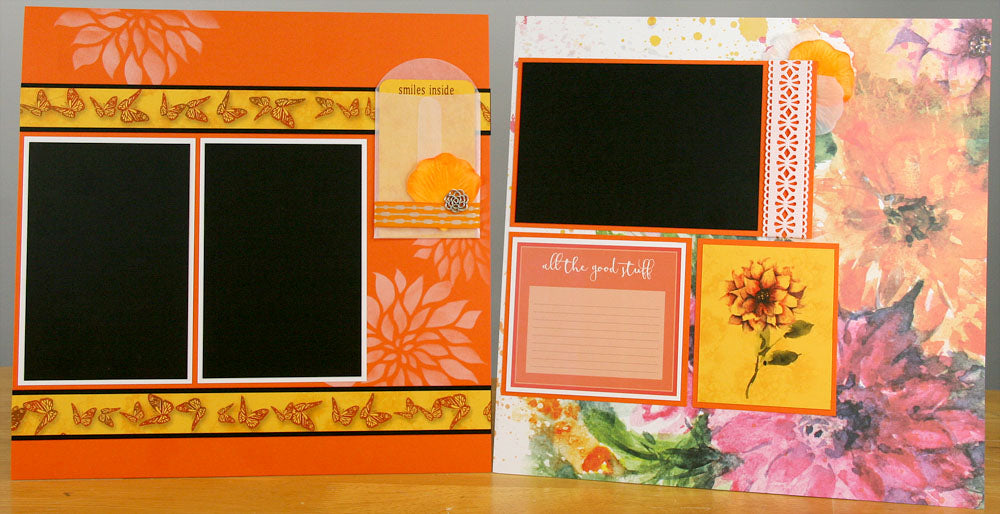
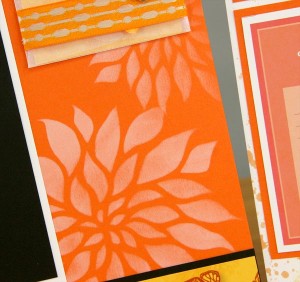
Create your own customized print with the stencil, white pigment ink and an ink applicator. Be sure to heat set the pigment ink to prevent smearing.
The cutaparts include five custom-designed inserts for the Glassine Envelopes included in the kit.
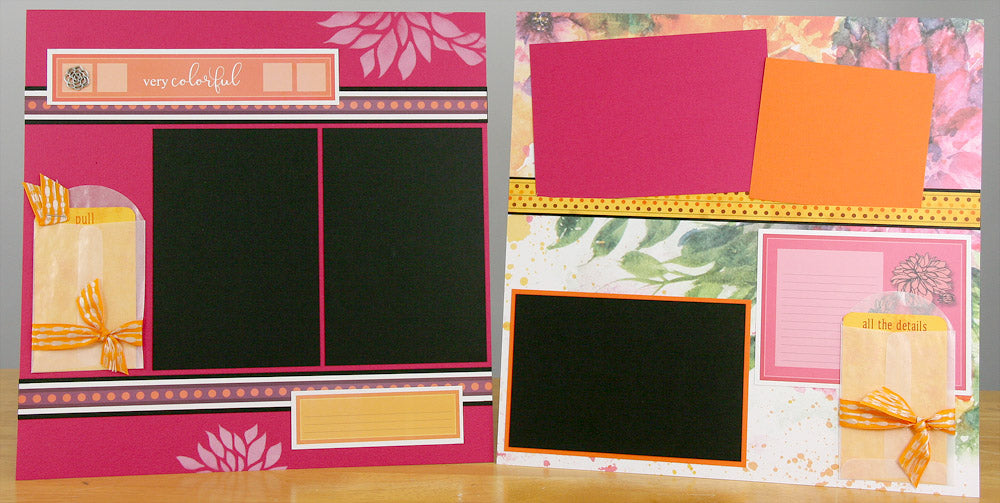
LAYOUTS 3 & 4
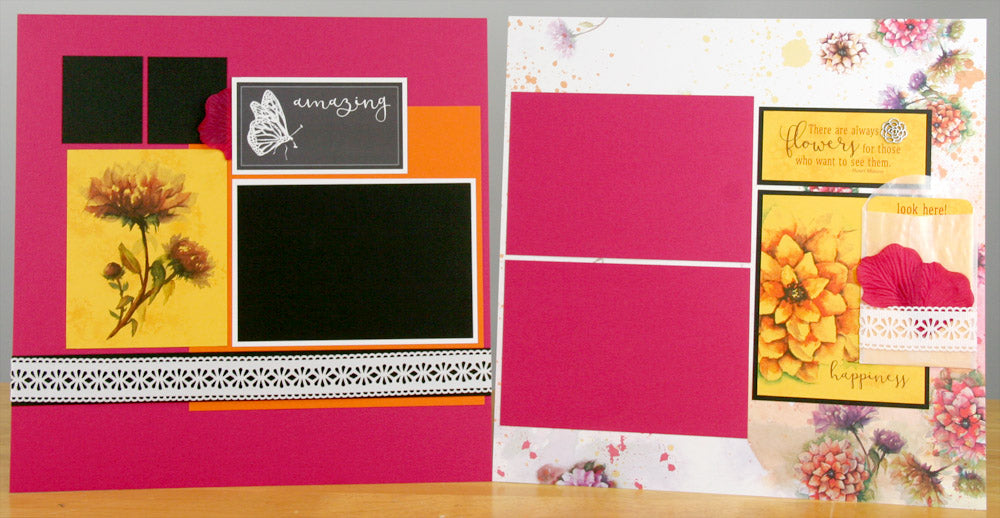
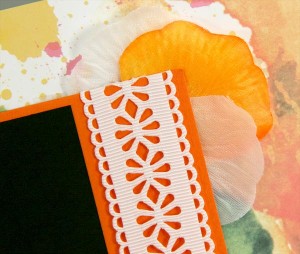
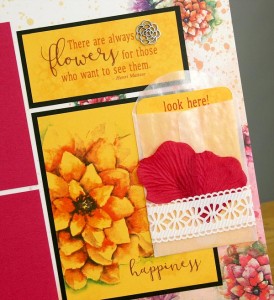
Tuck two flower petals behind a ribbon-wrapped glassine envelope.
LAYOUTS 5 & 6
Adhere the four Silver Dahlia Charms with a Glue Pen. (Or save two charms to make a pretty pair of earrings!)

LAYOUTS 7 & 8
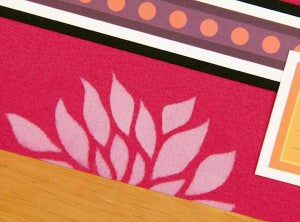
Stencil above and below the border strips with white pigment ink to create a striking contrast with the Pink paper.
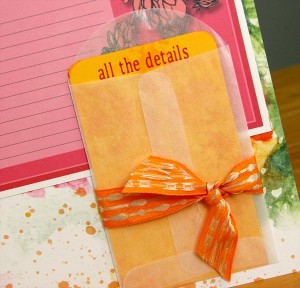
Tie a bow of pretty woven ribbon around the glassine envelope. and round the top corners of the inserts.
We hope you're enjoying Dahlia! Check back next Wednesday for our final installment featuring the Club Stamp collection.
Tricia