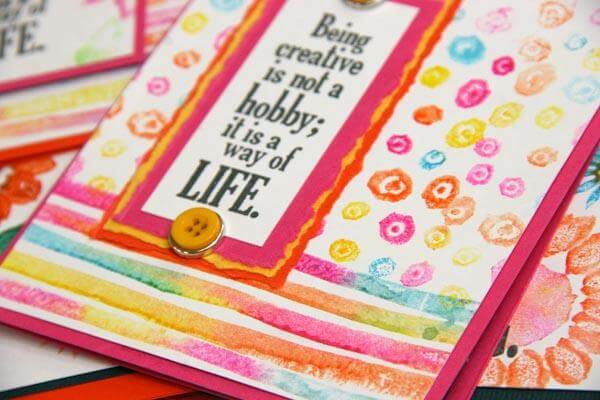

I typically like to keep it simple when it comes to making greeting cards, but I was motivated to kick it up a notch with a few elements from the Cantina kit after seeing an inspiring pin on Pinterest.

Here are a few tips to help you re-create this card:
1. Begin with a 5-1/2x8-1/2" folded Pink card base, 3-1/4x4-1/2" White panel and 3-1/8x4-3/8" Orange panel. Round the upper left corner of the White and Orange panels with the 1/2" setting on a Corner Chomper.

2. Run the card base through an embossing machine with a texture folder.

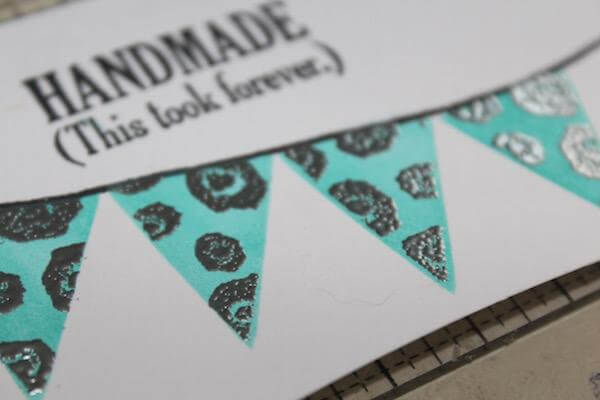
3. Stamp the sentiment from the UM Greeting onto a White strip with India Black ink. Anchor the stamped element with nested circles created with a die cutting machine or paper punch. (Dark Teal, Aqua and Yellow papers used.)

4. Stamp banners from the UM Collection onto White plain with Ruby, Topaz, Ocean and Tangerine inks. Cut the banners from the paper with a detail scissors. (I used my favorite new Fiskars Micro-Tip scissors now available in the shop!) Stamp the sun image onto the Topaz banner with Tangerine ink.

5. Stack the banners in a pleasing arrangement and tape together along the top edge. Cover the taped edge with a decorative strip from a White Cutapart.

6. Add a length of silver-edged white satin ribbon to the anchoring strip.

7. Stencil a citrus wedge onto the Yellow circle adjacent to the stamped sentiment with Tangerine ink and a foam applicator.

8. Add a pair of Enamel Stickers and a Pink die cut arrow to finish the card.

9. Stand back and admire. Decide who will receive this lovely card. Hand it to Kay for a photo shoot.

Take a little extra time to amp up your creativity this month. You can't go wrong with Cantina!
Tricia