Julie had some fun with a stamped stencil technique in yesterday's blog, but we've got a few more tricks up our sleeve!
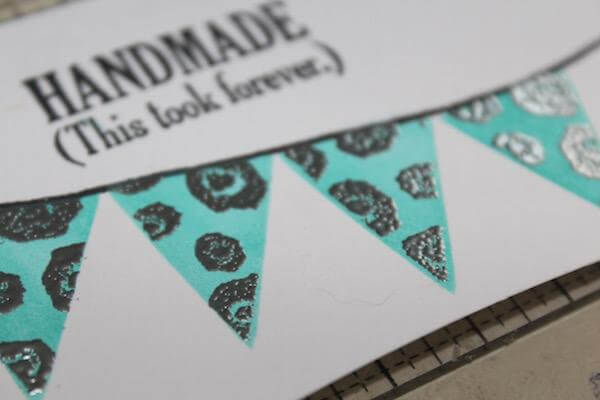
Here is my page using the Cantina Party Time Stencil. I stenciled the colorful banner across the top of the layout and embellished it with black waxed linen thread.

Follow these steps for fabulous banner results:
1. Place a 12x12 White Floral Print on your work surface. Choose a banner shape from the stencil. Apply ink to the two matching shapes with Carnation Ink and a CS Ink Applicator.

2. Clean the stencil and slide the opening next to the first pair of banners. Add Ocean ink; clean the stencil again.


3. Slide the stencil to position the banners within the opening and sponge with Topaz ink.


4. Repeat until the banner extends in a curve across the page.

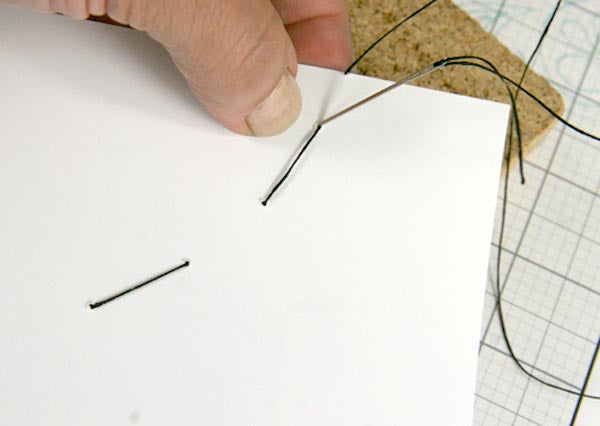
Enhance the banner with waxed linen using the following steps:
1. Pierce holes between each stenciled banner with a paper piercing tool and cork board.

2. Thread needle with waxed black linen thread and enter the first stitching hole.

3. Secure the thread tail around to the back with tape.

4. Stitch in and out of each hole across the page.

5. Stitch around the paper edge and return to the other side to cover the remaining banners.

6. Attach the thread tail to the back and trim.

7. For added interest, tie bows onto the stitching threads with additional waxed linen.


This stencil makes any hour happier.
Make it a banner day!
Kay