
Looking for card inspiration? Each month we invite a guest artist to take the monthly card kit and create cards that are a little more "involved" than those made using Tricia's instructions. This time, the Aviary Guest Artist is yours truly!
In addition to the card kit, I incorporated Aviary stamps into the mix. For each set of four cards, I made one following the instructions and did my own thing with the remaining three.
AVIARY GUEST ARTIST CARDS
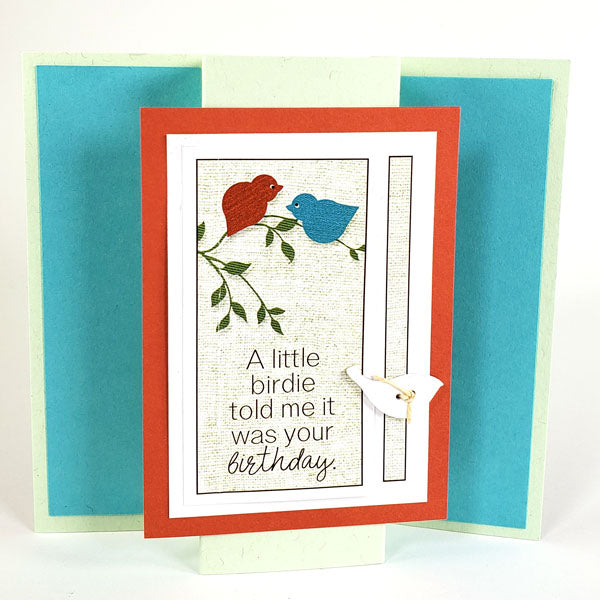
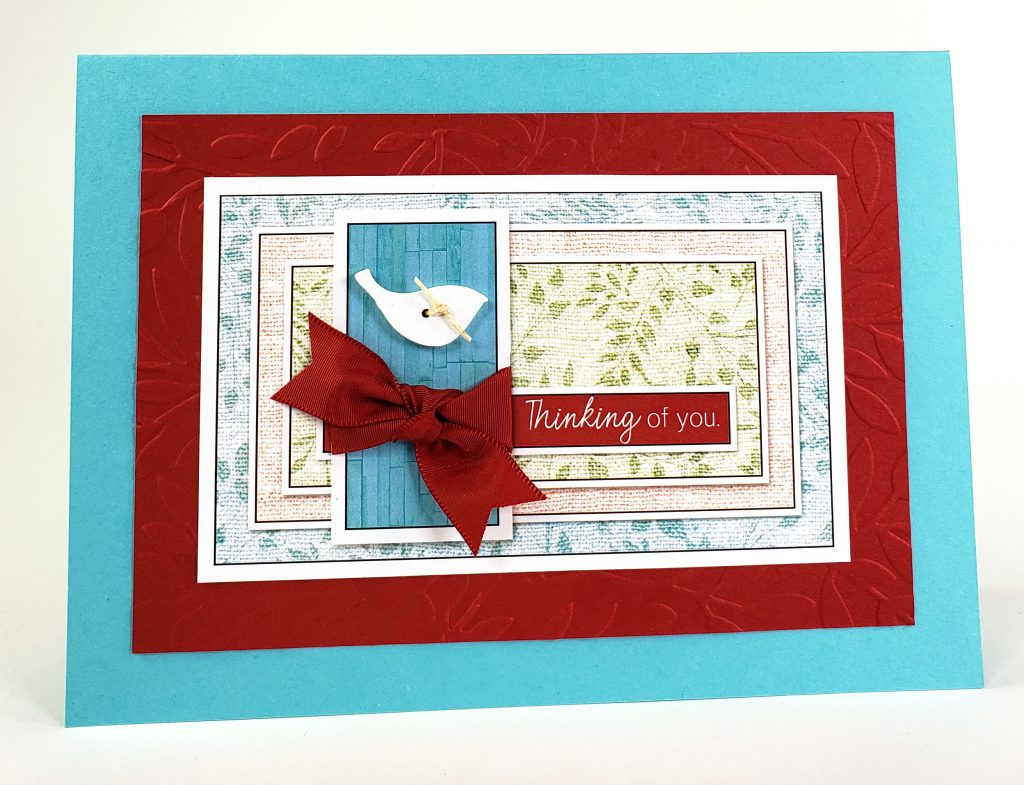
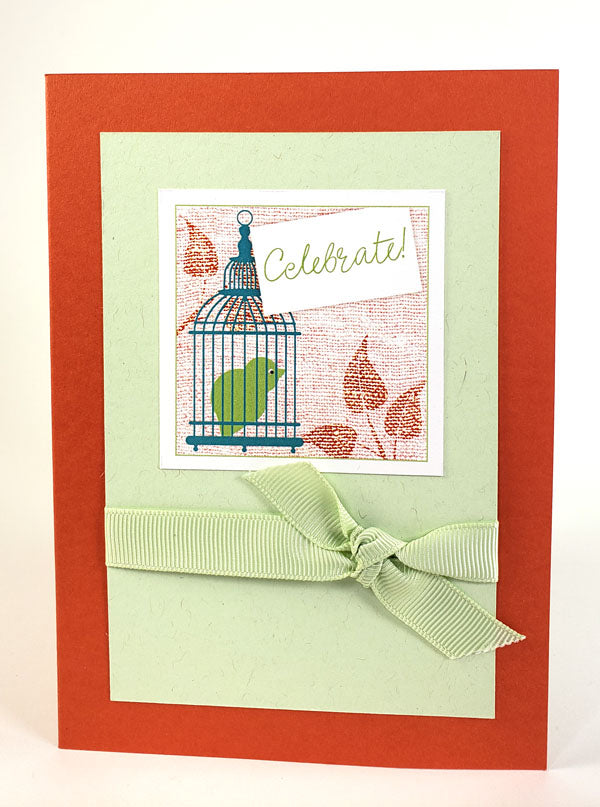
SET A: MINT STAND UP CARDS
Follow the scoring, folding and assembly instructions for one of the stand up cards. I chose one of the birthday designs.
Score and fold a mint base according to the instructions. Apply brown and shades of green watercolor crayon to the large branch image. Mist with water and stamp multiple impressions onto a white panel. Stamp bird cage in India ink. Apply India ink to a bird button, allow to dry. Adhere to card using BB glue using a needle tipped applicator.
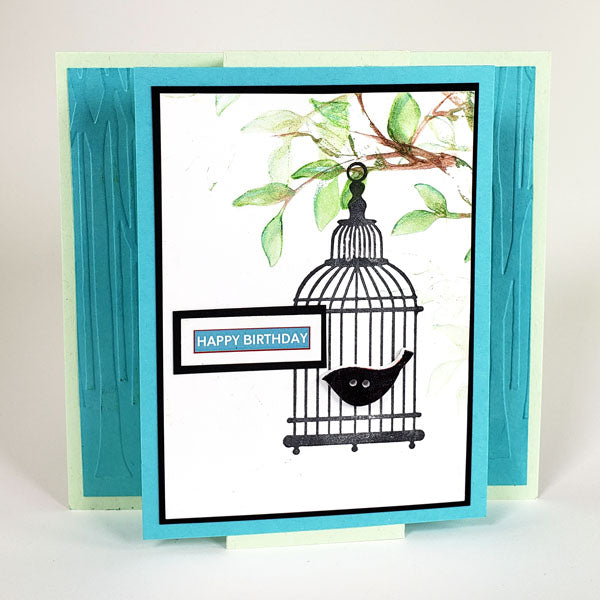
Use an embossing folder to add texture to the long, narrow aqua panels. Highlight raised areas with Lagoon ink and an applicator tool.

For the next two cards, score and fold mint card bases at 4".
Using watercolor crayon technique above, stamp additional branches onto a 3.5 x 5" white panel. Apply a light splatter of black watercolor crayon using a water brush. Stamp "hello" in India ink.
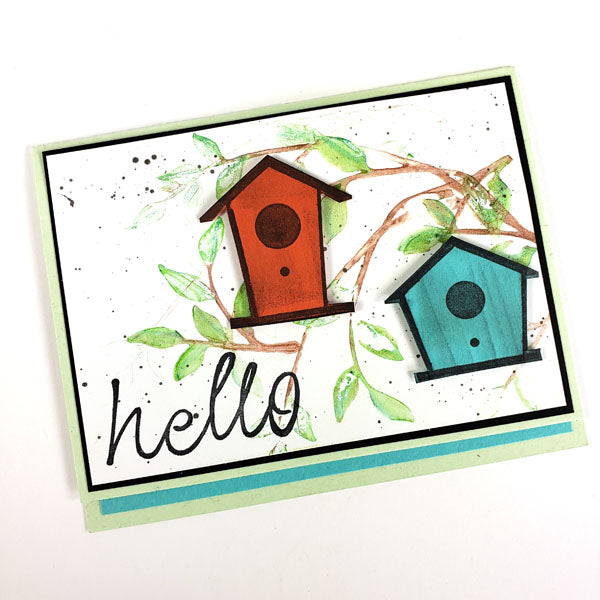
Stamp bird house images onto orange and aqua HPOP panels. Trim with scissors. Apply streaks of Earth ink to add visual texture. Adhere to panel using foam adhesive circles. Mat with a 3.75 x 5.25" black panel, and attach to front of card.

Emboss a 3.5 x 5" white panel using a forest embossing folder. Use a craft knife and mat to trim a rectangle from the center of the panel.
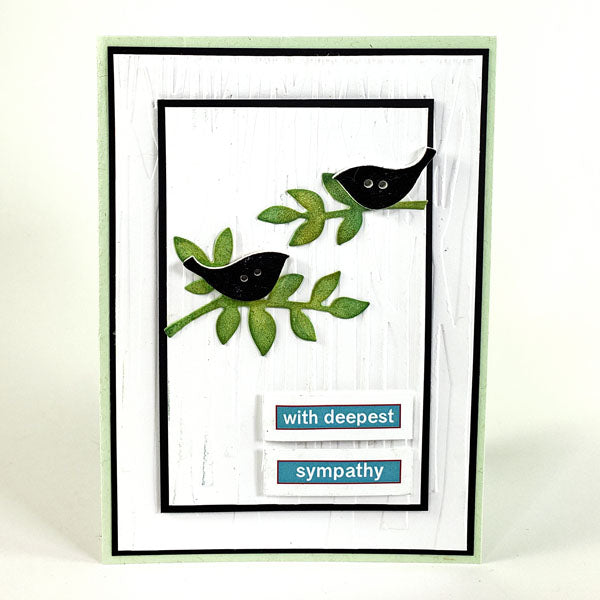
Die cut leaves from a mint scrap. Using an ink applicator tool, apply Leaf and Moss hybrid ink to leaves. Press bird buttons into India ink, allow to dry. Attach leaves and buttons using BB glue.

Mat outer frame with a 3.75 x 5.25" black panel and adhere to mint card base. Mat inner rectangle with black and adhere with foam adhesive.

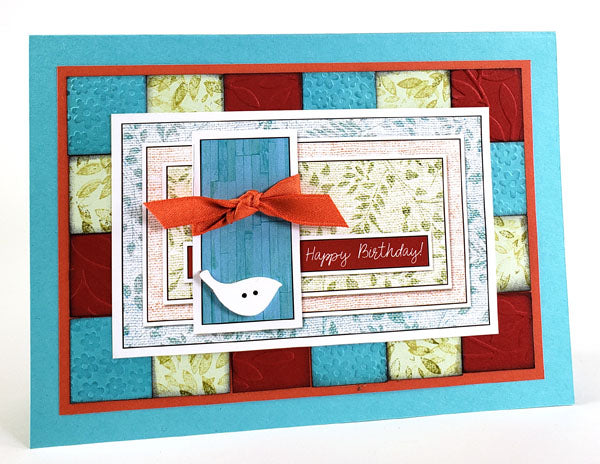
SET B: AQUA CARDS
Construct one aqua card according to instructions.
Add texture to the red panel with an embossing folder.

Use an ink applicator to apply shades of blue and Topaz ink to a white panel. Stamp large leaf image twice using a blend of Leaf and Moss inks. Add flecks of black watercolor using a water brush. Stamp "hello" with India ink.

Stamp bird image onto a white scrap using India ink. Trim with scissors. Use an ink applicator tool to apply India ink to trimmed edges. (Fill in eye using a black marker.)

Using a craft knife and cutting mat, trim a rectangle from the background panel. Mat with black. Attach bird using foam adhesive. Layer inner panel onto background with foam adhesive.

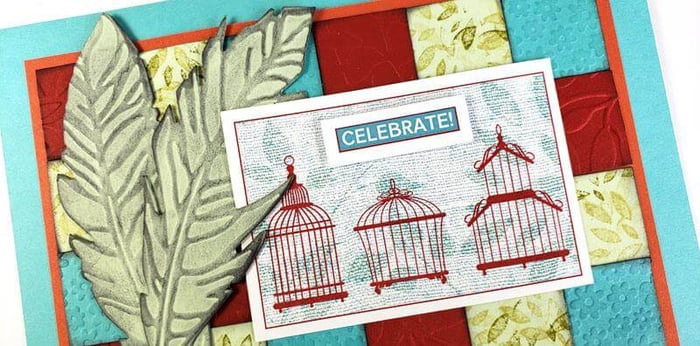
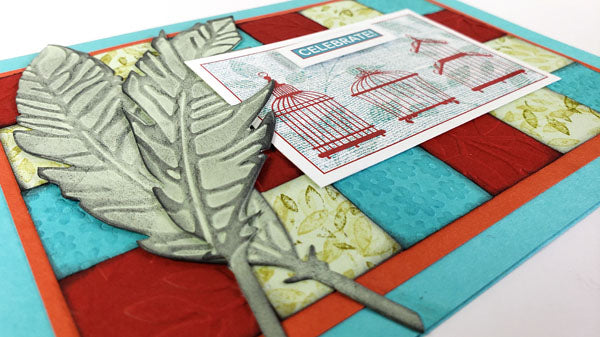
For the next two cards, use two different embossing folders to add texture to aqua and red HPOP panels. Stamp small leaf cluster image onto mint HPOP panel using Leaf ink. Trim each decorative panel into 1x1" squares. Edge each square with black ink. Arrange onto an orange panel in a quilt-like pattern. Repeat.
Add a slit along both sides of cutapart artwork, tie with orange ribbon. Adhere to quilted background panel. Add bird button with BB glue.
Use a feather die/embossing folder combo to create two feathers from mint plain. Lightly ink with India ink using an applicator tool.
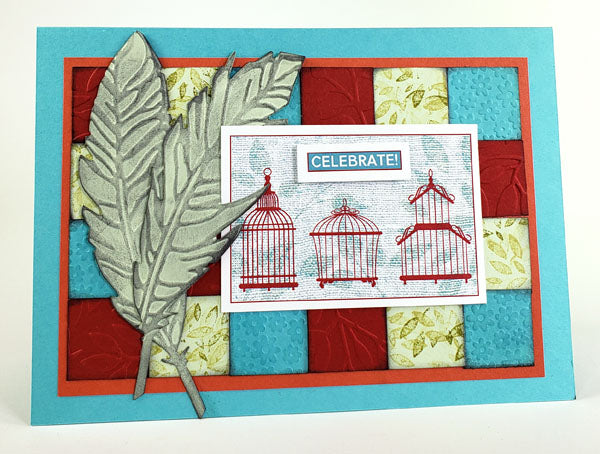
Add small "celebrate" cutapart to larger cutapart artwork using foam adhesive. Adhere all elements to front of card.
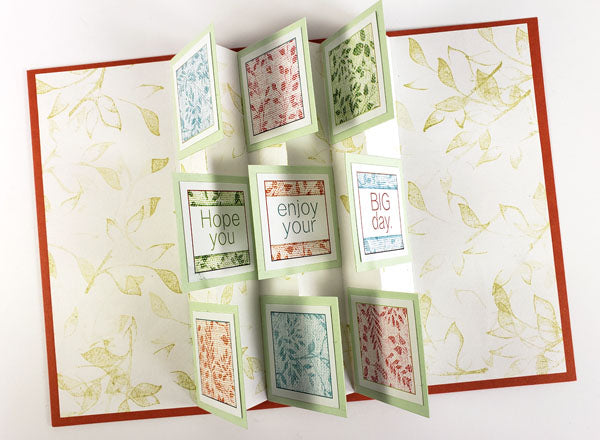
SET C: ORANGE CARDS
Assemble one card according to Tricia's instructions.
To add interest to the interior of each accordion insert, stamp white text weight paper before folding. (Here, the smaller leaf cluster was stamped in Leaf ink.)
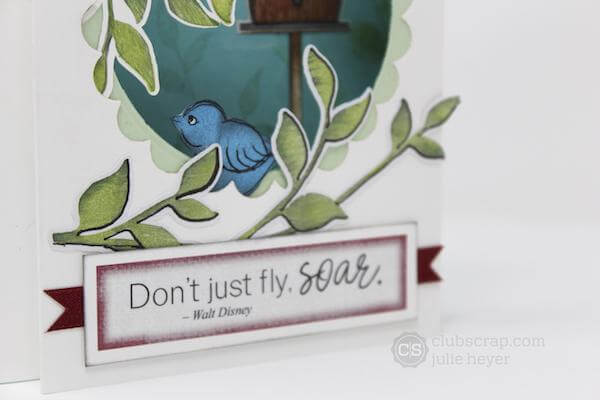
Use an ink applicator to blend Sapphire and Lagoon inks onto an aqua panel. Stamp sentiment in India ink.
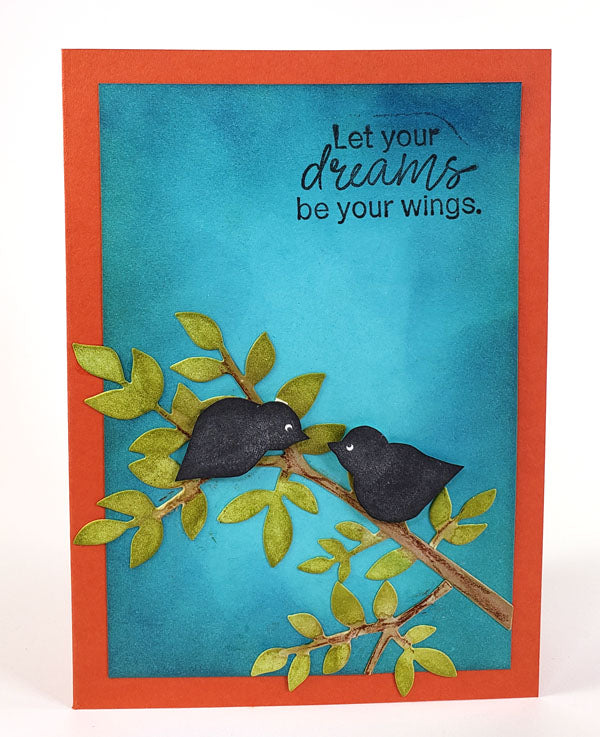
Die cut leaf clusters from mint scrap. Apply watercolor crayons in shades of green and brown. Attach to background panel with BB glue.
Stamp two bird images onto a white scrap using India ink. Trim with scissors. Ink cut edges. Adhere to branch using foam adhesive.

Emboss aqua panel using birds on a wire embossing folder (Take Wing 09/13). Using an ink applicator, blend various shades of blue ink onto panel, highlighting the raised areas. Edge lightly with India ink. Mat with 4.5 x 6.5" red HPOP panel.
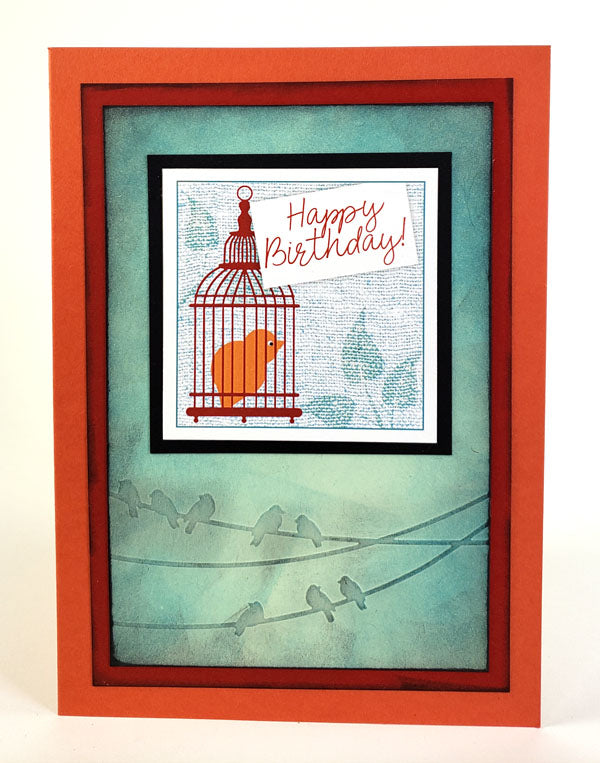
Add cutapart matted in black.

Use embossing folder to add background to aqua panel. Die cut and emboss feathers using a red and aqua HPOP panel. Lightly ink raised areas of all elements, including bird tag. Attach cutapart sentiment with foam adhesive.

I hope my samples inspire you to try something a little different next time you play with a Club Scrap card kit!
Happy card making!