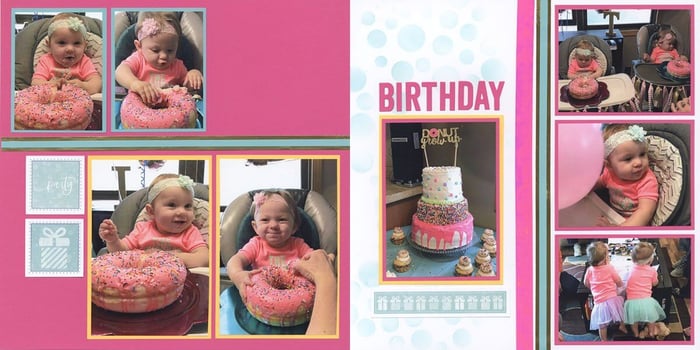
After scrapping my Confetti layouts, I realized the theme would also be perfect for the twins' recent birthday photos. Rather than complete the exact same pages again, I thought I'd try my hand at making pages from the Confetti Card kit!
To assure you have enough materials, purchase a set of Confetti photo mats (or use POPs) and one additional Yellow Plain.
GETTING STARTED
Substitute the White Card kit print for the Large Dot and Small Dot Prints in the cutting instructions. Trim Aqua and Pink Plain per instructions. Sort and file all the cut pieces as directed. Reserve trimming the Card kit Cutaparts until page assembly begins. Some sentiments translate easily to pages, some do not.
Layout 1 & 2
You'll notice some elements have been rearranged from the original sketch.

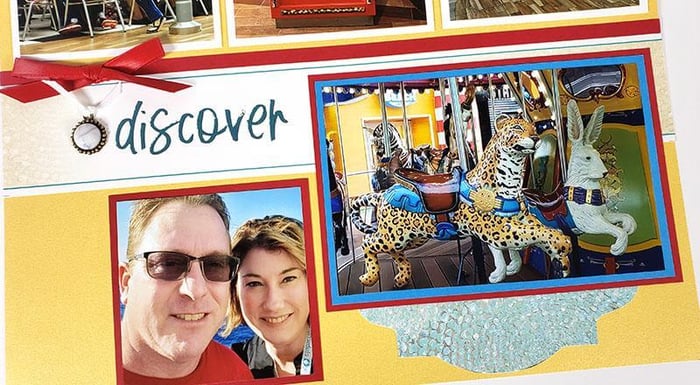
Adhere the 3-1/2 x 12" White Print (5&6) to top of left page. Add ribbons and laser glitter washi tape as shown.

Layout 3 & 4
Other than substituting cutaparts, this layout remains close to the original sketch.

I didn't end up adding the Rinea Foil mini envelopes, but you'll have the supplies needed to add them to your pages, if desired.

Layout 5 & 6

Leave a 4x12" section of the Card kit cutaparts intact. The portion shown below includes sentiments that don't translate well for pages.

Stencil circles onto the plain white side of cutapart strip with Ocean ink; adhere to top of the right page. Mat White prints with Aqua plain (one 3-3/4 x 5-3/4" print mat is from Layout 1 & 2).

Layout 7 & 8
To add interest, stencil circle pattern onto exposed area of White Plain using Ocean ink.

Die cut "Birthday" in pink and adhere to layout using needle-tip applicator filled with bookbinding glue.

I invite you to look at your kits in a whole new light. The possibilities are endless!
Happy scrapping!


