My love affair with the Club Stamp quad print seems to grow every month (sighing fondly). I always look forward to using the mini prints on cards and layouts.

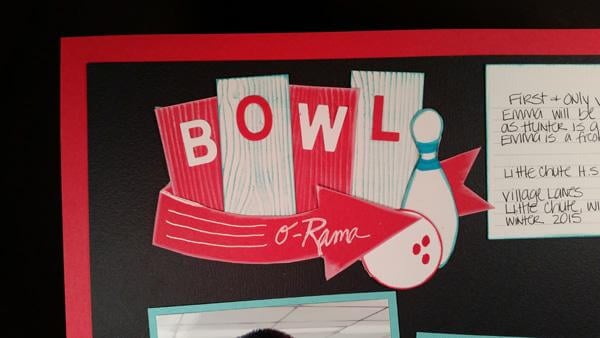
Fresh from the craft table, my 50s Kitchen layout featuring the Club Stamp Prints.

Follow these simple steps to make the page:
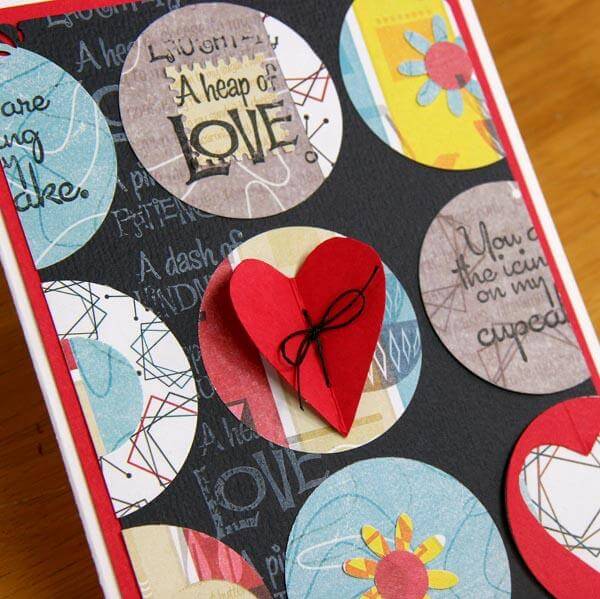
1. Use White Pigment Ink to rubber stamp large script image from the 50s Kitchen Collection UM onto the left side of 8.5x11" Black Plain.

2. Punch 2" circles from the White Text Weight Print.

3. Use a grid ruler to align the 2" circles in a grid pattern; adhere.

4. Embellish circles with other punched shapes and stamped images.

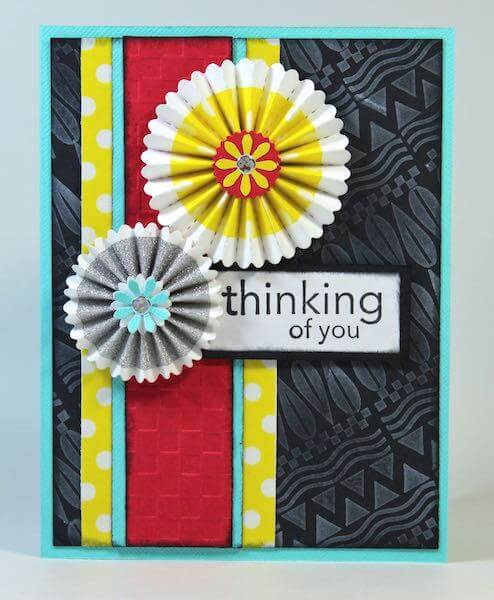
Here is the same technique put into action on a greeting card.

The 2" punches don't completely fit on the 4.5 x 6.5" card panel, so just a little trimming is needed.

I hope you'll give this a try with your Club Stamp Kit.
The dishes can wait. Life won't. So make some time for enjoyable crafting this week with this great collection.