
I can't recall being quite as happy about a set of thirteen cards I've made in a long time!

You can make them, too. Just follow the cutting and folding instructions, stamp and assemble. Be sure to have the 50s Kitchen Club Stamp kit on hand, along with your paper trimmer and undistracted mental focus. Click on the link below to download the paper trimming instructions, and feel free to keep the document on hand to use with other Club Stamp paper packs. Download Instructions: 0315ALCM This is the video tutorial I used to create the adorable dresses from the four 4.25x4.25 Text Weight Prints.
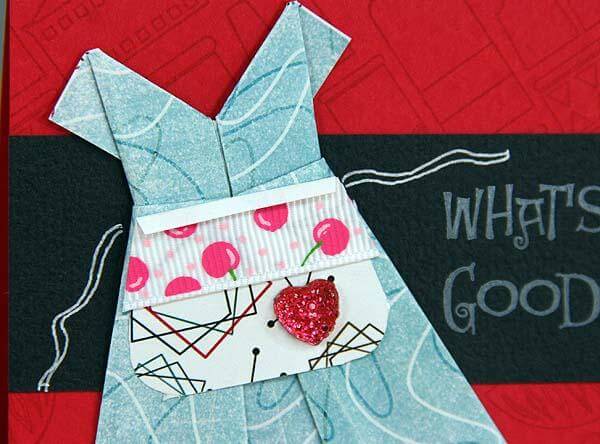
Aren't these adorable? I cut trapezoid shapes from scraps of the Text Weight Print to make aprons and finished them off with ribbon trim.

Now that the papers are trimmed and ready to go, it's time to assemble and add the finishing touches . . .
CARDS 1, 2 & 3

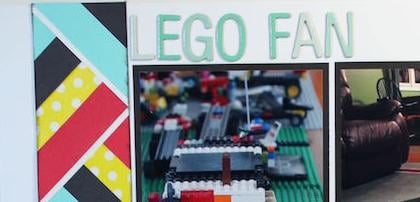
If you can get your hands on a set of "googly eyes," they add an extra-special, silly touch to the clock stamp found on the UM Borders & Backgrounds sheet.

White Pigment Ink works well when stamping onto Black paper. For a crisp image, consider stamping on the smooth side.

CARDS 4, 5, 6 AND 7 
Mix and match a handmade "apron" with each dress. For the apron, simply trace the angle of the skirt onto a scrap of the White Text Weight Print and trim into a trapezoid shape. Round the bottom corners and fold over the top edge. Adorn the apron with printed grosgrain ribbon and a sparkly heart. Draw apron strings with a white gel pen.

CARDS 8 AND 9

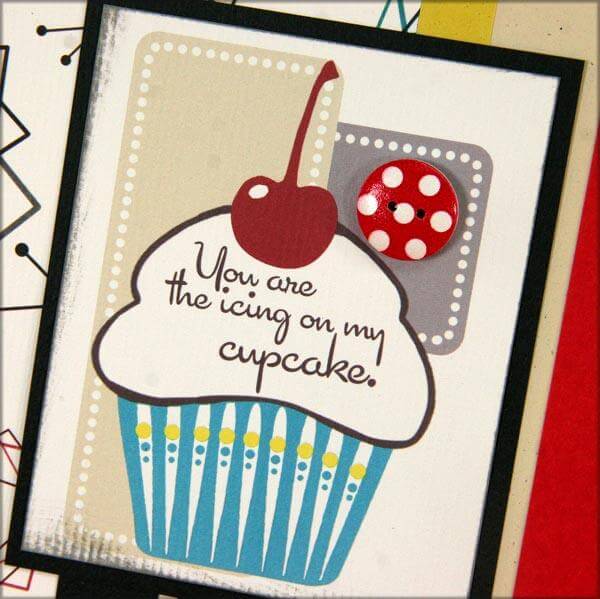
Use colored pencils or markers to add color to the stamped image and finish with a touch of glitter glue.

CARDS 10 AND 11

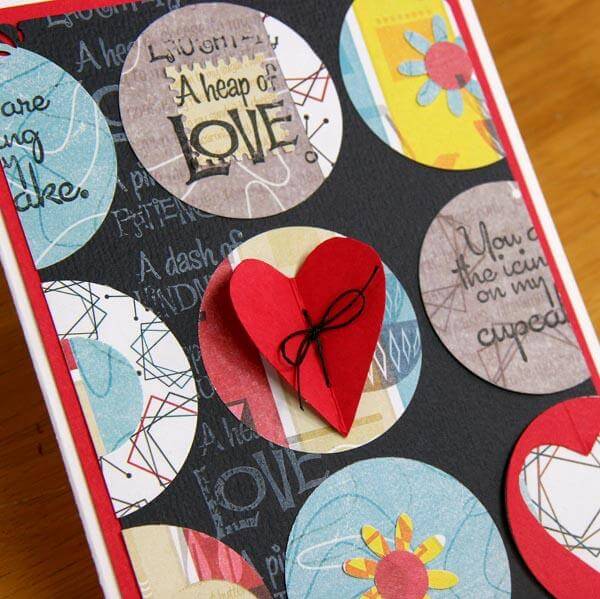
Distress the edges of the printed panels with a paper distressing tool and staple a folded 2" length of ribbon to the upper right corner of the stamped panel. (The sentiment was stamped onto the plain side of the White Print.)

CARDS 12 AND 13

Use Bookbinding Glue to adhere the sparkly heart embellishment.

We try to make it easy to whip up a beautiful batch of handmade cards.
Enjoy!