I absolutely adore my fur babies! I firmly believe they are the most beautiful, best cats EVER. Even when they wake me up at 3 in the morning, sniffing my face and jumping on my chest, I can't help but love them. My girls are roughly 20 pounds each, and I swear 18 pounds of that is fur! So, when I saw the latest Paws & Claws - Cat collection, I knew I HAD to have it.
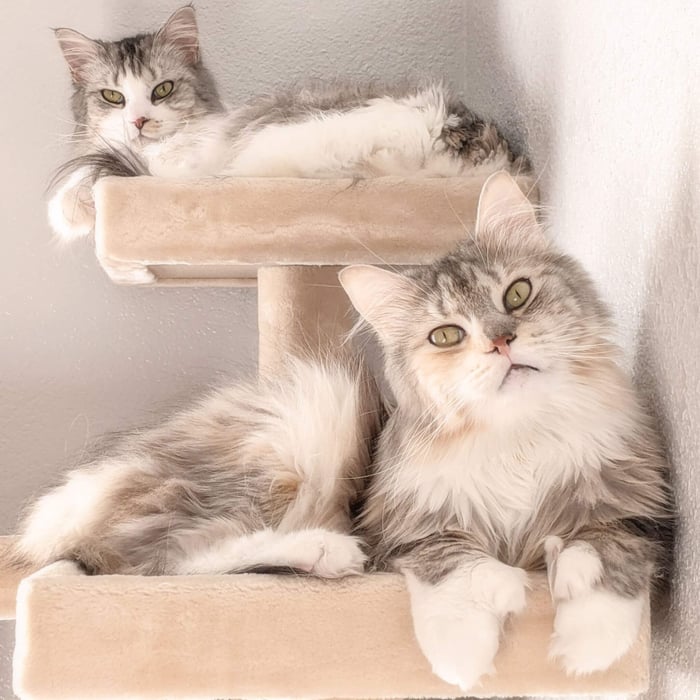 Ava and Roxy
I wanted to create some fun cards while also saving a few border strips and printed papers for scrapbook pages. To achieve this, I chose the Deluxe Card Formula #4, which allowed me to create (6) A2 and (6) A6 cards with just eleven* sheets of paper.
Cards for Kitties
To recreate cards similar to mine, begin with the purchase and download of the card formula. The accompanying video workshop guides you through the trimming, sorting and assembly of all twelve cards.
Next, gather papers from your stash, utilizing the following paper assignments:
(2) Dk. Brown Plains (Paper A)
(2) Rust Plains (B)
(2) Gold Plains (C)
Paw Print and Lt. Brown Plain (Paper D)
(2) Cream* (Paper E)
Green Plain (Paper F)
*I ended up not using any of the inside panels, so I suggest you skip trimming those until you know if you'll use them.
Once the trimming and sorting is completed, score and fold the card bases and dry fit the individual elements to create each card as shown below.
Set A

Two cutapart sentiments are already the perfect size to nest perfectly onto 4x5.25" card panels.
Distress the edges of both card panels. Add Dazzle flowers (Oopsie Daisy Remix) to the collar and Glossy Accents to the collar tag. Adhere to the front of the card over a border strip for a bit of fun color.

Trim border strips to nest onto the paper strips for both cards. Staple ribbon onto the “PSPSPS” cutapart; adhere with foam adhesive to create dimension.
Add texture to the plain brown mat with an embossing folder. Add Glossy Accents to the fish image on the food bowl.

For the card on the left, cut paw printed border strip to fit the accent strip and adhere. Using foam adhesive, attach the two fish cutaparts as shown. Trim the inside ivory panel to fit in the empty space below the fish; wrap with ribbon.
On the right, trim the “Here, Kitty Kitty” border strip to fit across the bottom of a 4x5.25" front panel. Add feathers behind the strip before attaching with foam adhesive.
Set B

Wrap ribbon around the right side panel and adhere. Trim the cutapart to fit the front flap; wrap with twine, taping the ends to the back side. Tie a paw charm to the twine. Adhere to the front flap panel.
For the card on the right, wrap ribbon around the right side panel and adhere. Trim the cutapart border strip to match the size of the sentiment. Add a twine bow to the paw charm and use BBG to adhere it to the “Live Love Purr” panel.

Left card: Wrap ribbon around the right side panel and adhere. Stamp the sentiment onto the cat tag with Earth ink; apply ink to the edges with an Ink Applicator Brush. Staple ribbon to the top of the tag. Tuck a feather behind the tag; attach to the front panel with foam adhesive.
Right card: Emboss the left side panel with a texture folder. Interlock two pieces of ribbon and attach the ends to the back of the front panel. (I added a smaller panel to the back side so the ribbon ends and tape won’t show.) Wrap ribbon around the right side panel and adhere. Attach a paper clip to the “Home” sentiment and adhere.

NOTE: When I started trimming the papers, I clearly hadn't had enough caffeine because I totally messed up trimming the first two sheets. Therefore, these cards are a bit shorter than the directions indicate. Who’s done that before?
For the card on the left, emboss the right panel with a texture folder. Stamp the sentiment onto an ivory panel with Lagoon ink. Rough the edges with a distressing tool. Ink the edges of the cat tag with Earth ink and an applicator brush. Stamp the heart in the center with Red CS Hybrid Ink. Tie ribbon through the tag; adhere it to the sentiment panel with foam adhesive.
On the right, add texture to the left panel with an embossing folder. Create a nesting panel for the front of the card with leftover strips on the diagonal. Stamp the sentiment onto an ivory panel with Lagoon ink. Staple a bit of ribbon to the left side. Trim the paw print border strip to fit the height of the right panel.
I hope my cards inspire you to transform your Paws & Claws Page Kit into cards. There are so many different card formulas available, the possibilities are nearly endless!
Lisa, Ava and Roxy
Be sure to check out more cards featuring the Paws and Claws stamps for additional inspiration!
Paws and Claws Stamps
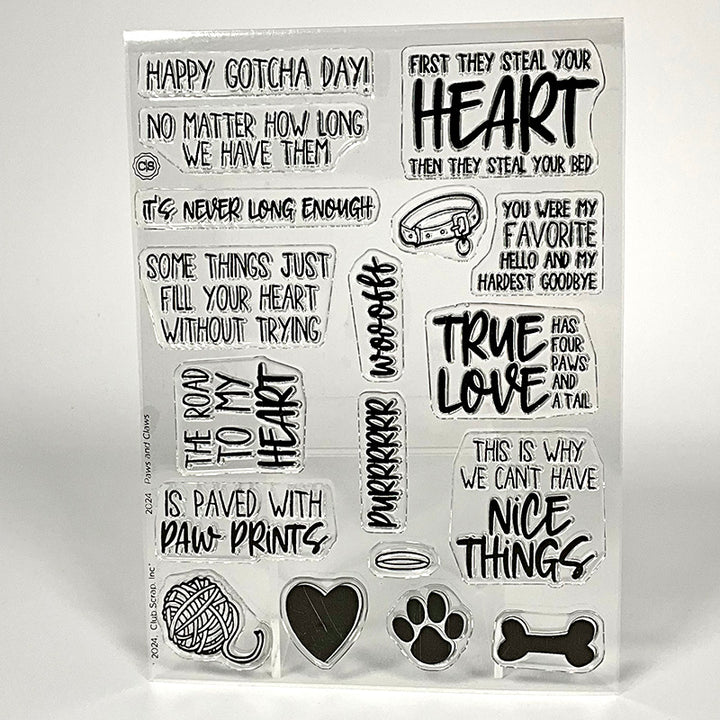
$19.25
Our premium clear photopolymer stamps are ready to use; no prep is required. The stamp sheet measures 6x8" and includes individual images and phrases. Deeply etched for high-quality impressions Clear substrate for easy positioning and accurate stamping Non-yellowing and durable… Read More
CS Hybrid Ink Pads
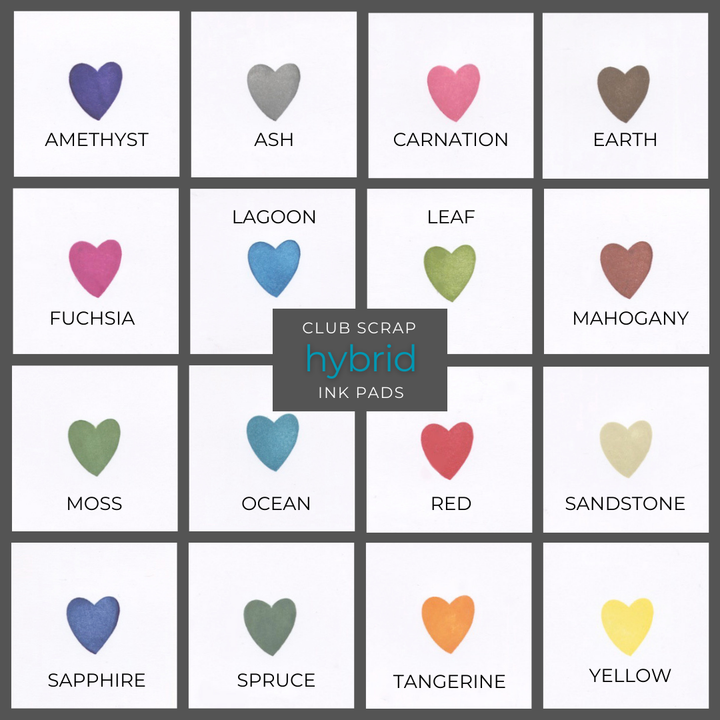
$6.35
Exclusively Club Scrap®, this hybrid craft ink combines the most exceptional ingredients of both pigments and dyes for a fine, crisp, fast-drying image! Don't forget to stock up on the coordinating re-inkers. Each ink pad sold separately. Please select the… Read More
Deluxe Card Formula 4
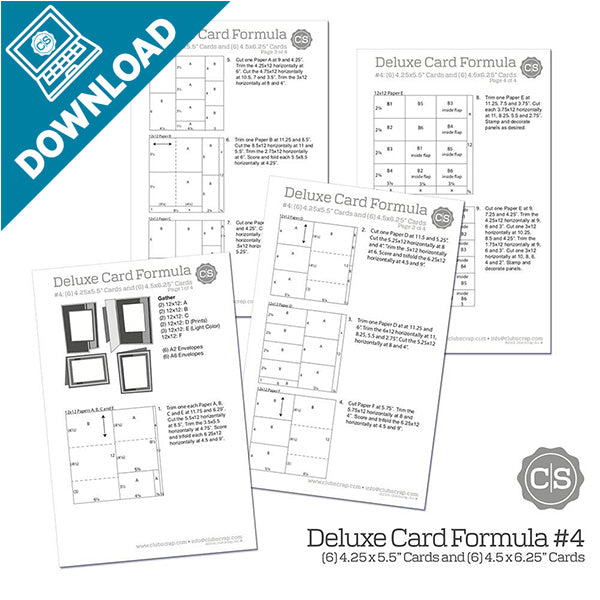
$4.39
Pair this card making formula with papers from your stash to create twelve awesome greeting cards: six A2 and six A6 size. So much more than a card sketch, our card formulas offer cutting and assembly instructions. Download includes one… Read More

