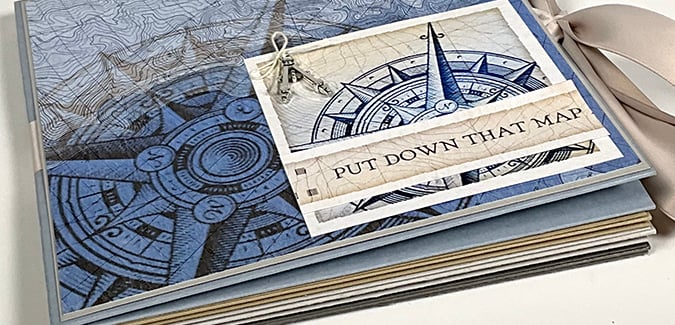

Many years ago, I made a Pop-up Corner Album featuring the Boardwalk collection. While tidying around the house after a visit from my grandson, this long-forgotten book caught my eye again. After making the trio of Cartography mini books for yesterday's blog, I had JUST enough supplies left over to revisit this fun, interactive project.

Originally inspired by this blog post found on Pinterest, I made a few minor changes to recreate the same type of book structure, but in a larger size.
Pop-up Corner Album
Gather the remaining supplies in your Cartography Page Kit: (4) 12x12 Plains, (1) 12x12 Print, (6) 4.25x6.25 Photo Mats, ribbon, Cutaparts and embellishments.

Score and fold each 12x12 plain into four equal quadrants. Follow the instructions as outlined in the blog post to make one side cut and create the pop-up corner fold.
Fold each paper as directed to create the pop-up corner "card". Arrange these "cards" in the order you'd like the pages in your book. Glue them back to back - the first double-walled card front as the cover of your book, then adhering the single walled side to the double-walled side of the next page. Continue gluing in this manner until all four pages form a book.

Cut the 12x12 Print at 11.5 and 5.75". Rotate and trim each 5.75x12 at 11.5 and 5.75" to create four panels.

Wrap a length of ribbon around the outside of the book to create a closure and adhere. Cover the front and back of the book with two 5.75" prints. NOTE: I had a large piece of Lt. Gray Plain left from making nesting panels for the pocket of yesterday's mini books. I cut two 5-7/8" squares from it to use as nesting panels for the cover prints.

Trim the two remaining 5.75" square panels on the diagonal to create two 90 degree triangles each, for a total of four. Adhere the triangle-shaped panels to two of the inside pop-up corner pages.

Cut each border strip Cutapart in half at 6". Adhere near the top edge of each inside page.

Cut six photo mats at 5.75"; add to the inside pages.

Embellish the remaining inside pages as desired.

Add a Cutapart and charm to the front cover.
Are there any "oldie but goodie" projects you'd like to revisit? It's fun to go back and remake some past favorites. Be sure to share your finished pages, cards and other projects on our private Chat group on Facebook. It's the perfect place to inspire others, or be inspired!
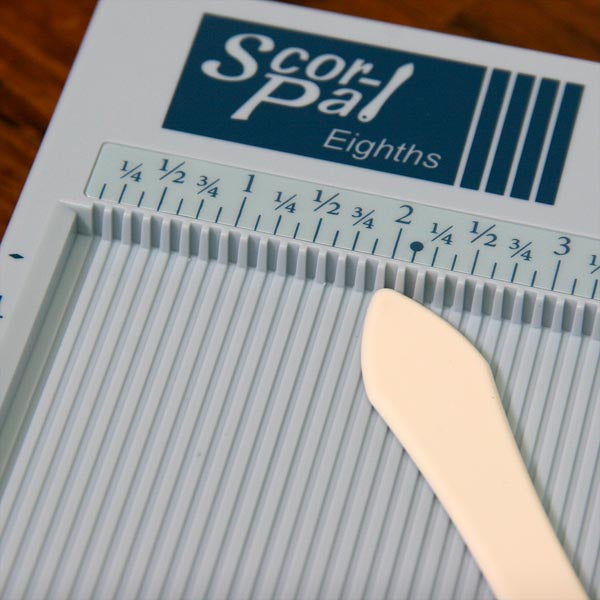
Scor-Pal 1/8's
$38.83
An essential paper crafting tool for making cards, invitations, envelopes, boxes and more. Features: Quick and easy to use Accurate and precise folds Light and portable 12x12 scoring surface every 1/8th inch… Read More
Bone Folder (Large)
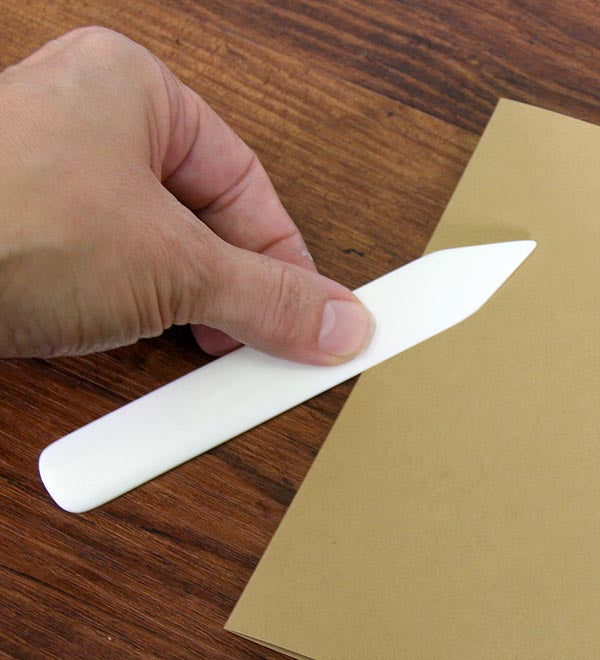
$9.95
Easily score and fold paper and cardstock. An essential tool for all of your card making and book binding projects! Larger size is comfortable in your hands and easy to grip. Measures 6" long, by 7/8" wide.… Read More