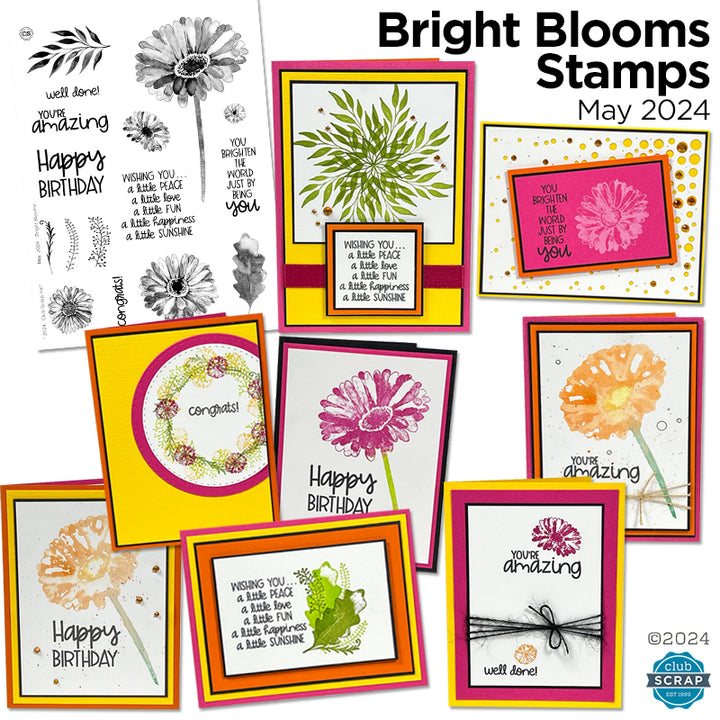
Learn how to make a lovely set of single fold cards with the Bright Blooms Stamps. Tricia designed this month's cards to be simple, beautiful, and easily achievable with supplies you probably already have on hand.
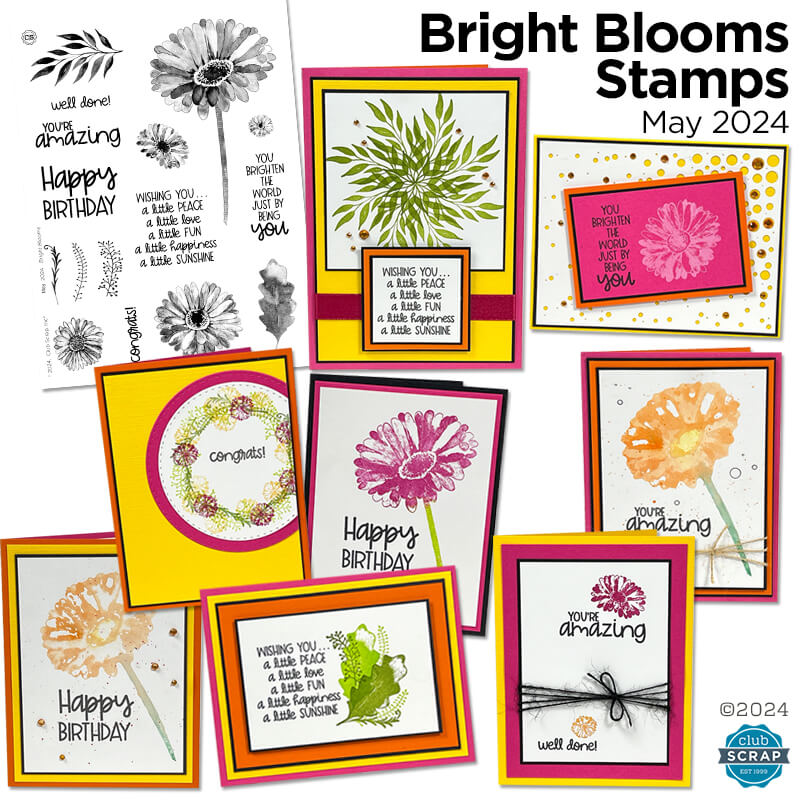
Bright Blooms Stamps
(The finished size of each card is 4.25x5.5", unless otherwise noted.)
Card 1

Stamp the larger daisy image near the top of the white panel with Fuchsia Ink and the smaller blossom near the bottom with Tangerine. Pair each flower with a sentiment (India Black ink). Wrap black jute around the stamped panel and tie with a bow.

Mat with Black nested onto an Orange/Pink panel. Add to a Yellow card base.
Card 2

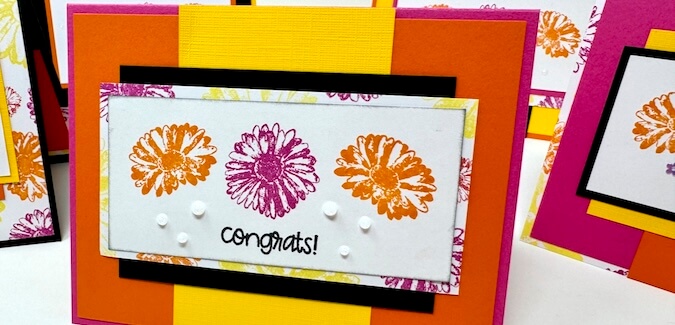
Lightly trace a circle onto a white panel in pencil. (A nesting circle die set is perfect for this!) Stamp a variety of images in different ink colors around the circle in intervals. Add a sentiment with India Black to the center.

Die cut the stamped panel and an Orange/Pink nesting panel with larger circle dies. Adhere to the right side of a Yellow card panel, overlapping the edge slightly. Trim off excess. Nest with Black, and add to an Orange/Pink folded card base.
Card 3

Stamp the daisy image onto an Orange/Pink panel with White Pigment Ink. Add a sentiment in India ink on the left side. Mat with Black and Orange/Pink nesting panels.

Die cut White with a dotty background die, back with Yellow to allow the color to show through. Add Rhinestone Gems in different sizes to select openings to create a fun background.
Card 4 (Finished Card Size 5x7")

Add the leafy branch image to a white panel with Leaf ink using a wreath-building template and stamping platform. Add Rhinestone Gems.

Stamp the sentiment with India ink. Wrap a length of Fuchsia Metallic Satin around the Yellow and Black nesting panels, and top with the matted sentiment.
Card 5

Apply Fuchsia Ink only to the flower petals of the large daisy image. Carefully add Peridot Ink to the stem. Stamp the image onto a white panel. Add a sentiment with India Ink.

Mat the stamped panel with Orange/Pink, and adhere to a Black folded card base.
Card 6

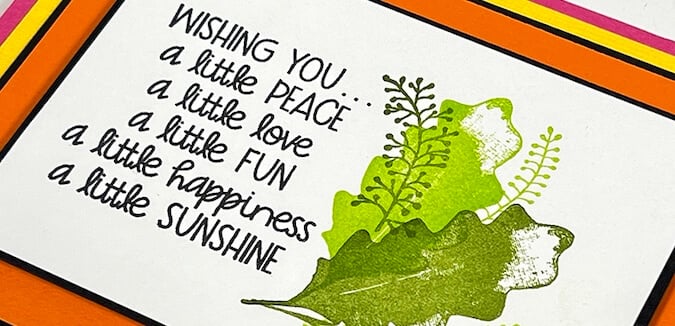
Create a cluster of leaf images with Leaf, Moss and Peridot Inks. Stamp the sentiment in India Ink.

Mat with nesting panels, adding foam adhesive between some layers for dimension.
Card 7
Lightly mist the surface of the large daisy image with water. Scribble orange and yellow watercolor crayons directly onto the flower portion, and green onto the stem. Mist the stamp with water and press it onto a white panel to transfer the color. (Spritz the flower again and stamp it onto a fresh white panel to make a second-generation print for Card 8.)
Dip a brush in water and flick color from the orange crayon over the background to create a speckled appearance. Add the sentiment with India ink. Wrap a length of jute around the nested panel and tie in a knot. Accent the panel with the round shapes from the Flower Dazzles sticker sheet.
Card 8

Repeat the steps to add a speckled background to the second generation watercolor panel. Add the sentiment (India ink), embellish with Rhinestone Gems.

A special thanks to Tricia for making these gorgeous card samples!
We'd love to see how you're using your Bright Blooms stamps. We invite you to share your finished artwork on our Facebook Chat Group! Not a member of the group yet? Simply answer a few questions and we'll get your request processed in no time!
Bright Blooms Stamps
$19.25
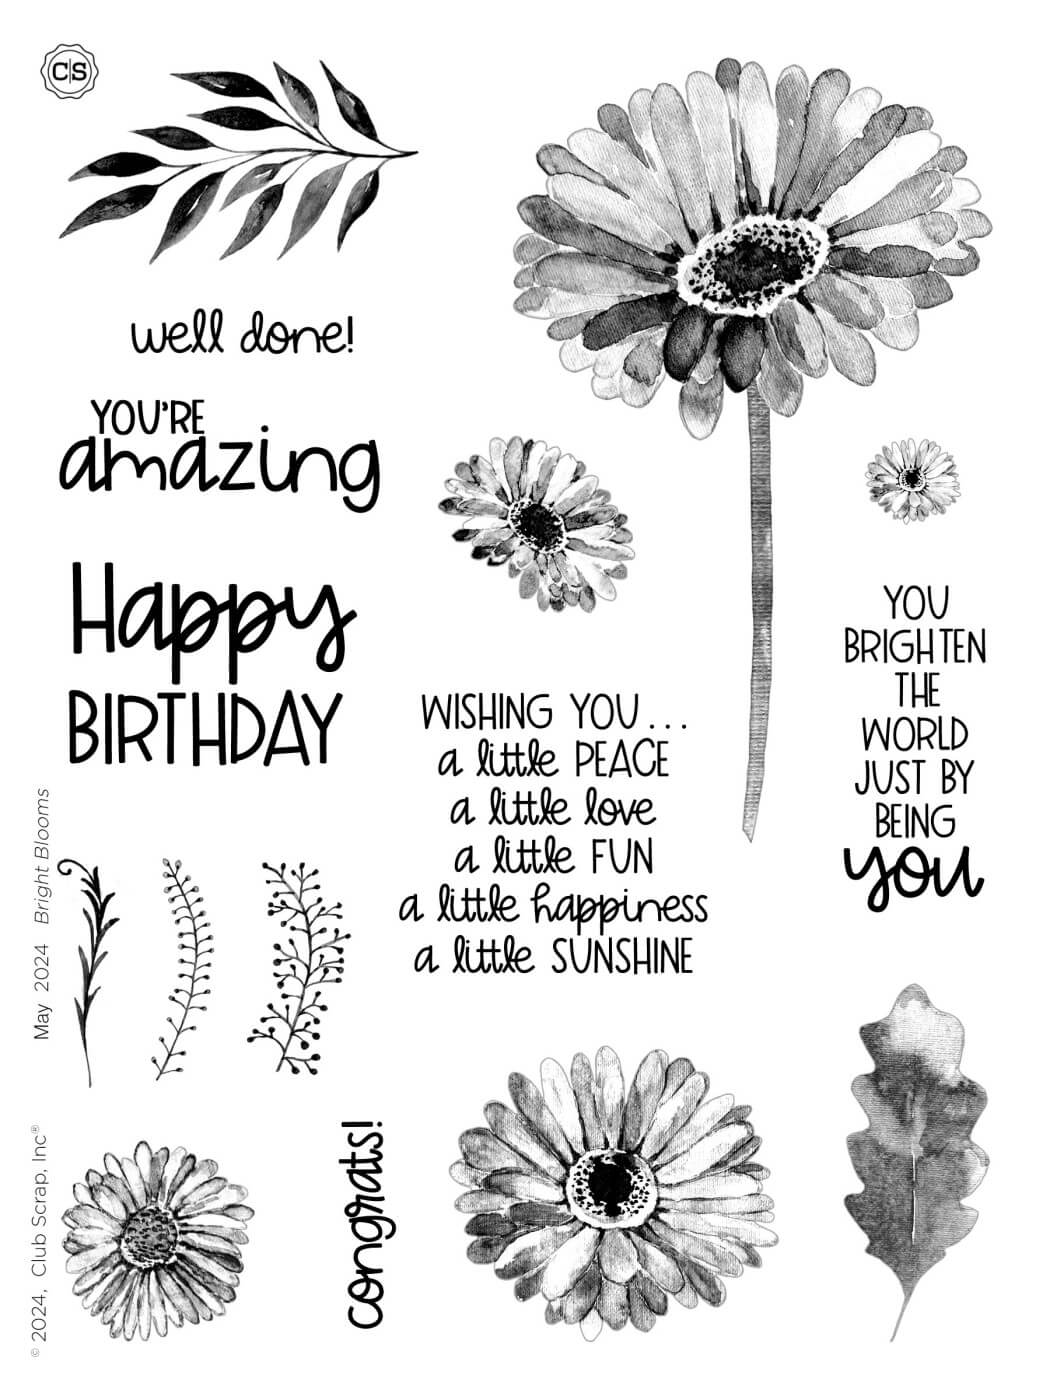
Our premium clear photopolymer stamps are ready to use; no prep is required. The stamp sheet measures 6x8" and includes 16 individual images and phrases. See how Julie made cards with the stamps on our blog: https://clubscrap.com/a/blog/bright-blooms-stamps Deeply etched for… Read More
Bright Blooms Rhinestone Gems
$3.95
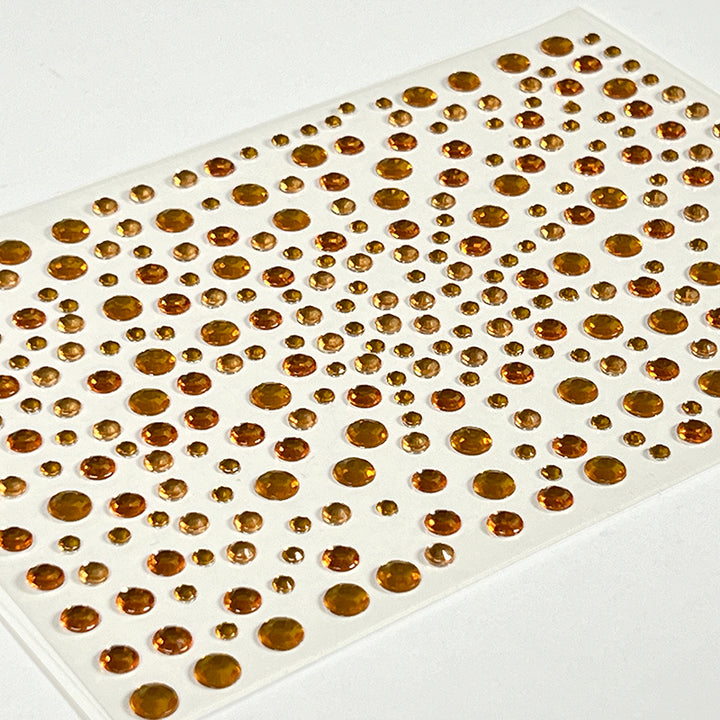
One 4.25x6.25" sheet orange rhinestone gem stickers. Gems range in size from 3-6mm in diameter.… Read More
