The page assembly instructions are helpful, but it's nice to get a more focused view of the Adirondacks layout details. Let's go!

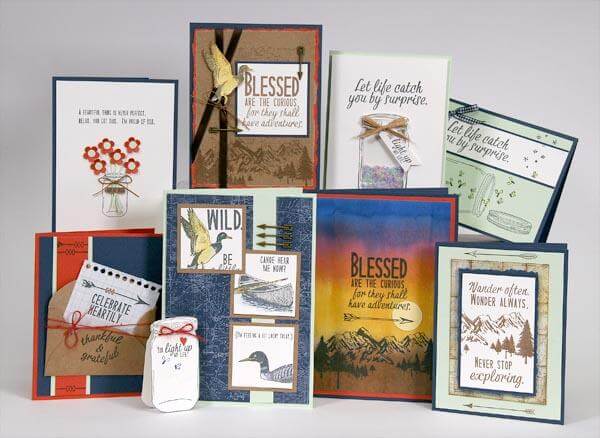
DELUXE LAYOUTS
LAYOUTS 1 & 2
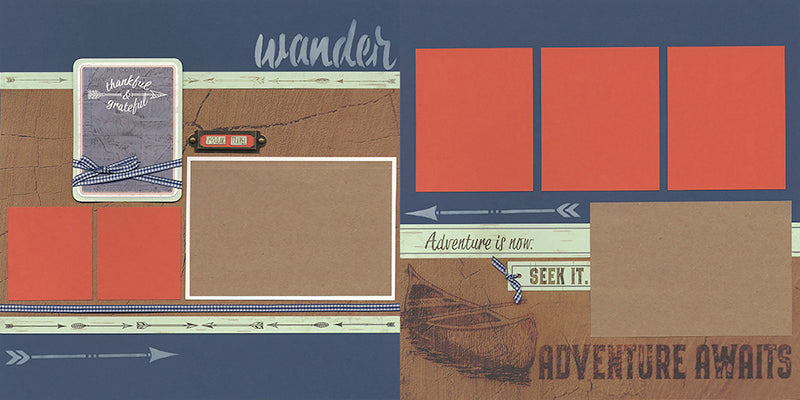
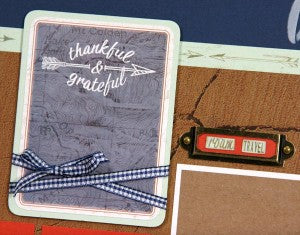
Round the corners of the 3x4" cutapart, wrap twice with gingham ribbon and nest onto a Mint mat. You'll have enough space for a sweet little photo just above the ribbon.
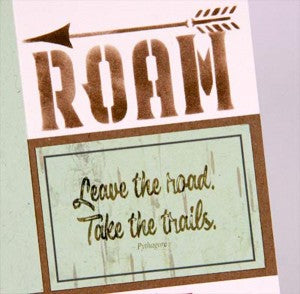
Easily apply a title to the layout with the Arrows & Words Stencil. Simply apply Parchment ink into the openings with a CS® Ink Applicator.

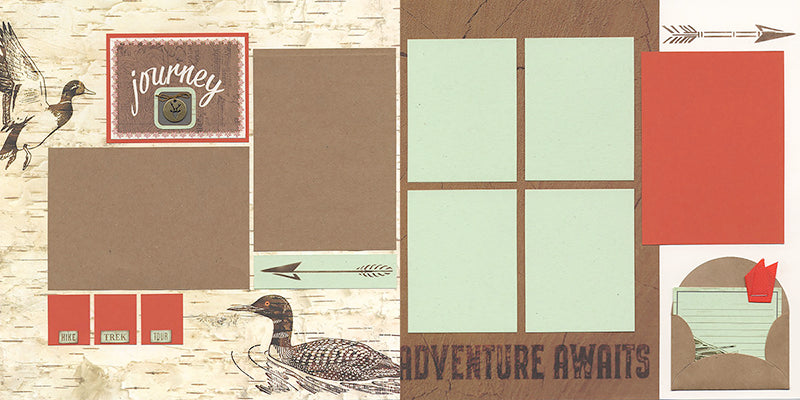
LAYOUTS 3 & 4
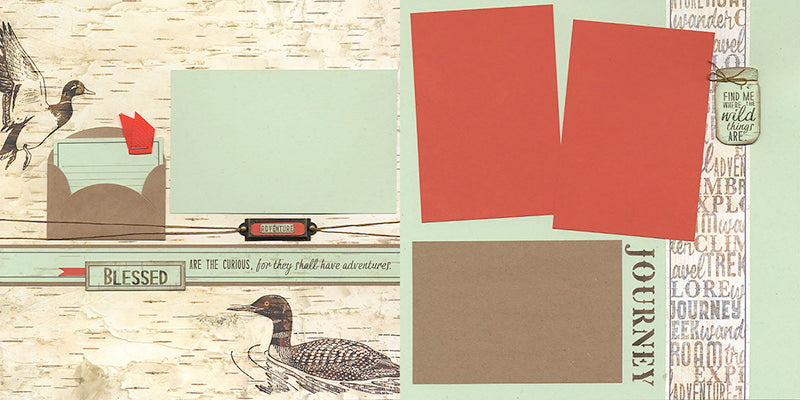
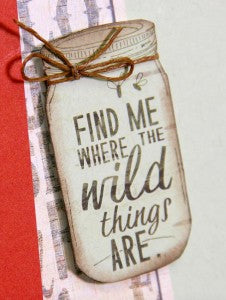
Trim the canning jar from the Mint cutpart, tie a bow around the lid with waxed linen thread, and layer onto the page with foam adhesive.
You might wonder why I have you trimming two tiny pieces of Poppy paper to 1/2x1-3/4". They'll fit perfectly into the bronze frames along with the word caption of your choice. Add waxed linen thread to each side of the frame and attach with mini brads.
LAYOUTS 5 & 6
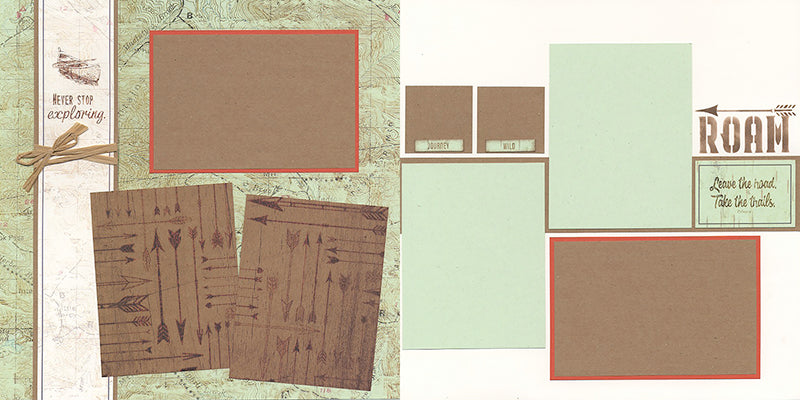
It's fun to create a custom arrow/word combination with the stencil.

You may find it helpful to cover the other stencil openings to prevent stray marks.
LAYOUTS 7 & 8

Talk about an eye-catching page title! Adhere the wood word with CS® Bookbinding Glue in a needle-tipped applicator. If you'd like, stain or paint the wood with the medium of your choice.

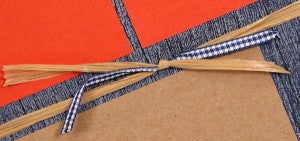
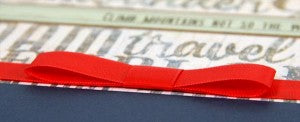
Stretch a piece of raffia across the entire page, and tie a gingham/raffia combo bow onto the raffia.
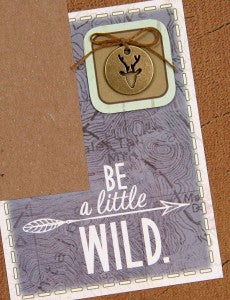
Tie a waxed linen bow onto the bronze deer charm and layer onto a Mint cutapart with rounded corners.
LAYOUTS 9 & 10
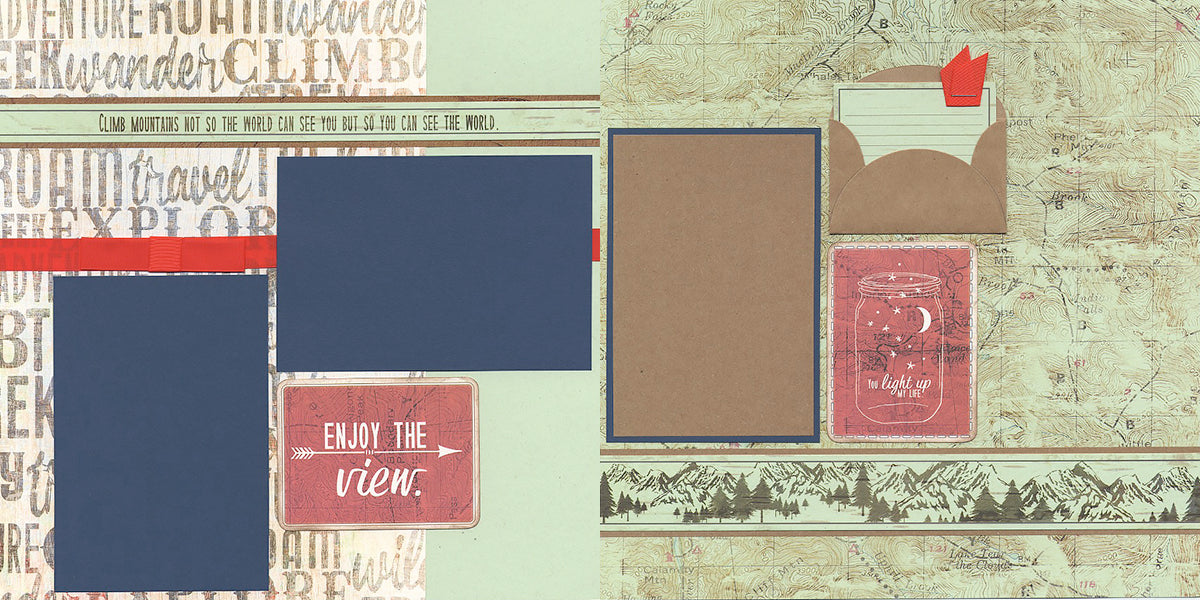
The journaling prompts are sized to fit right into the miniature kraft envelopes. Staple a 2" folded ribbon to the upper right corner of each piece and slide into the envelope.

It's a thing. I see ribbon, and I can't resist making a three-part bow! You may know this by now.
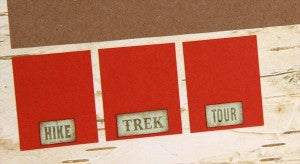
LAYOUTS 11 & 12
Add three little words to the small Poppy rectangles on the lower left corner of the layout.
Stencil a fun arrow combination in the upper right corner with Earth ink.

LAYOUTS 13 & 14
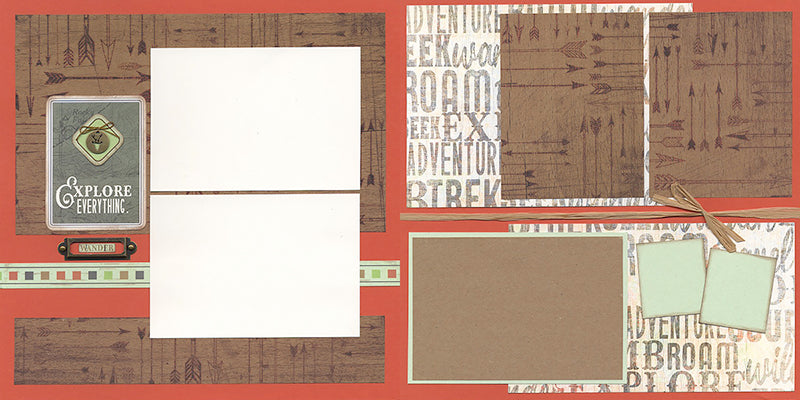
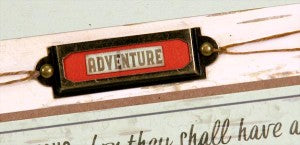
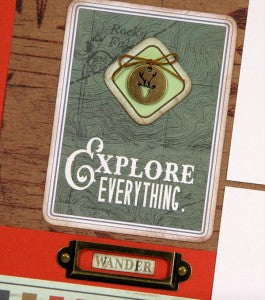
Tie a waxed linen bow onto the bronze charm, center onto the small cutapart frame, and layer onto the "Explore Everything" cutapart. Accent with a brass frame and word caption below.
GREETINGS TO GO
SET A
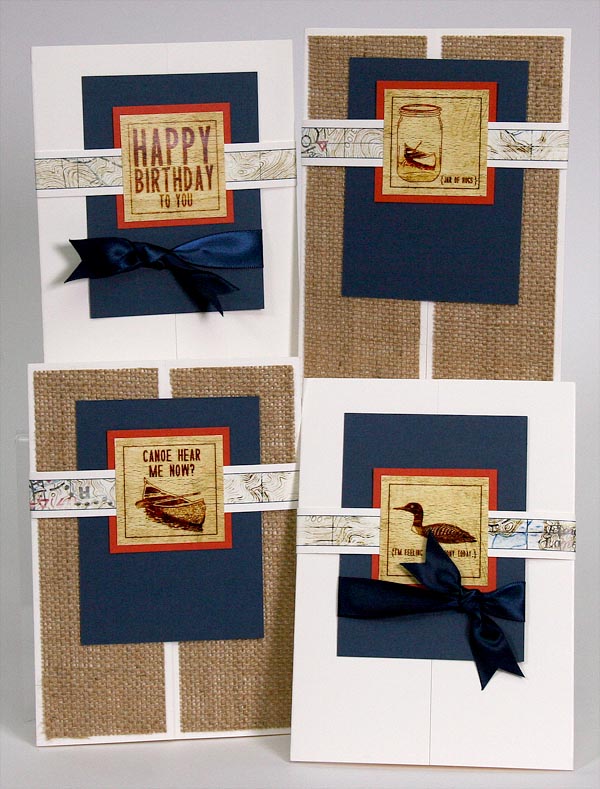
Adhere 2x6" strips of burlap to the front of two gatefold cards and hold everything together with a custom-designed belly band.
SET B
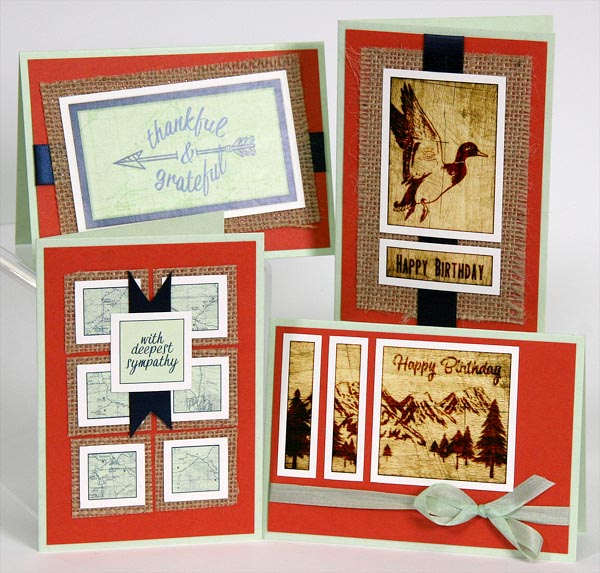
Nest each cutapart square with a square of burlap, and top with a ribbon and sympathy sentiment.

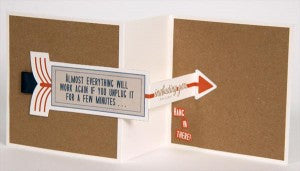
SET C

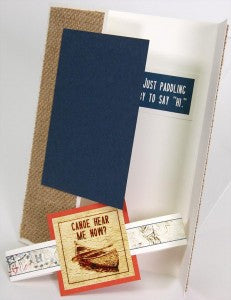
Cut an arrow shape from the cutapart and adhere to the Z-fold card base. The left edge of the arrow is attached to the front panel, and the tip of the arrow is on the inner panel.
It's time for an adventure,
Tricia