We love how easy it is to make a dozen beautiful cards using the
Shibori card kit. However, if you're feeling extra creative, it can be fun to take those cards to the next level!
I was really excited about the
Shibori theme, so I chose to take on the guest artist cards this month.
SHIBORI CARD KIT - GUEST ARTIST CARDS
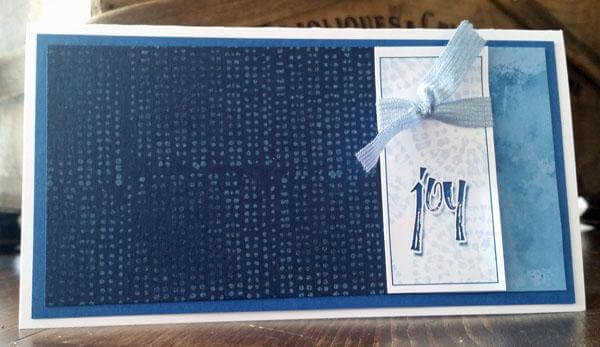
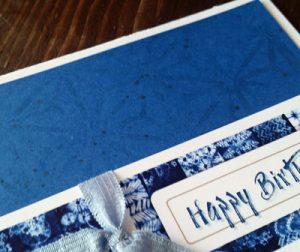
SET A: 5x7" BLUE CARDS
Actually the last one I made, this card features a patchwork of leftover pieces adhered to the inside panel, used on the front of the card.


Dress up the narrow front panel with
Shibori washi tape.
Stamp sentiment onto printed cutapart.


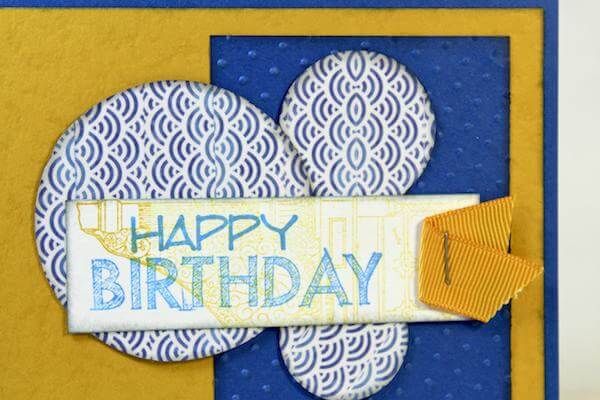
SET B: 4.25 x 5.5" BROWN CARDS
I tried bleach-stamping on the dark blue panels, but the results were less than ideal. Instead, stamp
chevron image in light blue Distress Oxide ink. The opaque ink shows up beautifully on the dark stock.


Load a water brush with white watercolor (I used crayons), and flick over the entire surface of the dark blue panel.


Using Julie's tissue paper dyeing tutorial as a guide, I tried something similar with white dinner napkins. Apply Distress Ink directly to a non-stick craft mat, spritz with water until it pools on the surface. Fold the napkin and dip the folded edge into the pooled ink. Unfold and allow to dry. (You can speed the drying process with a heat tool.) When dry, use Bookbinding Glue to adhere napkin to card panel.

Once the napkin dyeing process is finished, spritz additional water onto the non-stick craft sheet, and swirl light blue panel into the remaining ink to create background.

I just love the
Shibori kaleidoscope masking stencil and couldn't resist incorporating it into my cards. Here I paired the stencil with Distress inks and water.

Before stenciling, use painter's tape to mask off an area for the stamped sentiment, if desired.

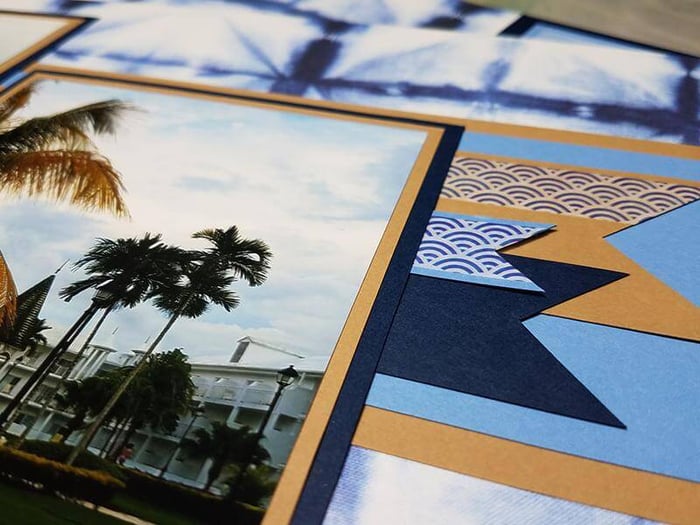
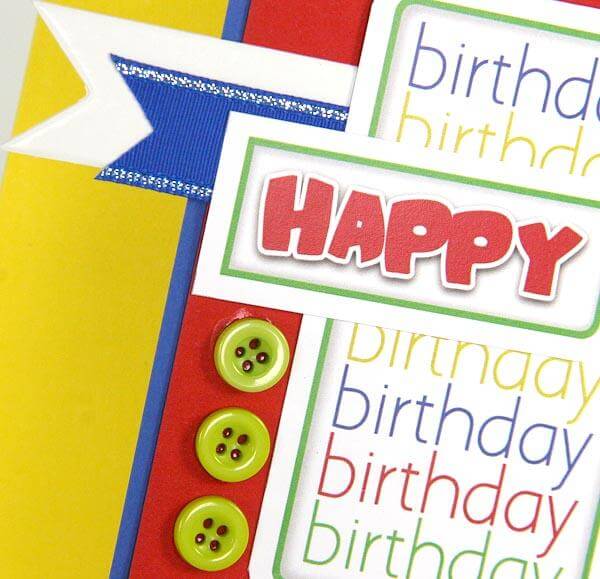
SET C: 3.5 x 6.5" WHITE CARDS
Use leftover panels nested together onto the medium blue card panel.


Distress Oxide ink on dark blue panel.

Place the stencil onto a non-stick craft sheet. Apply ink and mist with water. Press panel into moist ink. Air dry or use a heat tool to speed the process.

Create a mottled background using the dotted block stamp image and Sapphire ink. Stamp image at random, inking between every other impression.


What have you made with the
Shibori collection? Be sure to share your creations (or be inspired by ideas already shared by others) on our private Facebook chat group,
Club Scrap Chat. See you there!
Happy creating!
 SaveSave
SaveSave
SaveSave