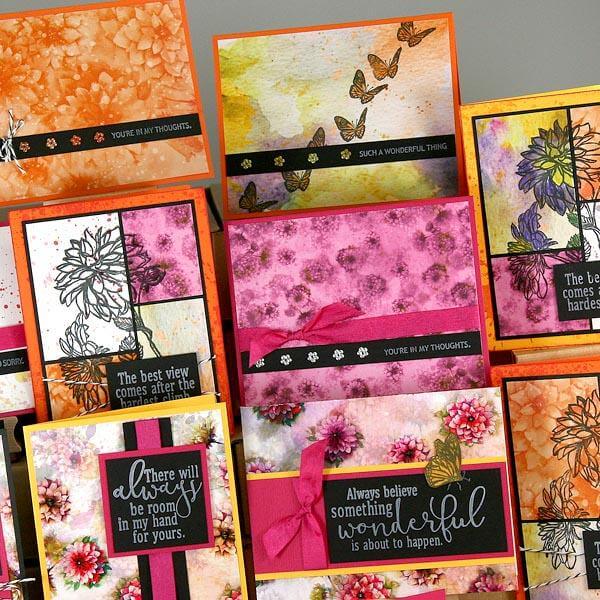
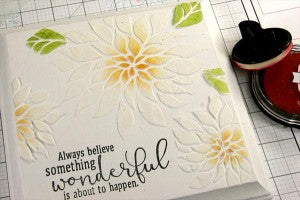
The Dahlia Lite kit included a beautiful and versatile stencil. Before I show you all of the cool stuff you can make, Pin this summary image so you can remember the possibilities!

HOME DECOR
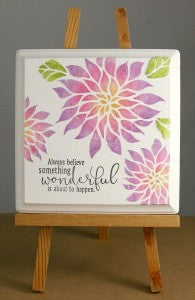
I was cleaning out my basement and found a nifty wood panel. (You'd be surprised what you find when you clean your basement.) I made an elegant wall hanging with just a few basic supplies.
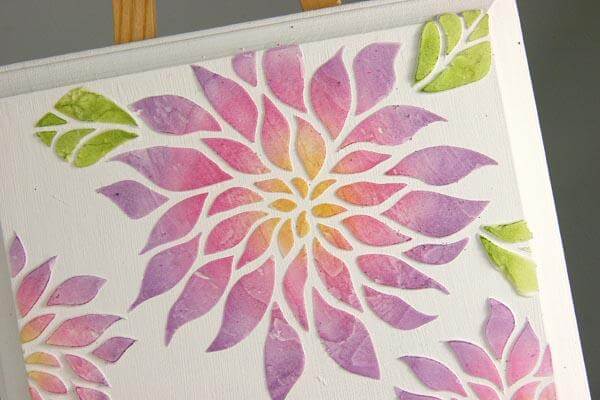
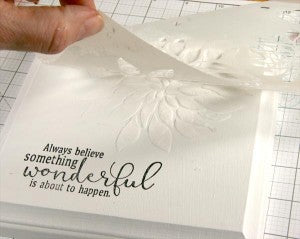
Paint the wood panel with white acrylic paint and allow it to dry. Stamp a sentiment onto the lower left corner of the panel with India Black ink. Position the stencil onto the board and fill the openings with Delta Texture Magic Dimensional Paint. Smooth the dimensional layer with a paper scrap.
Carefully lift the stencil and allow the dimensional paint to dry before adding more dahlias and leaves. Clean the stencil thoroughly.
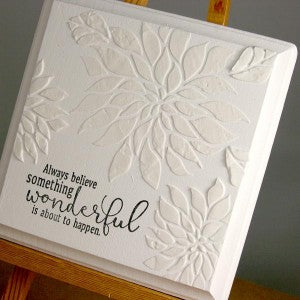
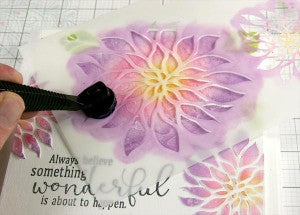
Stand back, admire, and decide if you want to stop there or add color.
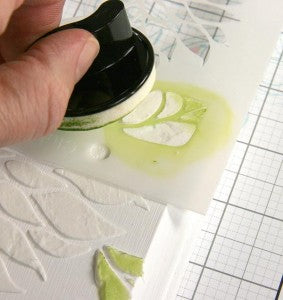
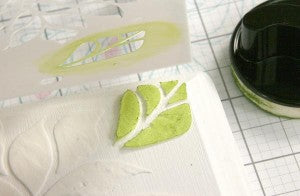
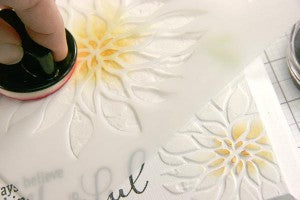
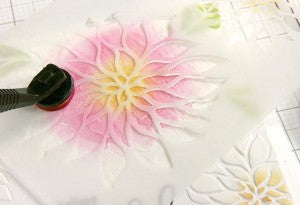
To add color, reposition the stencil over the leaves and flowers, and apply ink with an ink applicator.
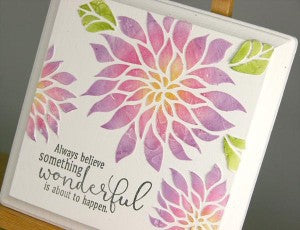
I like this version, too!
Display the board on a wood easel or hang on the wall in your powder room.
GREETING CARD
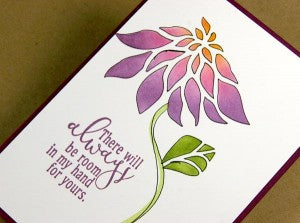
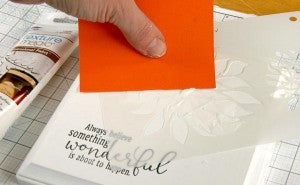
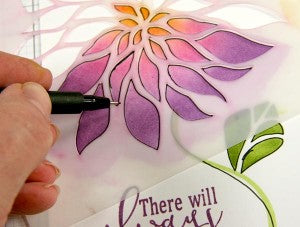
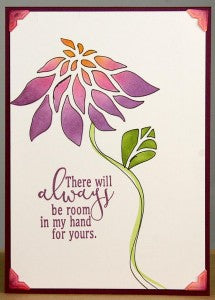
Use a portion of the large dahlia on the stencil by masking an area with painters tape.
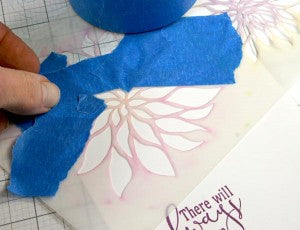
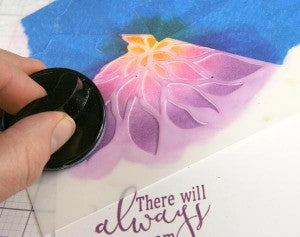
Apply ink to the remaining exposed petals.
Freehand a stem with a marker.
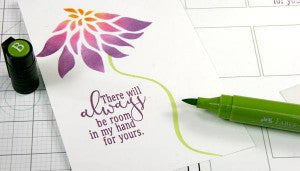
Add a stenciled leaf to the stem and outline the petals, stem and leaf with a fine-tipped marker.
Mat the art panel and adhere to a folded card base.
Pick up the Dahlia Lite kit and stencil in some creative time, soon!
Kay