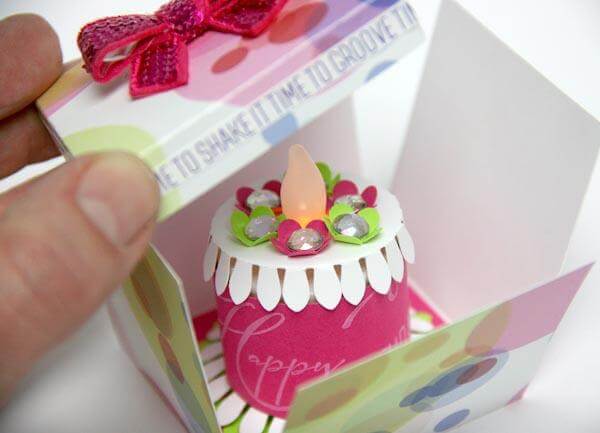
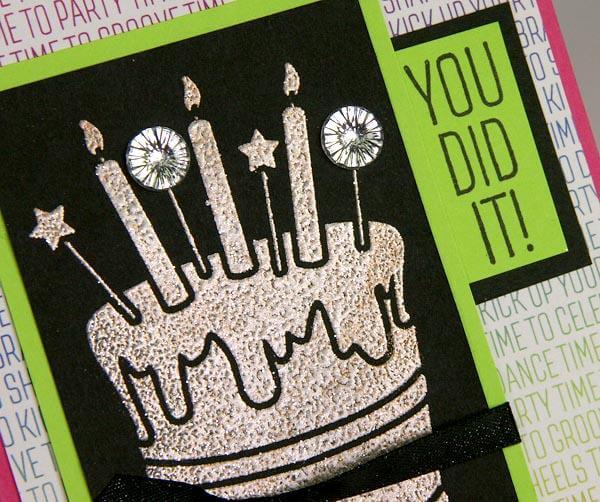
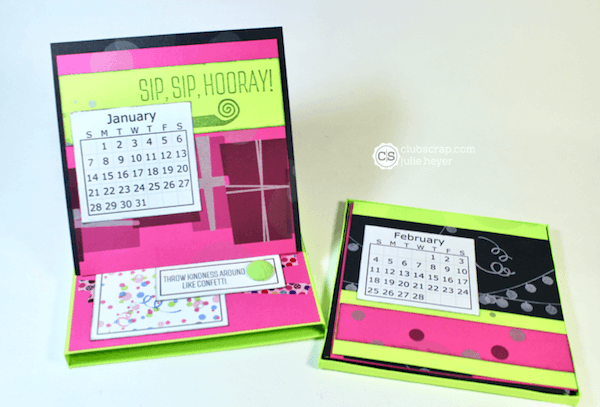
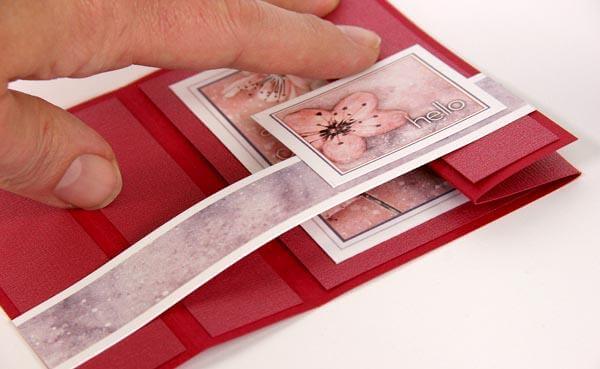
Use your Surprise Club Stamp papers to create an adorable tea light birthday cake nestled inside an explosion box.

This little box gives the recipient a super sweet surprise when the lid is lifted.

The decorated cake top is removable so that the tea light can be turned on and off (or replaced, if needed).
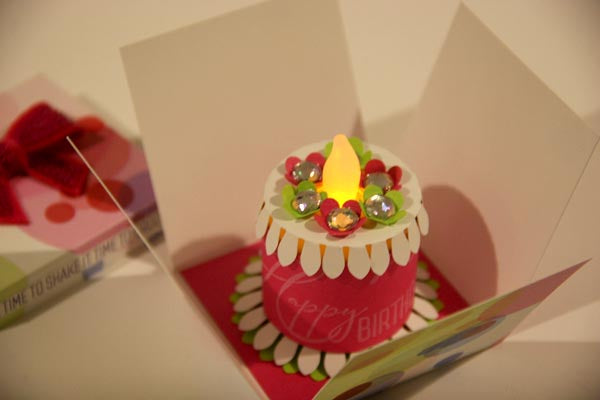
Here's a little tour of the project:
Tea Light Birthday Cake Tutorial
Punch two White 2-1/4" scalloped circles for the cake top and bottom. Assemble a 1/2" tall riser with Book Board scraps. Trim Pink plain at 1-1/4x5-1/2" to create the cake wrap; stamp "Happy Birthday" in White Pigment Ink.
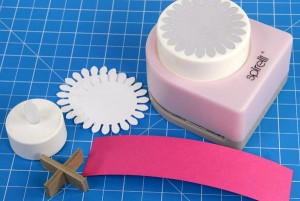
Cut an opening in the center of the cake top for the light.

Bend scalloped edges around tea light.

Glue a mat board spacer onto the center of a Green scalloped circle. Adhere the White scalloped circle over the spacer creating a sandwich to form the cake base.

Bend the Pink cake wrap around the base of the tea light. Glue where the edges overlap. (The wrap should be slightly larger than the tea light to allow for removal.) Adhere the riser to the base with Bookbinding Glue.

Place the tea light inside.

Decorate the cake top with punched mini flowers and gems.

How cute is that?


Cake Box and Lid Assembly
First, score a 7-1/2" square White Club Stamp Print at 2-1/2 and 5", rotate one-quarter turn and repeat.
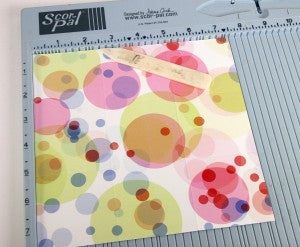
Place an Acrylic Ruler along the score lines and use a Cutting Mat and craft knife to remove all four corners.

Fold along the score lines and burnish with a bone folder.

To create a lid, trim a 3-5/8" square from the White Print, and score 1/2" from all four sides.

Make notches along the score lines as shown to create four flaps.

Glue the flaps in place to form the lid.

It's a perfect fit!
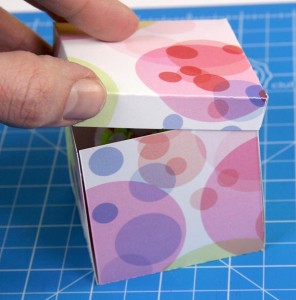
Trim strips from the text quad print to decorate the perimeter of the lid.

Top with a Sequin Bow.

Adhere the tea light "cake" to the box base with Bookbinding Glue.

I can't wait to wish someone Happy Birthday with this adorable project!

Kay

