
The top post of all time on my personal blog (The Efficient Crafter) features the "Envelope Punch Board Tag Booklet" and has almost 25,000 views.

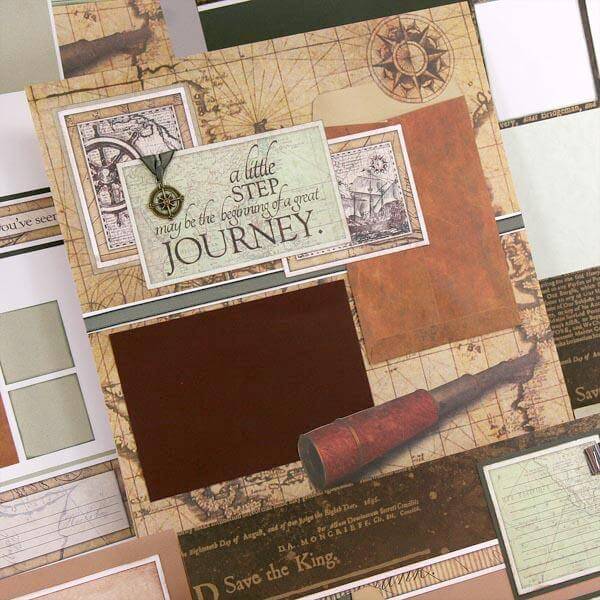
I thought I'd re-invent the project using jumbo and miniature manila tags paired with Navigation papers.

It took about two hours to complete the project. Now that I have a prototype, additional books would take even less time! Here are a few details . . . You'll need an Envelope Punch Board, Crop-A-Dile and Corner Chomper from WeR Memory Keepers, a 12" Paper Trimmer, Club Scrap's Navigation collection, and basic bookbinding supplies to create this project. Trim eight 12x12 sheets of Navigation papers (prints/plains) to 9.25x9.25". Save the paper scraps for decorating the book. Follow the punching and scoring instructions for the 4.5x7" envelope. (Make the first punch and score at 3.75".)

Save time by using the Corner Chomper to punch the outside corners of several sheets of paper at a time. Alternatively, use the corner punch on the board.

Tuck in the short flaps and adhere the long flaps to seal the eight envelopes.

Trim each envelope horizontally at 7" to create a pocket opening.

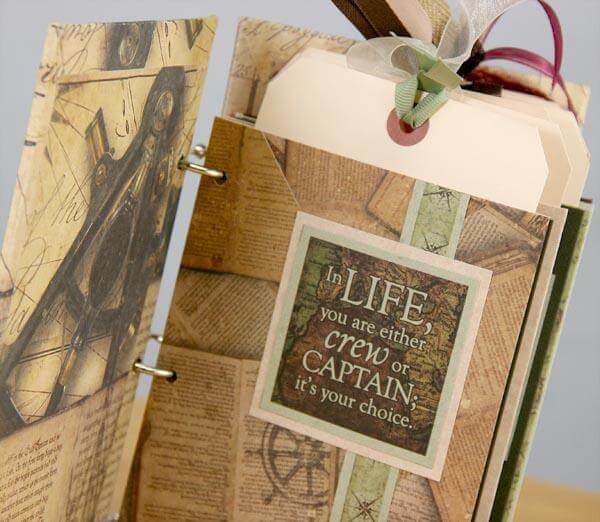
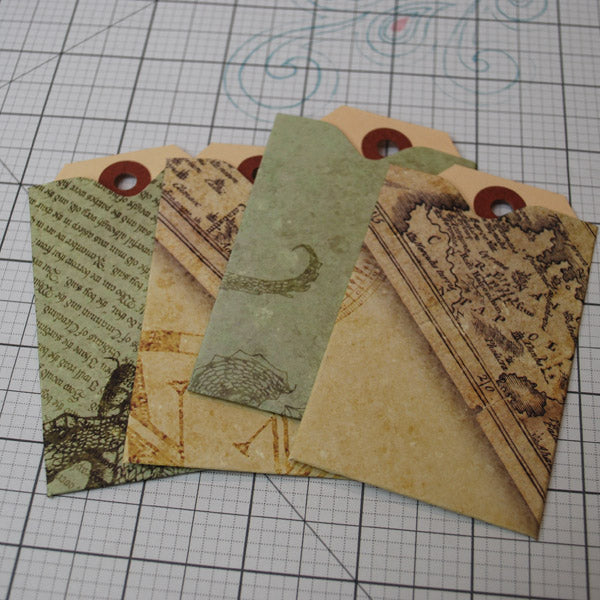
Insert a jumbo manila tag (4x8") into each envelope. If desired, substitute 4x8" papers for the tags.

Measure and mark holes for punching .25" from the left edge of the envelope at center and 3/4" from the top and bottom edges. NOTE: Our handy 2x8" Grid Ruler is back in stock and the perfect tool for the job!

Mark the location of the punched holes on the remaining envelopes and punch with the 3/16" setting on the Crop-A-Dile.

Trim two sheets of 8.5x11 Navigation Prints into four 5x5" squares. Follow the punching and scoring instructions on the Punch Board to create four 2x3.5" envelopes. (Make the first punch and score at 2".) Use a paper trimmer to remove one short seam from each envelope to create a pocket opening. Center the trimmed edge into the punch board and punch to make a thumb hole. Insert a 2x3.74" Manila tag or paper into each envelope.
If you desire a hard cover for the tag book, trim two pieces of mat board or book board to 5x8.25". Wrap the boards with two 7x10.25" Tan Parchment Prints on the outside, and two 4.25x7.5" Tan Parchment Prints on the inside. For best results, adhere papers with Bookbinding Glue.

Punch holes into the wrapped covers to align with the punched holes in the envelopes. Thread the covers and pages together with binding rings.

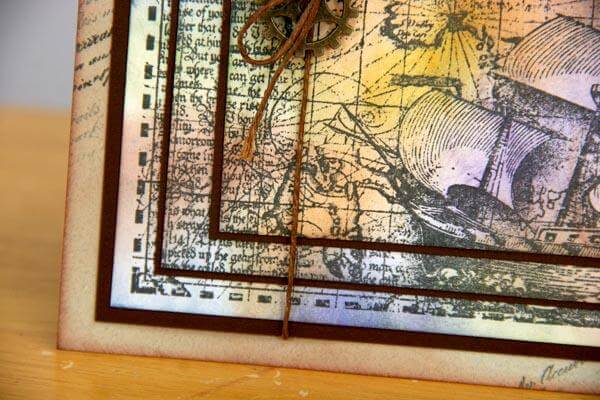
Top the manila tags with coordinating ribbons or fibers and decorate the book/tags with paper scraps and cutaparts.


I hope you enjoyed my re-take on this project. Pick up your Navigation supplies today and make one of your own!
Tricia