
It's time to revisit an awesome "Tricia technique!" Check out the video tutorial HERE to refresh your memory.

I thought it would be fun to switch things up a bit and give it a try with the Blueprints Kit, Gelatos, and white acrylic paint.
Let's get started!
1. Scribble several colors of metallic and/or regular Gelatos on a non-stick craft mat, or in my case, the plastic bag that held my embellishment pack.

2. Spray the Gelatos with a heavy misting of water.

3. Lay a piece of white paper (mine measures 4.5x6") on top of the wet Gelatos, press firmly.


Repeat with additional art panels, and heat set to dry.

4. Stamp the papers multiple times with the Blueprints spiral staircase image, rotating the stamp as you go. *Tip: Stamp without re-inking to create different intensities of color for each image.


5. Lay the Blueprints masking stencil over the papers. 6. Paint a generous amount of white acrylic across the artwork. I allowed the outside edges of the brushstrokes to show on some of the panels.


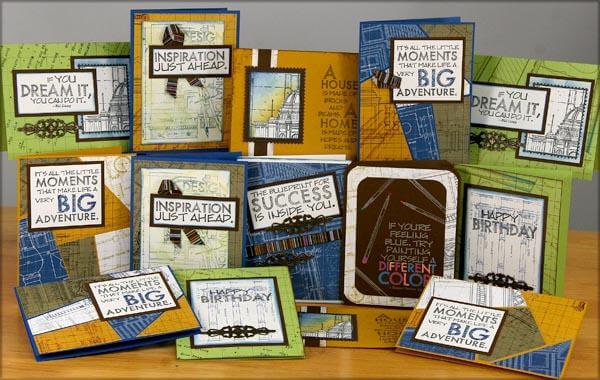
7. Carefully remove the masking stencil and wash the paint from the stencil while you allow the panels to dry. The finished art pieces will be perfect for card panels and page embellishments.
 

Do you have a favorite Club Scrap blog post you'd like to revisit? Share it with me in the comments section, and let's do a re-design!
Julie