
Create the look of a soft flannel shirt with this inked plaid tutorial.

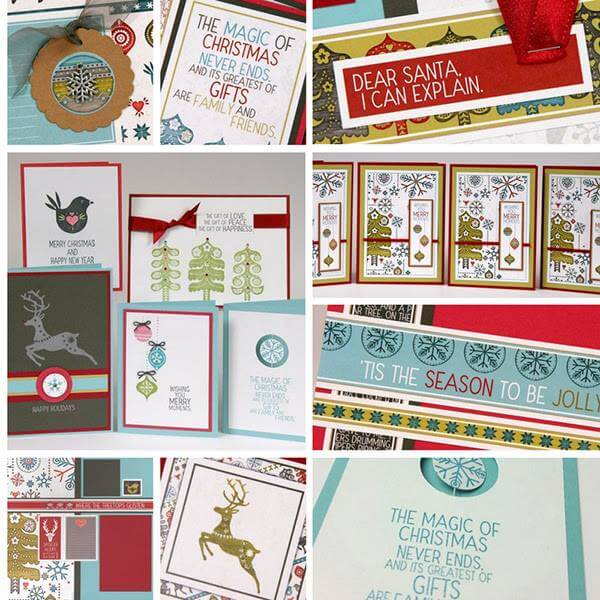
Plaid has certainly made a huge comeback in recent years. I have noticed so many holiday cards and crafts featuring the classic fabric design. I saw this gorgeous card on Pinterest and was inspired to create my own plaid background paper.

Inked Plaid Technique -

- Add perpendicular lines of Candied Apple Distress Oxide Ink with a copy paper mask and sponge onto 4-3/4x6-3/4" Scandinavia Pink paper.
- Continue adding lines in various sizes.
- Add more perpendicular lines with Black Soot Distress Ink until the desired look is achieved.
- Draw intersecting lines with a gold glitter gel pen and a 2x8 Acrylic Ruler.
- Add more intersecting lines with a black fine tipped Sharpie Marker.
- Spritz the paper lightly with water and allow to dry.
Card Assembly -
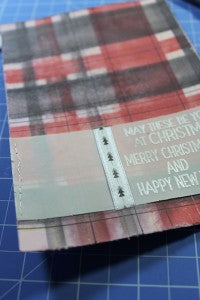
Stamp a Scandinavian Holiday Jumbo UM greeting onto a 2x4-3/4" vellum strip with Versamark Ink.
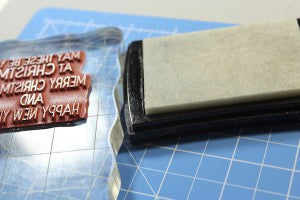
Sprinkle with white embossing powder.
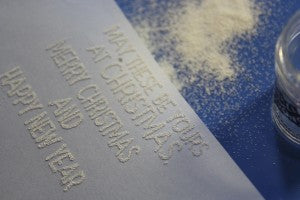
Heat to melt the powder. Note: Vellum will warp if overheated.

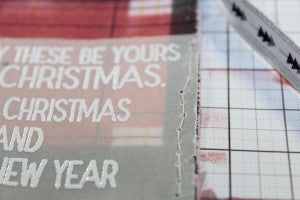
Roughen the edges of the plaid panel and vellum with a Paper Distress tool.
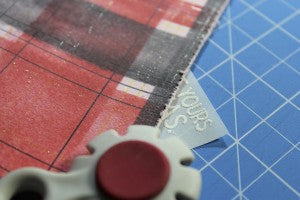
Hand stitch the vellum onto the plaid panel with a needle and white thread.
Adhere a piece of Scandinavia Pine Washi Tape onto a 5" strip of Scandinavia silver ribbon.

Cut small slits above and below the vellum next to the greeting with a Folding Utility Knife.
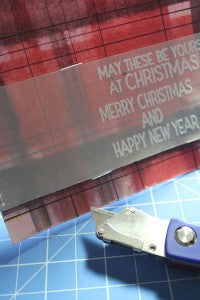
Slide the ends of the ribbon into the slots and adhere to the back of the panel with tape.
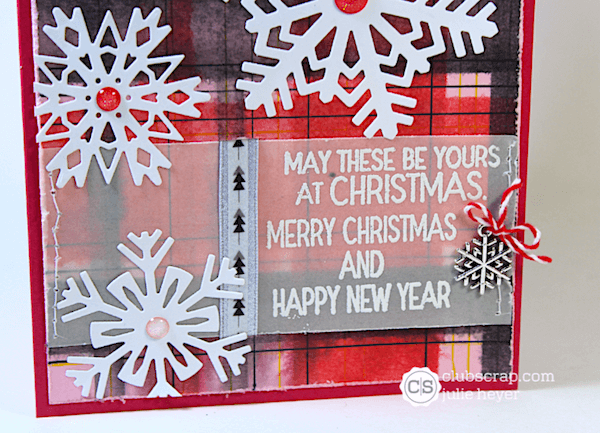
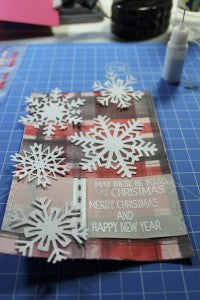
Die cut Sizzix Thinlits snowflakes out of Scandinavian Holiday white paper.

Adhere the snowflakes onto the panel with Bookbinding Glue dispensed from a Needle-tipped Applicator.
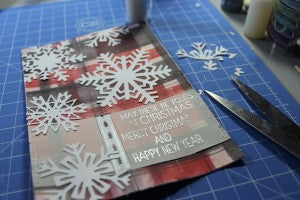
Trim the overhanging snowflakes from the edges of the plaid panel with scissors.
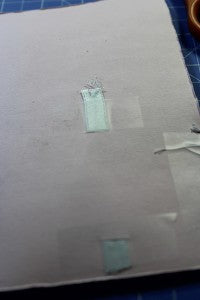
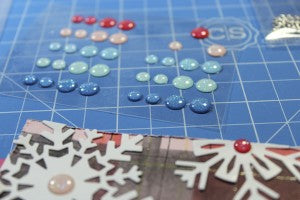
Adorn the center of each die cut snowflake with a Scandinavia Lite Sparkle Dot and adhere the panel to a 5x7" Scandinavian Holiday Berry folded card base. Glue on a snowflake charm tied with a piece of baker's twine next to the greeting.
Let's take another look at the finished card.
 Want to learn more plaid techniques? Visit these posts and video for more ideas and inspiration. Digital Plaid - with Ron Club Scrap Essentials: Plaid Stamping - with Tricia Scandinavian Holiday Blog Hop - with me (Julie) Happy Holidays!
  Julie
Julie