Create a homemade stencil with basic supplies and the Daffodils Hybrid Kit.
Homemade Stencil Tutorial
Working with the Hybrid kit elements in iScrapbook:
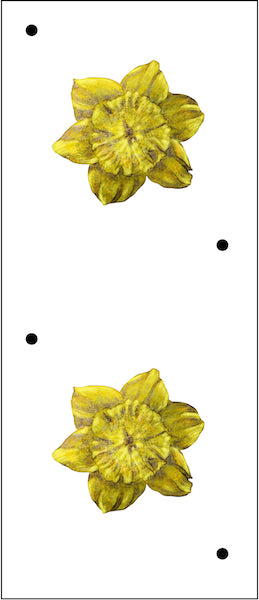
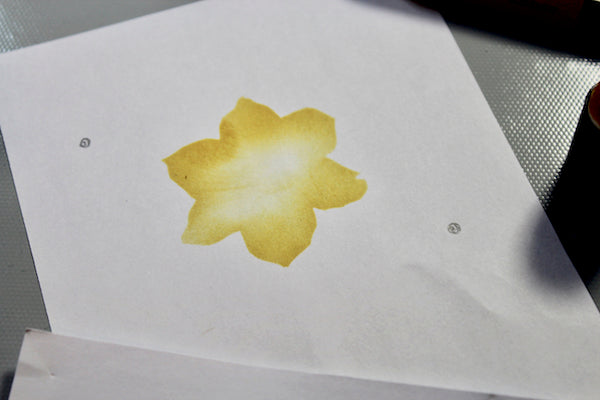
Select the file containing the daffodil blossom from the Hybrid kit and place onto an 8.5x11" blank document. Crop out the single daffodil image. Add two black dots to either side of the blossom as shown below.

Select all of the images in this set and duplicate them. Select the duplicated images as a group, and drag them under the first set of images. Note: Do not adjust the size of the second set of images. They must remain identical.

Print this image onto standard printer paper. Note: The stencil will last through several ink applications and is intended to be disposable.
Cutting the stencil:
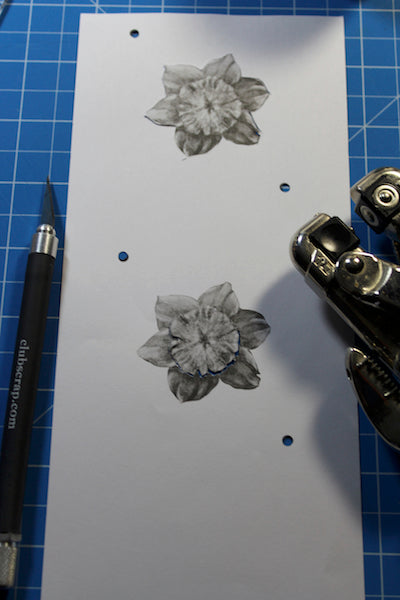
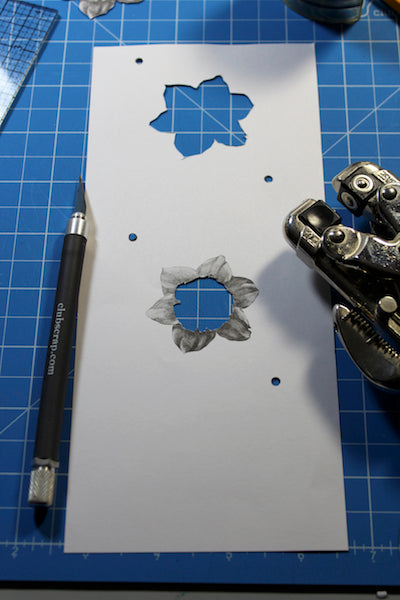
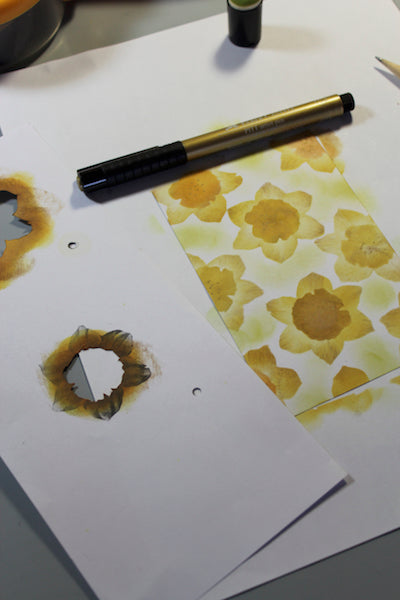
Trim around the perimeter of one daffodil and the center of the second image with a craft knife on a cutting mat. Remove the black dots with a 1/8" hole punch.
Working with the stencil:
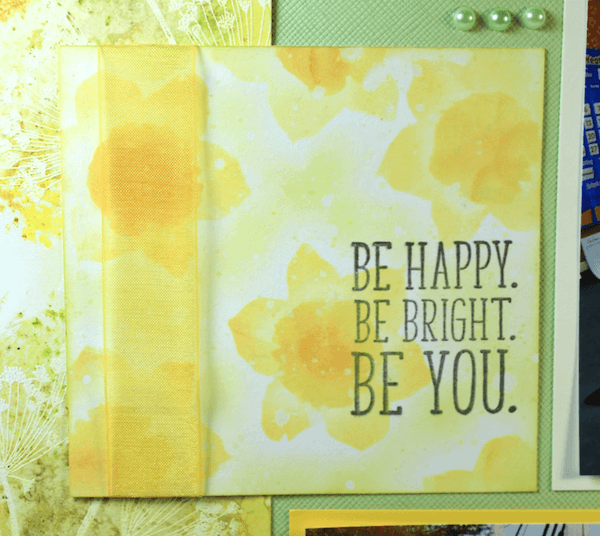
Lay the stencil onto paper and pull ink carefully from the edge of the stencil into the open areas. Make light pencil marks in the punched holes.
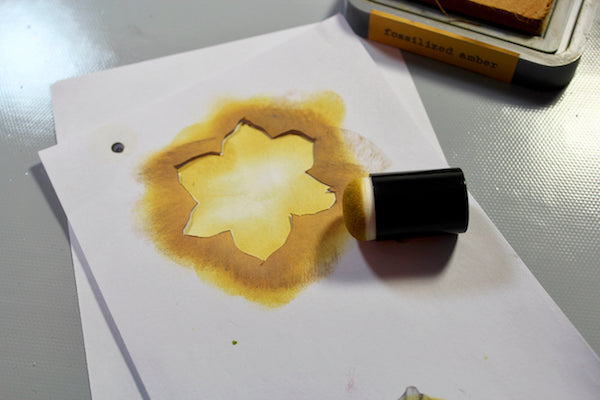
Slide the stencil to align with the second set of punched holes. Apply ink to the daffodil center. Remove the stencil and erase the pencil marks.
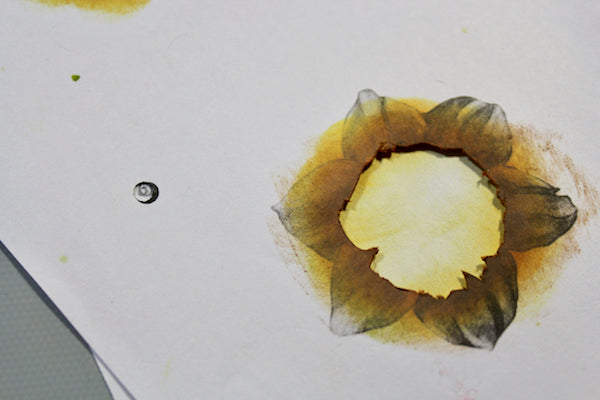
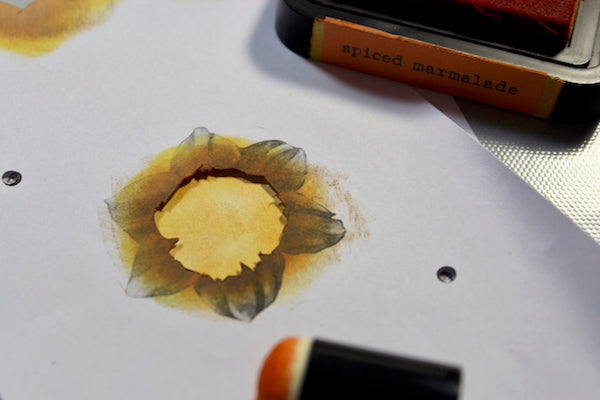
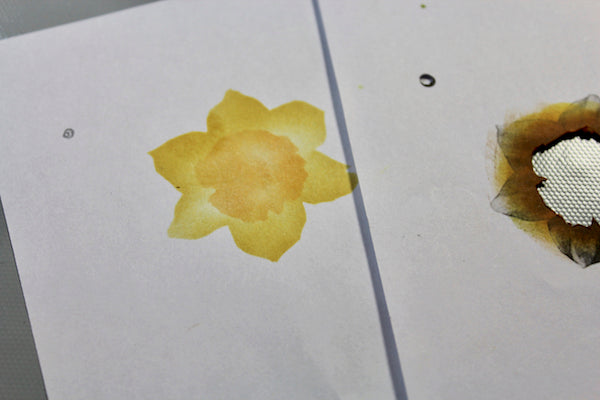
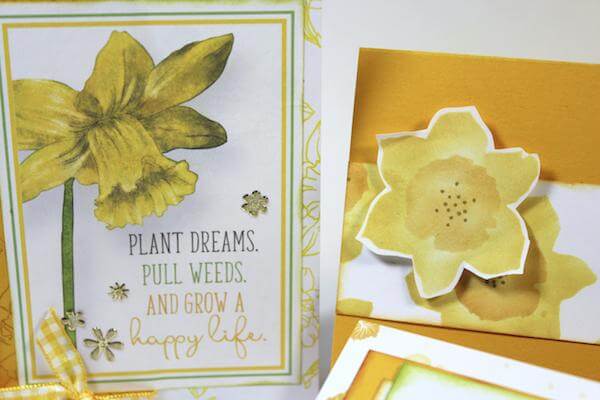
Repeat the process to create as many flowers as desired. Draw in dots in the centers of each daffodil with a Gold Pitt artist pen.
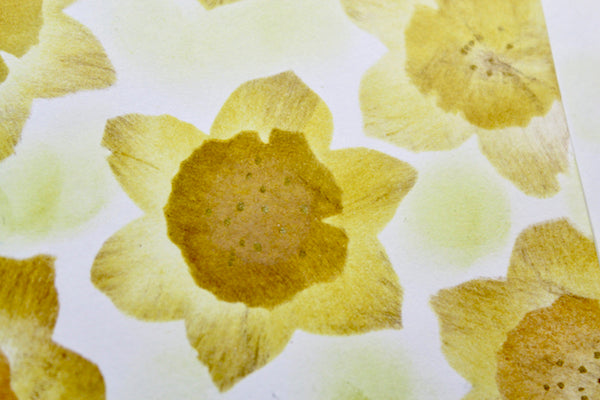
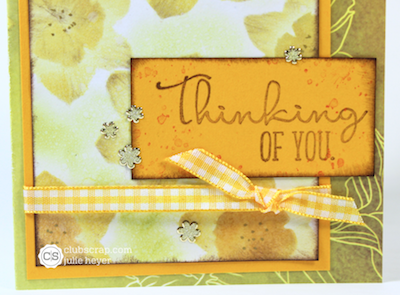
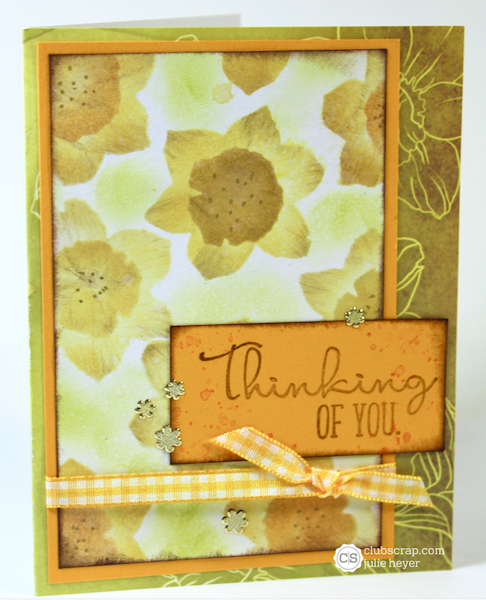
Adhere the stenciled panels to a card and scrapbook page.

For more Hybrid kit ideas visit Karen's Daydreams and Diversions Blog.
Happy Creating!
 Julie
Julie
