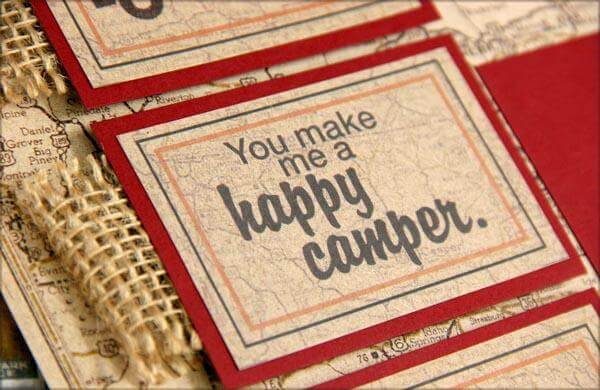
It's no secret how much I enjoy the Club Stamp quad print included in each Club Stamp Kit.

While its original intended purpose is for quick and easy card panels, today I'm using it for an 8.5 x 11" scrapbook layout.

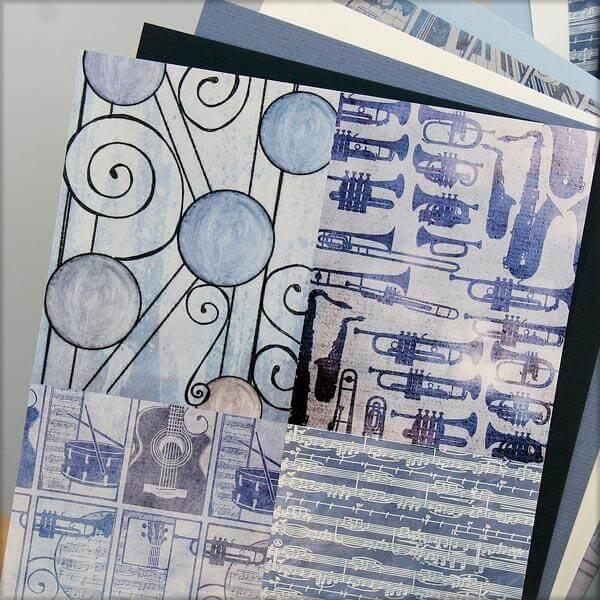
Below, on the left is the paper before, and then on the right, after the "paper makeover".

Here are the steps to create your own quad print make-over:
1. Trim the print vertically at 4.25".

2. Cut each 4.25x11 horizontally at 5.5".

3. Trim each 4.25x5.5 rectangle into four equally-sized pieces measuring 2-1/8x2-3/4".

4. Apply adhesive to an 8.5x11" sheet of Navy Plain, and attach the rectangles to the base paper in an alternating pattern.

5. Trim 1/8" from each outside edge and layer the art panel onto a second 8.5x11" Navy sheet.

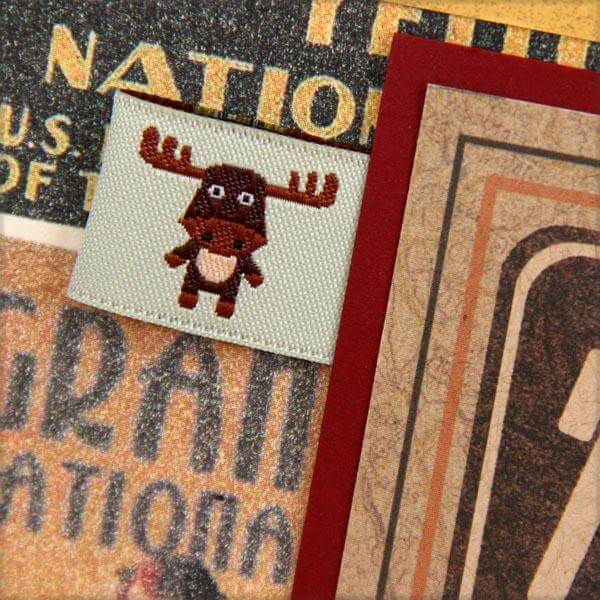
6. Finish with a matted photo and embellishments of your choice.

The pieced-together print makes for an interesting background.

I hope you enjoyed your Club Stamp Print makeover. Thanks for stopping by!
Kay at Club Scrap