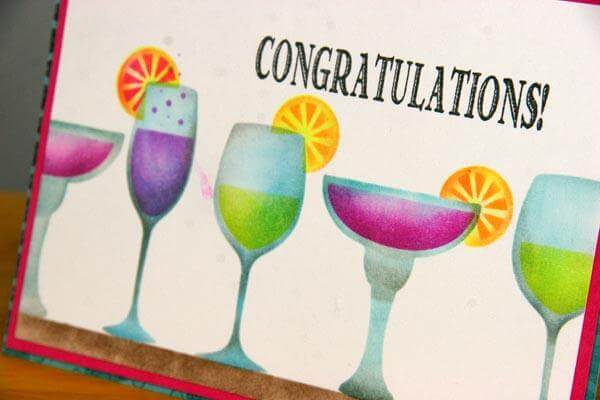
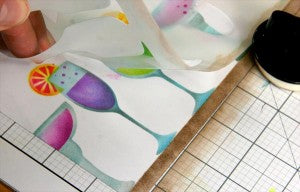
The Party Time Stencil included in the Cantina Deluxe kit is an "overlay" stencil. The elements of each image are separated so you can customize the color of each layer and build them to make the beverage (or banner) of your choice!
Follow these steps to make this fun "congratulations" card!
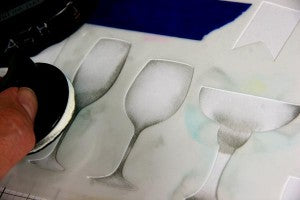
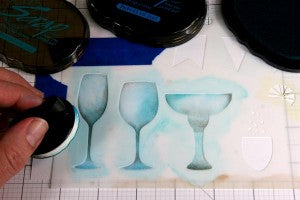
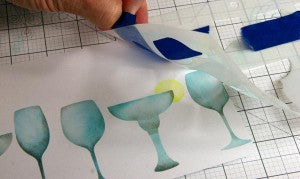
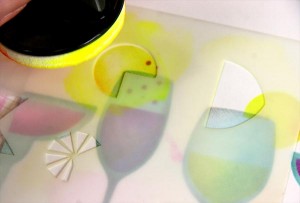
1. Stencil the glass images onto a 4.75x6.75" White panel with CS Ash Ink and an Ink Applicator.
2. Add highlights to the glasses with CS Lagoon ink.
3. Remove the stencil and pat yourself on the back. Looking good so far! 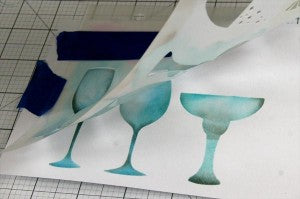
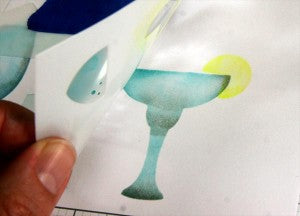
4. Add the lemon slice to the margarita to ensure proper spacing between the glasses before adding another set to complete the row.
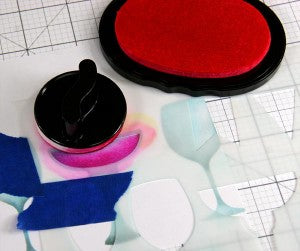
5. Reposition the stencil and add more glasses to complete the row. You may find it helpful to secure the stencil with removable tape.
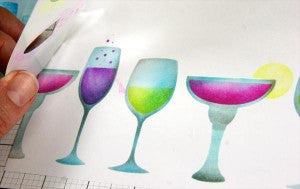
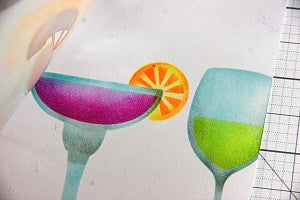
6. It's time for the fun part . . . filling the glasses! Match the appropriate "fill" for each glass shape and ink with the color of your choice.
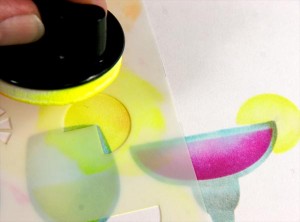
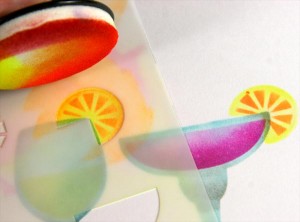
7. Add more lemon slices with Neon Yellow Ink. Flip the stencil to reverse the direction of the lemon slice.
8. Add the citrus segment layer to the lemons with Neon Orange ink.
9. Add more definition to the wedge by placing the open stencil over the image. Stencil a little more orange ink over the yellow.
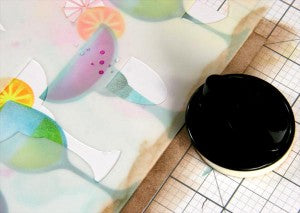
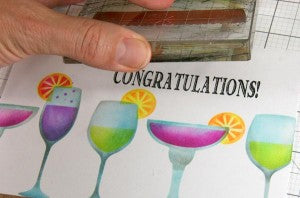
10. Use the straight edge of the stencil as a mask. Place the mask over the glasses and sponge Earth ink onto the bottom edge of the panel to create a "tiki bar" for the glasses. (All of our stencils have this built-in mask feature.)
11. Rubber stamp the "Congratulations" image from the UM Greeting.
12. Give to a worthy friend celebrating a fun occasion!
I hope you enjoy this super-fun stencil. Thanks for stopping by for my little happy hour!
Kay
