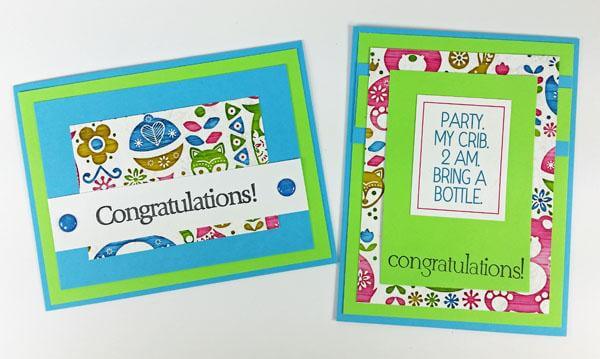
When I first saw the A Baby is Bjorn collection, I knew it would make adorable greeting cards. Well, it's taken me a while, but I finally got around to it!

Rather than make all cards or all pages, why not mix and match cutting formulas to make a few of each? With just a bit of tweaking, it's easy to transform A Baby is Bjorn into four pages and eight greeting cards! To get started, set aside the following papers: two White Pattern Prints, two Blue, one Pink and one Green Plain. We'll get to those later.
INSTRUCTIONS TO MAKE FOUR PAGES
1. Download A Baby is Bjorn instructions.
2. Trim Cutparts according to the diagrams. File only pieces intended for Layout 3 & 4 and 7 & 8. Set remaining Cutapart artwork aside.
3. Cut one White "Bear" Print as shown in the instructions.
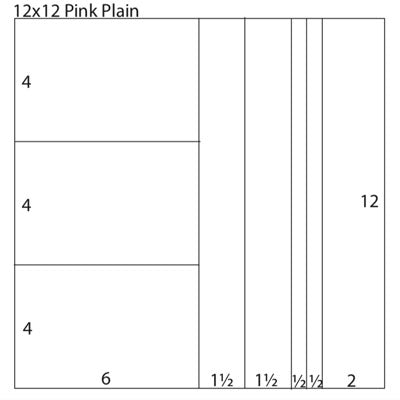
4. Trim one Pink Plain at 10, 9.5, 9, 7.5, and 6". Trim the 6x12 horizontally at 8 and 4”.
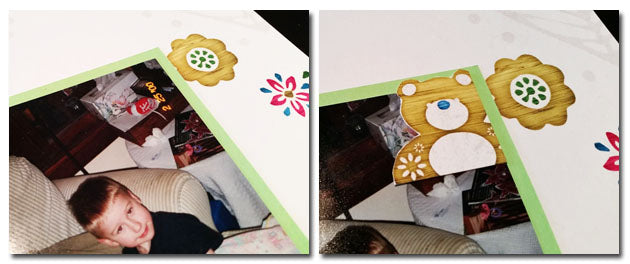
5. Follow page assembly instructions for Layout 3 & 4.

Note: These photos had the date pre-printed on them, which is nice as a reference, but not all that attractive. Cleverly conceal the dates with Cutapart artwork.
6. Assemble Layout 7 & 8, substituting two pink 4x6 for the green shown in the sample. Use the remaining 1.5 x 12" pink plain to mat the "smiles" border strip (optional).

INSTRUCTIONS TO MAKE EIGHT GREETING CARDS
1. Download Tricia's 12x12 Bonus Card Formula.
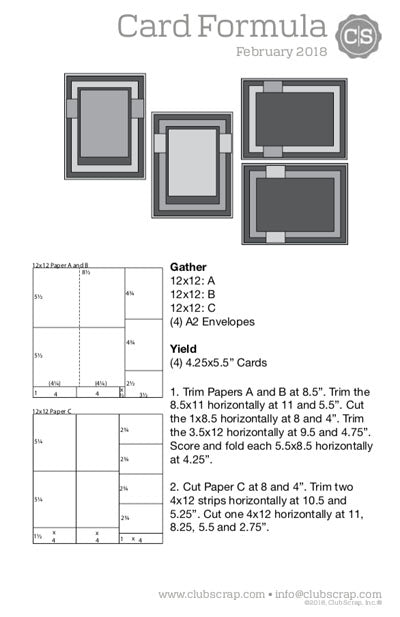
2. Assign three of the six 12x12 papers you set aside earlier as paper A, B and C.
3. Trim papers according to instructions and assemble cards as shown.
4. Decorate with remaining ribbons, Cutaparts, and embellishments from the collection. Add stamped sentiments as desired.
Card Set #1:
Paper A = White Pattern PrintPaper B = Pink Plain
Paper C = Blue Plain
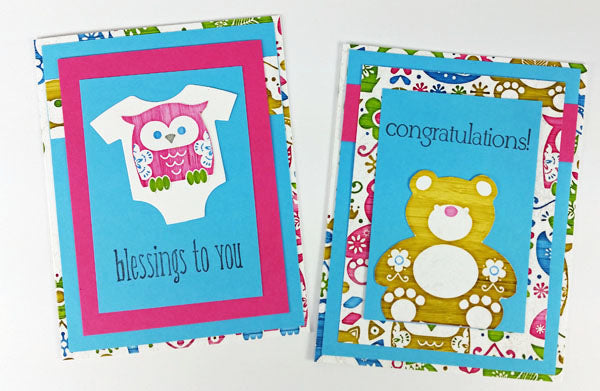
Fussy-cut owl and bear images from A Baby is Bjorn Cutaparts.
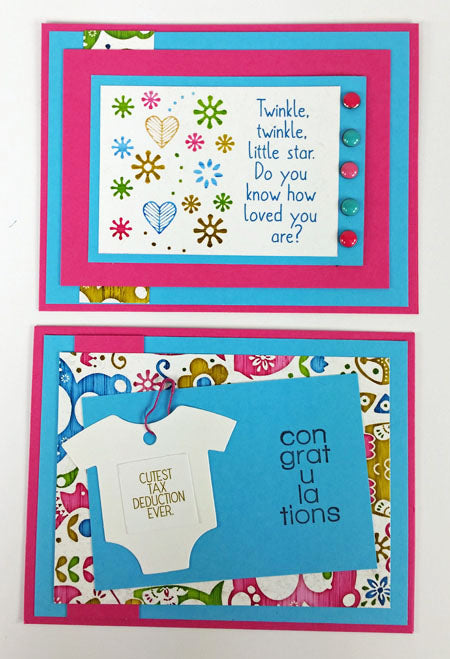
Card Set #2:
Paper A = White Pattern PrintPaper B = Blue Plain
Paper C = Green Plain
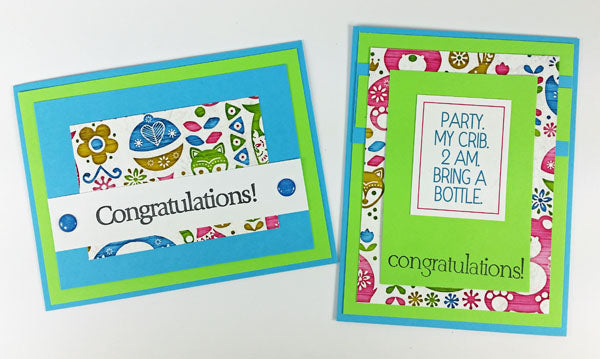
Trim owl from center of white print panel. Adhere to Onesie tag.

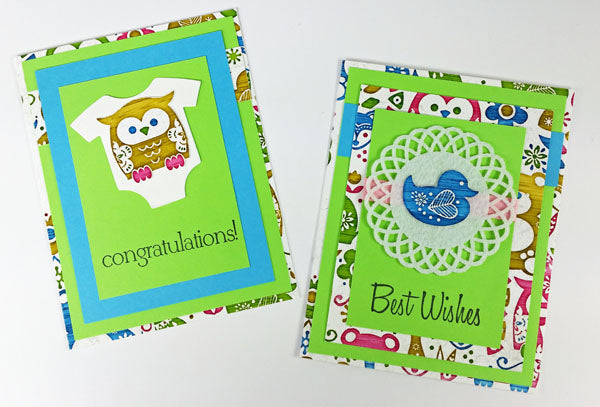
Mix and match page and card formulas with any of our Page or Special Edition kits for similar results. Happy crafting!
