
The fun part about the Shades of Winter kit is that you can infuse absolutely any color of your choice. (I tend to call these collections "photo eaters," because nearly anything you have in your stash will work beautifully.) Scroll down to learn more about layout and card assembly . . .
SHADES OF WINTER DELUXE KIT
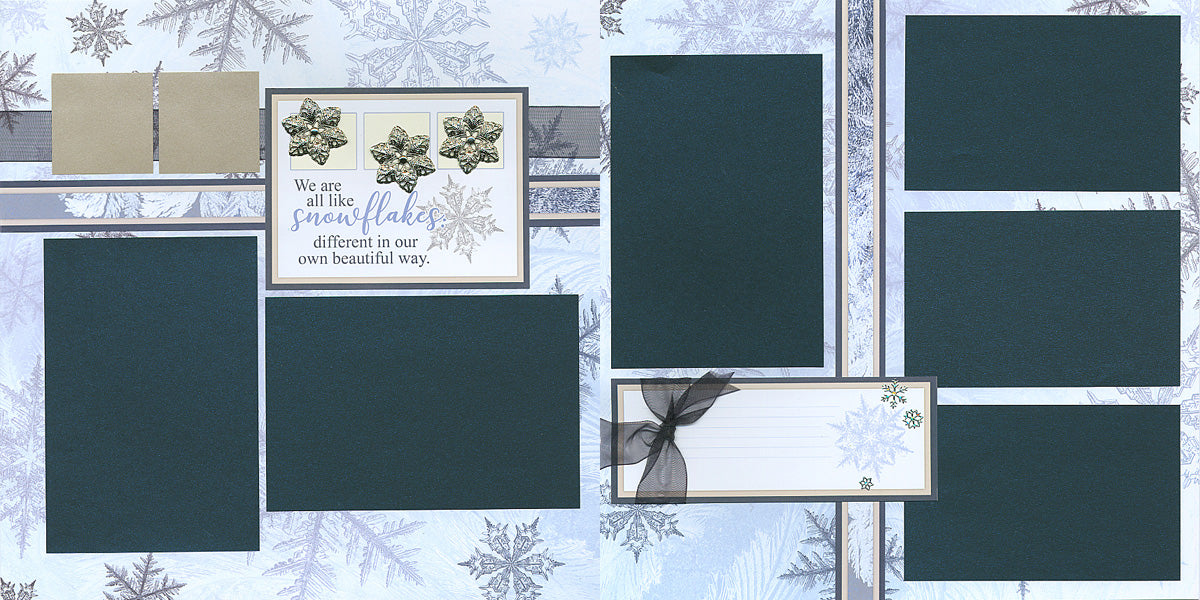
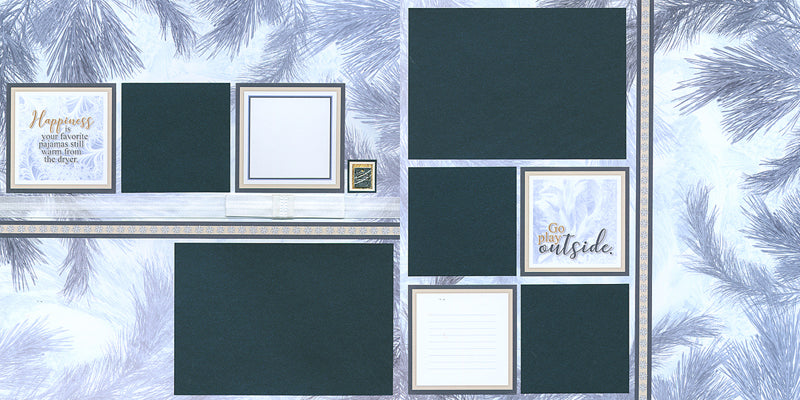
LAYOUTS 1 & 2
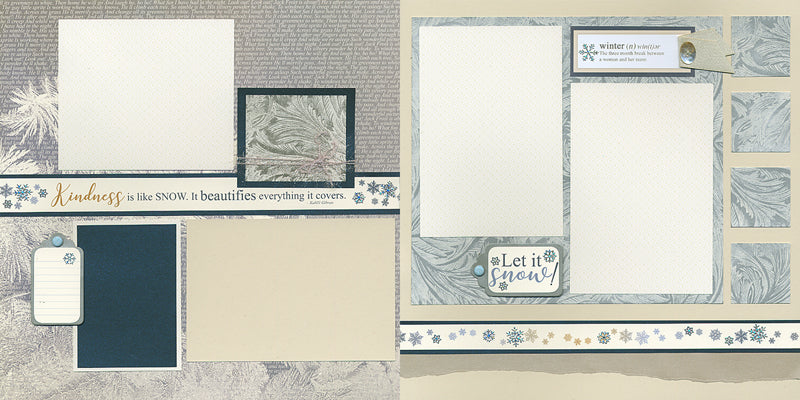
The 8.5x11 White Raised Print is shown below after applying CS® Ash ink directly to the paper and wiping away excess with a paper towel.
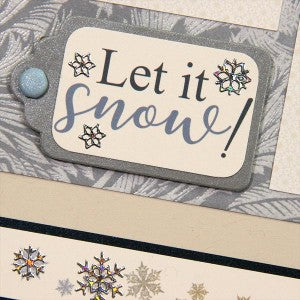
We've added a classy amount of sparkle to the line-up with silver tags, glitter brads, and Dazzles Snowflakes. The raised print shown below was altered with our Silver Metallic ink.
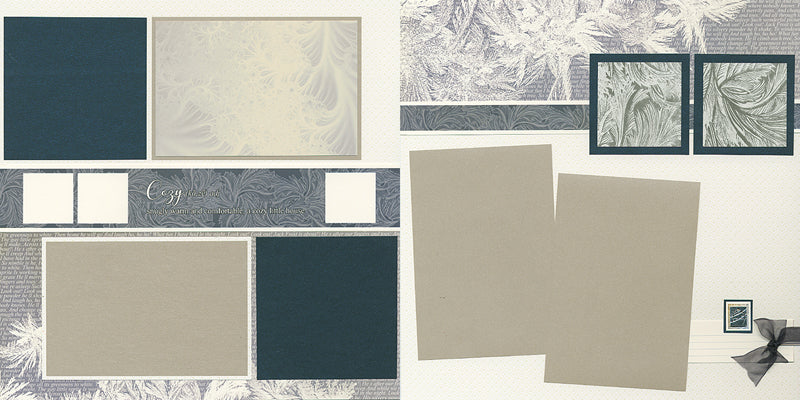
LAYOUTS 3 & 4
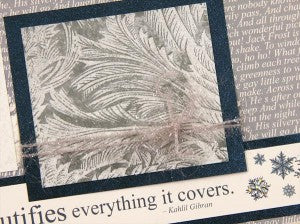
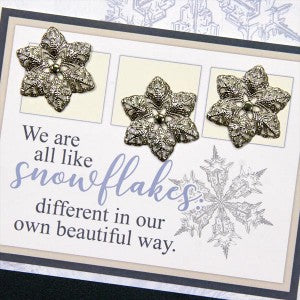
Three filigree snowflakes add a touch of elegance to this White cutapart. (It's almost like we planned it ahead of time. Or wait. Did we?)
LAYOUTS 5 & 6
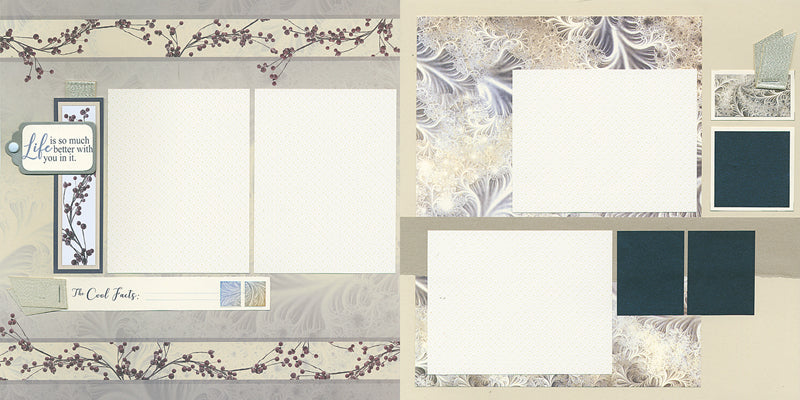
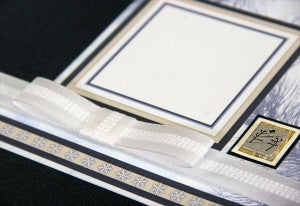
Trim the Ivory cutaparts to fit onto the silver tags and round the corners with a 1/4" setting on a Corner Chomper. Layer the tag onto a cutapart backed with a loop of champagne-colored ribbon.

LAYOUTS 7 & 8
I have to use it as least once a month . . . the classic three-part bow. It's so pretty in this uniquely textured satin ribbon.
LAYOUTS 9 & 10
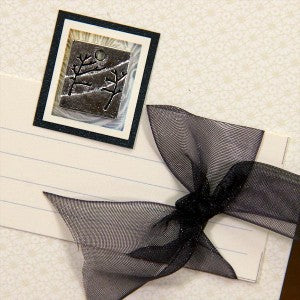
There is a set of tiny rectangles on the Ivory cutaparts. Nest one onto a Blue mat, and adhere a Silver Tree Charm to the cutapart to create a miniature eye-catching accent.
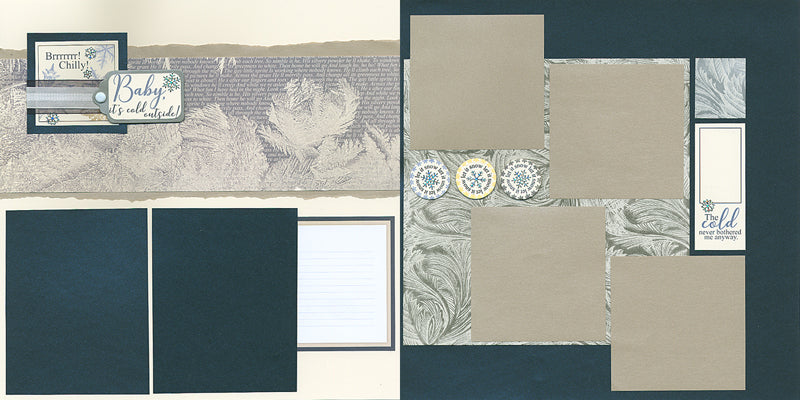
LAYOUTS 11 & 12

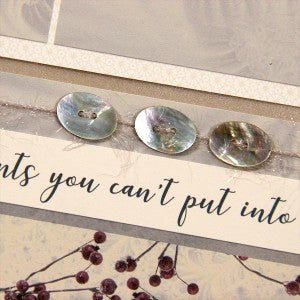
With a bit of patience, thread a large-eyed needle with the fuzzy fiber and attach three oval buttons to the fiber. Stretch the fiber across the page and secure the ends on the back with tape.
Top two silver tags with the fuzzy fiber and round the corners of the Ivory cutaparts trimmed to fit the tags.

LAYOUTS 13 & 14
Layer the grey satin ribbon onto the blue chiffon ribbon and wrap around the bottom half of an Ivory cutapart. Attach a silver tag next to the cutapart with foam adhesive and add a few Dazzles snowflakes to the mix.

Keep tweezers handy to remove Dazzles stickers from the backing sheet onto your project. Notice there are two varieties of large snowflakes. I adore them both!
SHADES OF WINTER GREETINGS TO GO
SET A

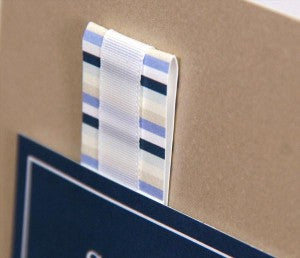
There are two cutaparts strips with narrow pinstripes. Cut a "v" into the top and bottom ends of one of the strips, and use the other to make a faux loop of ribbon. Stabilize the "loop" with a foam adhesive circle, and nest with a 5/8" taffeta ribbon.
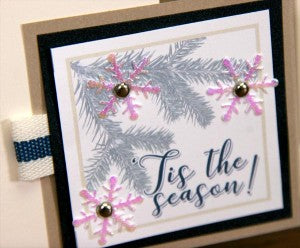
SET B
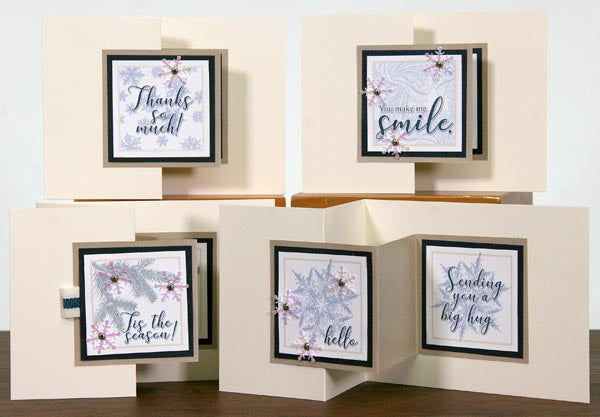
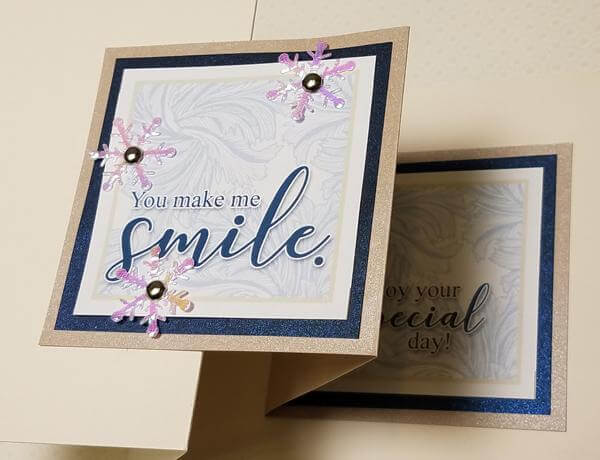
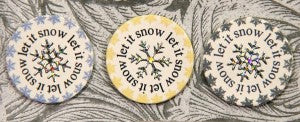
'Tis the season for a birthday! I have a few December 25th birthday cards to send, and this card is going to be perfect. Attach three iridescent snowflakes to the cutaparts with the silver mini brads we've included in the kit.
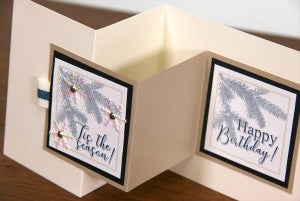
The kit comes with a total of four 2.5x5" Metallic Blue panels. Trim each panel in half at 2.5" to create two panels per card. The finished double Z-fold card is adorable!
SET C
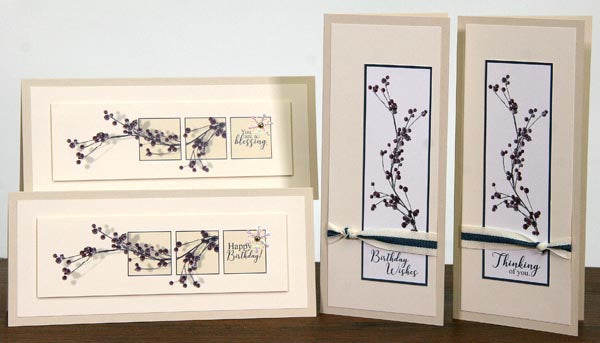
I love this set of four simple, elegant cards. Adhere the Ivory cutaparts onto the Ivory card panels with foam adhesive circles to create contrast between the layers.

Get your Shades of Winter Greetings to Go kit and Deluxe collection today!

You are a blessing, indeed!
Tricia