
The November Greetings to Go Guest Artist is long-time member, Jennifer Rodgers. The Greetings to Go kit always comes with free instructions, but Jennifer's cards are a great example of how to expand upon Tricia's instructions to make the cards your own.
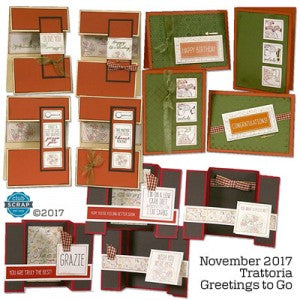
TRATTORIA GUEST ARTIST CARDS
SET A: 4.5 x 6.25” ORANGE CARDS
Flip It Card: Create card base with a "flip it" die. The dotty embossing folder adds texture to green panels. Stamp large pizza image onto Bristol paper, heat emboss with copper EP, and add color using your favorite medium.

Rocker Card: Trim a large circle from orange plain, score and fold in half. Add embossed green panel, ivory texture die cut scallop, punched pumpkins, and turkey die cut. Pair the Grazie stencil with gold dimensional medium to create the sentiment.

Stamp cheese wedge onto Bristol paper, color with Distress inks. Heat emboss with Chablis EP. Die cut sign marker, stamp sentiment, adhere with foam adhesive. Add yellow sequins from stash.

Add texture to green panel using a basketweave embossing folder. Ink to highlight raised areas. Add trio frame die cut over stamped ivory panel. Add sequins and ribbon.

SET B: 5 x 7” IVORY TEXTURE CARDS
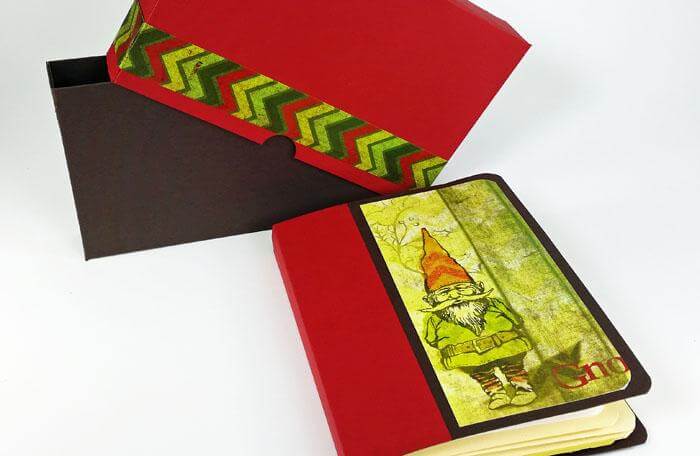
Jen challenged herself to connect the split-front panels of each card with a different element. Stamp "saluti" sentiment in brown onto red panels. Die cut large oval from orange, run through embossing folder. Die cut sentiment, adhere to oval panel with bookbinding glue in needle-tipped applicator. Green brads from stash dot the "i's".

Add texture to brown panel with "thankful" embossing folder. Apply gold metallic rub-on paste to highlight raised artwork. Die cut three ovals from orange plain, connect with adhesive to form a pumpkin shape. Ink edges, add green taffeta ribbon to faux stem cut from green.

Stencil chef's hat and mustache in black onto ivory texture, heat-emboss with glitter EP. Run orange panel through swirl dot embossing folder, ink to highlight raised areas. Trim into three sections, adhere to outside and inside center of card. Add stamped sentiment and checked ribbon.

Free-hand cut a pizza slice shape from ivory texture paper. Ink to mimic the look of crust and sauce. Use various dies and deco-edge scissors to create the salami, olives, green pepper, red onion and cheese.

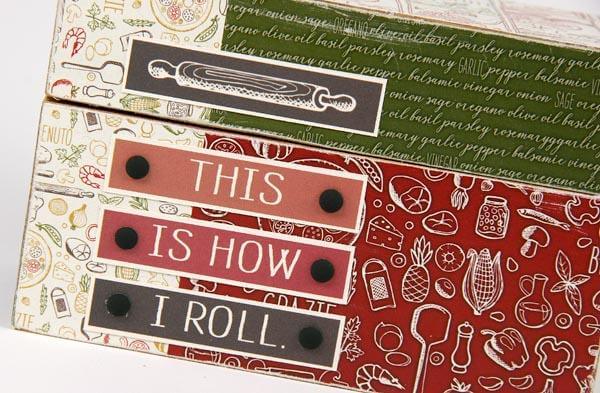
SET C: 4.25 x 8” RED CARDS
Stencil smaller chef's hat and mustache image in brown onto ivory plain. Stamp and heat-emboss sentiment with brown metallic EP.

Pair brown plain with confetti embossing folder to create center panel background. Add die cut champagne glasses and sentiment. To create side panels, stamp veggie border repeatedly with several colors of Distress inks. Mist lightly with water to blur the colors. Re-tamp the same image with brown dye ink.

Use two different sizes of circle punch to create olives from black plain. Adhere to ivory panel. Stamp veggie border and heat-emboss with copper EP (Adobe September 2010) for front panels.

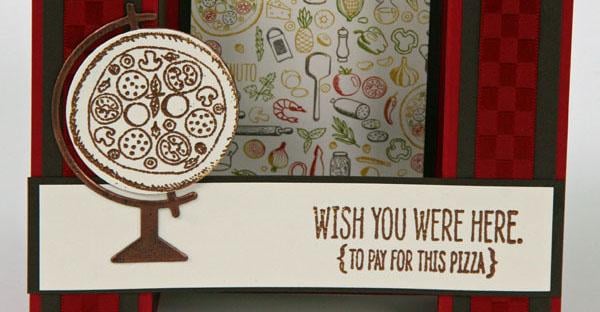
Stamp pizza image and sentiment and heat-emboss with copper EP (Adobe September 2010). Die cut globe, emboss surface with copper EP. Fussy-cut pizza image, adhere to center of globe.

I hope you’re inspired by Jennifer's clever cards. If so, be sure to leave her a little love in the comments section below.