Check out my decorative magazine storage!

The Transformations Club Stamp Text Weight Print and Book Board make a great combination, so I mixed them together into decorative storage for magazines and mail.

First I created the 9.75x12.25" box with a double thickness of book board for added strength and durability.

I used a grid ruler and small utility knife to cut the boards and to cut 1x3-5/8" openings into the short walls to create handles. The pieces were assembled with Bookbinding Glue.


Book board dimensions:
One Base: 11.75x9.25"
Four Long Walls: 11.75x4"
Four Short Walls: 9.75x4"
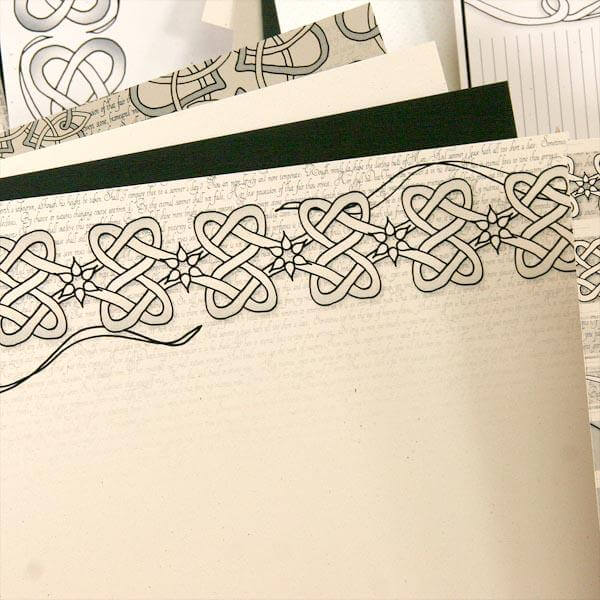
Eight Club Stamp Quad prints were also used to wrap the box, six from Transformations, and two from London Calling . . . a fabulous match!
Follow these steps to cover the magazine holder:
1. Cut six Quad Prints horizontally at 5.5". Leave two uncut.


2. Brush Bookbinding Glue onto the paper.

3. Adhere a 5.5x8.5" sheet to the inside of the box, starting at the top edge of the long wall and burnish.


4. Slightly overlap with the next paper and continue until the inner side walls are covered. Work excess paper down into the corners where needed.


5. Cover the inside base of the box with a full 8.5x11" sheet.

6. Cut an opening into the paper covering the handle area with a craft knife.

7. Wrap paper around the handle opening.

(Oh how pretty, the inside wrap is completed!)

8. Mark a pencil guideline 1/2" from one long edge on the plain side of the remaining papers.

9. Brush glue onto the paper and align the top edge of the box with the pencil guideline.


10. Crease the paper at each corner and cut along the create to create four flaps.

11. Wrap the flaps around the top edges.


12. Patch any remaining exposed areas as needed.

13. Cut the paper covering the handle opening with a craft knife.

14. Wrap paper flaps around to the inside of the box and adhere.

15. Use the remaining 8.5x11 sheet to cover the bottom of the tray.


Yay! That's a wrap!


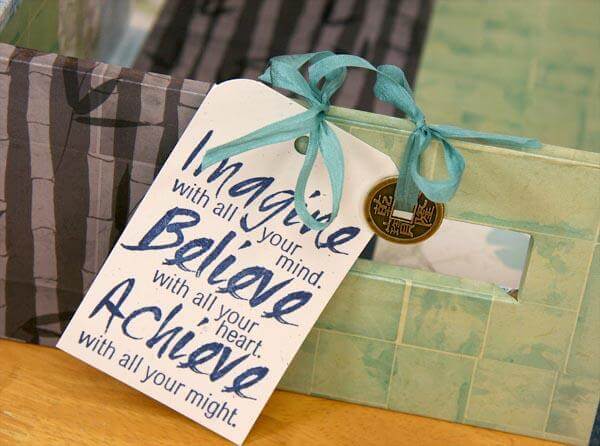
It just happens to be the perfect size for magazines.

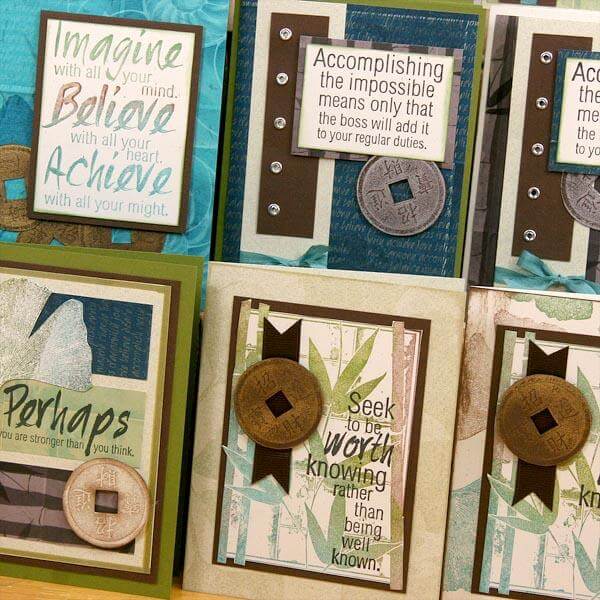
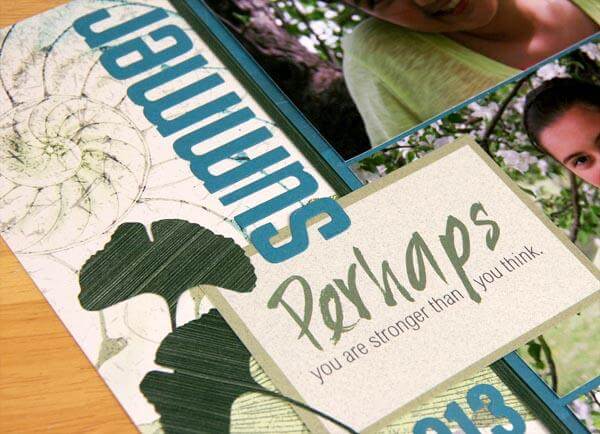
Don't forget to embellish with cutaparts, ribbons and rubber stamped tags.


I've got the perfect spot for this on my desk. Thank you for stopping by!
Kay