
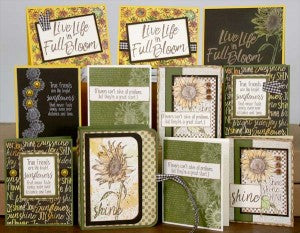
I was preparing my workspace to create cards with the Sunflowers Club Stamp kit and recalled one of my favorite projects . . . a cute notecard holder. I wondered if I'd be able to make the entire project from the twelve 8.5x11s, jumbo UM stamp sheet and embellishments in the kit.
Behold:
(Begin by making sure you have the Sunflowers Club Stamp collection.)
Download the paper trimming and scoring instructions by clicking HERE.
Take a closer look at the original notecard gift box project instructions by clicking HERE.
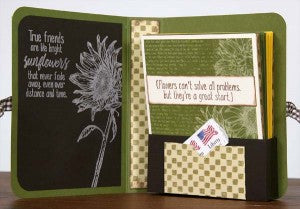
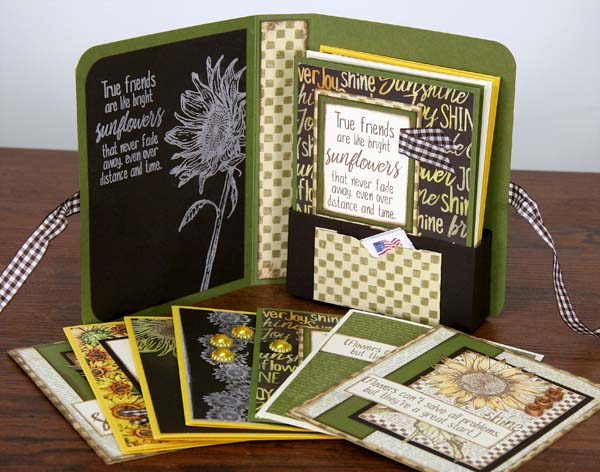
I departed slightly from the original version by including ten cards in the pocket instead of eight and decorated the inside left cover in lieu of envelopes.
Below is a video to assist you with the construction of the folio (featuring Hopes, one of my favorite past CS kits.)
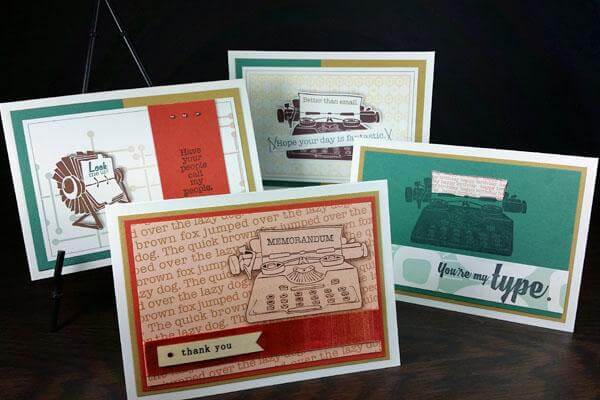
Let's take a closer look at the ten stamped and assembled cards.
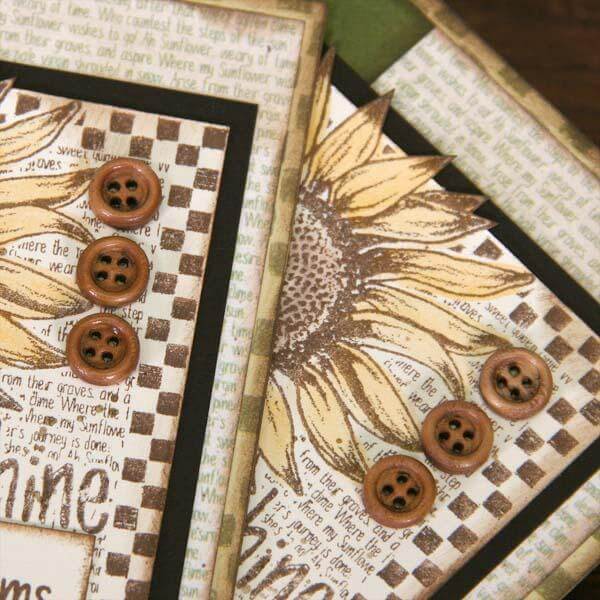
CARDS 1 & 2
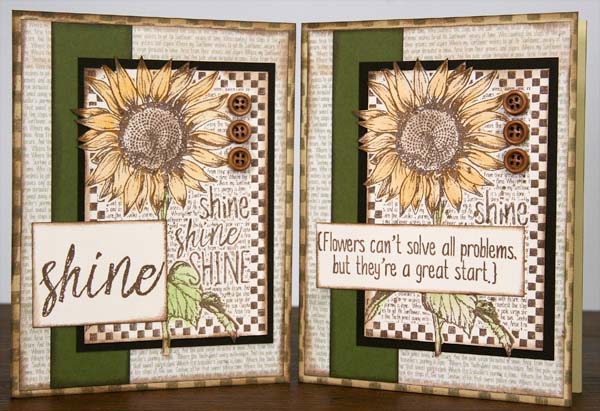
Stamp the collage image onto the Ivory panel with Earth ink. Use a ruler and craft knife to cut around the checkered outside frame of the image and fussy cut the petals and stem that extend beyond the frame. Add color to the image with gelatos and a water brush. Finish with three wood buttons and a stamped sentiment.
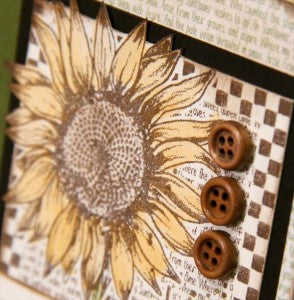
NOTE: I used CS® Earth ink to stamp all images in this collection of cards. I've been using the same ink pad since we initially released them about a decade ago and replaced the well worn pad with a new one. Wow, what a difference! If re-inking no longer helps liven up your inkpad, perhaps it's time for a fresh replacement.
CARDS 3 & 4
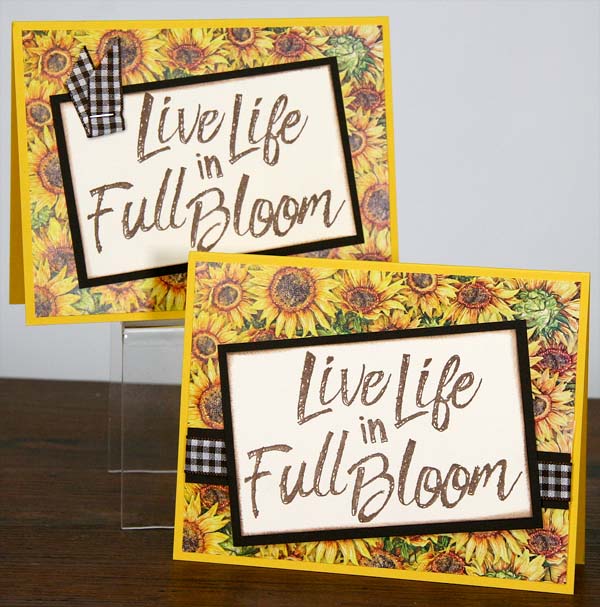
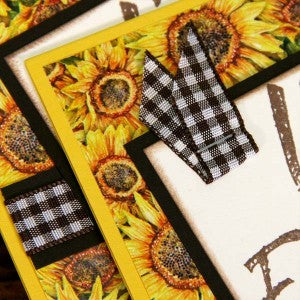
Use two 12" lengths of gingham ribbon as a tie closure for the folio. There will be enough ribbon to stretch horizontally across one card. Fold a 2"piece in half and staple to the upper left corner of the "full bloom" sentiment on the second card. The final piece will be used on card 5.
CARDS 5 & 6
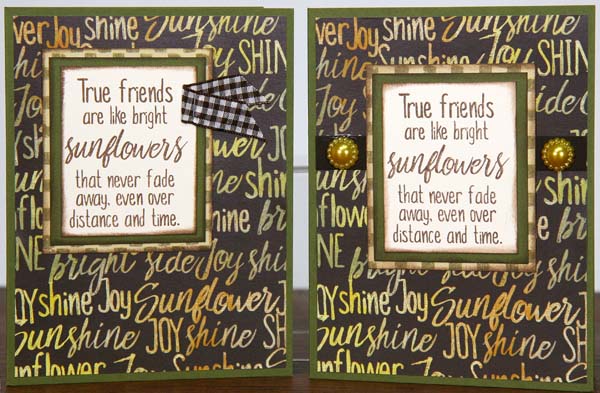
Adhere a resin sunflower to the left and right side of the matted sentiment with a CS® Bookbinding Glue.
CARDS 7 & 8
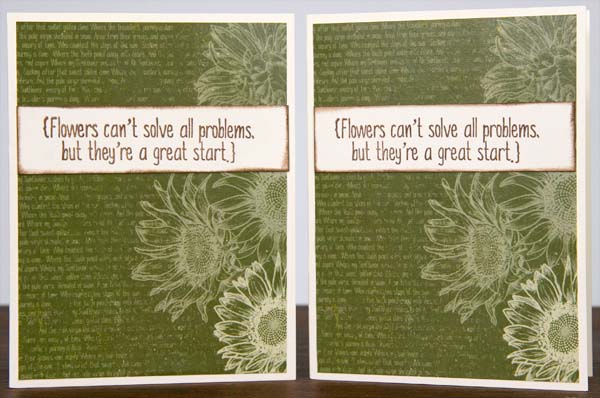
The cards above are pretty straightfoward. Simply ink the edges of the stamped sentiment and adhere to the card panel. Those quad prints sure come in handy!
CARDS 9 & 10
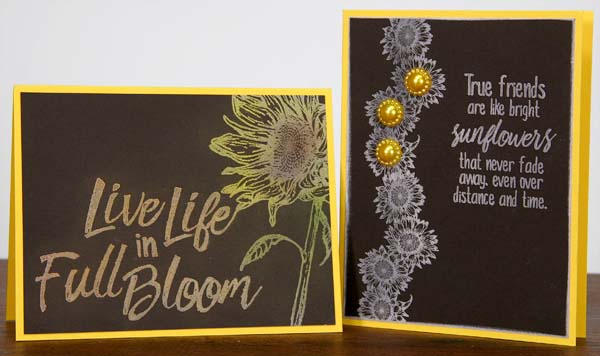
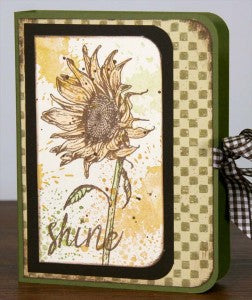
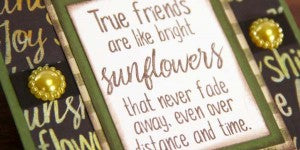
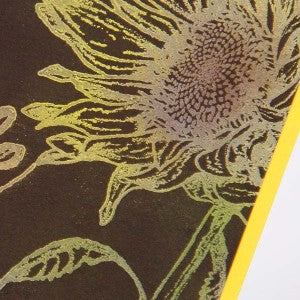
Stamp the large sunflower and sentiment onto the Brown panel with white pigment ink. Dust the stamped images carefully with colored chalk or Pan Pastels to add a hint of color.
Stamp the row of sunflowers and sentiment onto the second Brown panel. Glue three resin sunflowers to the center of the stamped flower.
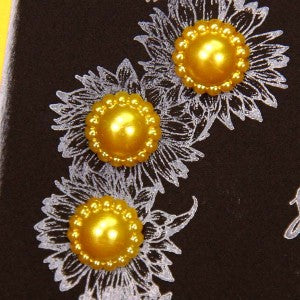
Round the right corners of the nested Brown and Ivory panels on the outside cover of the folio. The "splatters" in the background are from the Dahlia Jumbo UM sheet. Sew three wood buttons onto the outside spine of the folio with waxed linen thread (included.)

I hope you liked having a bonus project included in your Club Stamp instructions. Have fun making your folio and notecards!
Tricia