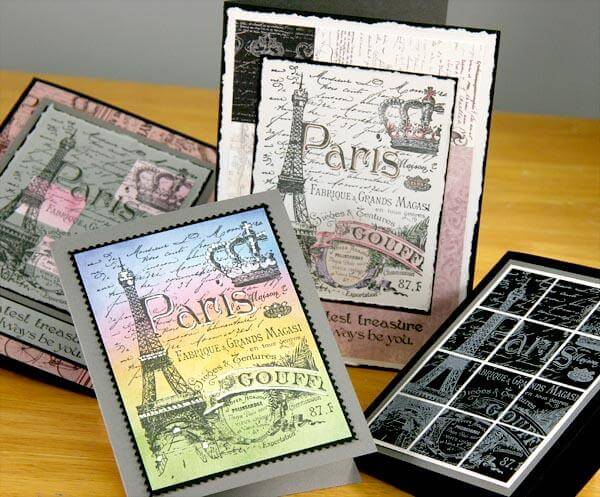
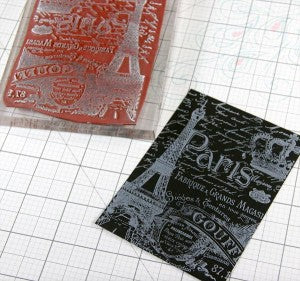
The large collage is of my favorite images from the Paris Flea Market Jumbo unmounted stamp sheet. I tackled it four different ways to make a set of unique cards.
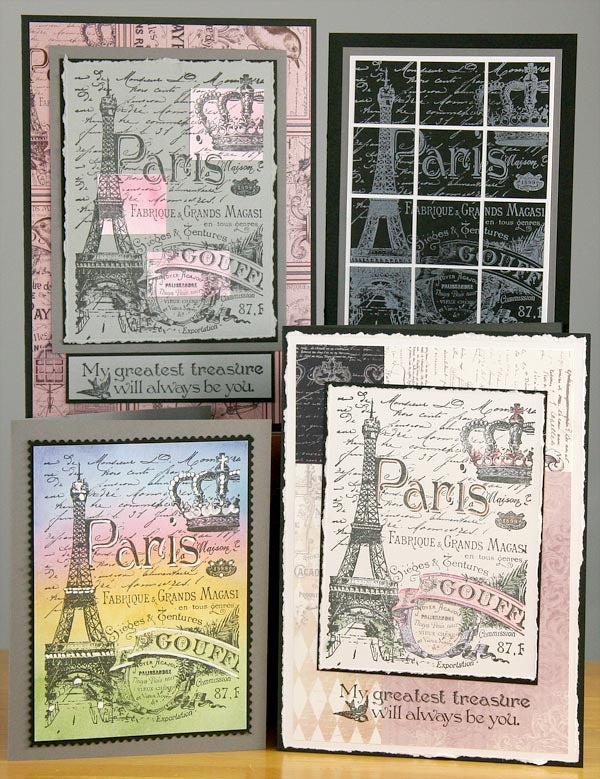
CARD #1 - TORN EDGE AND SPOT COLOR
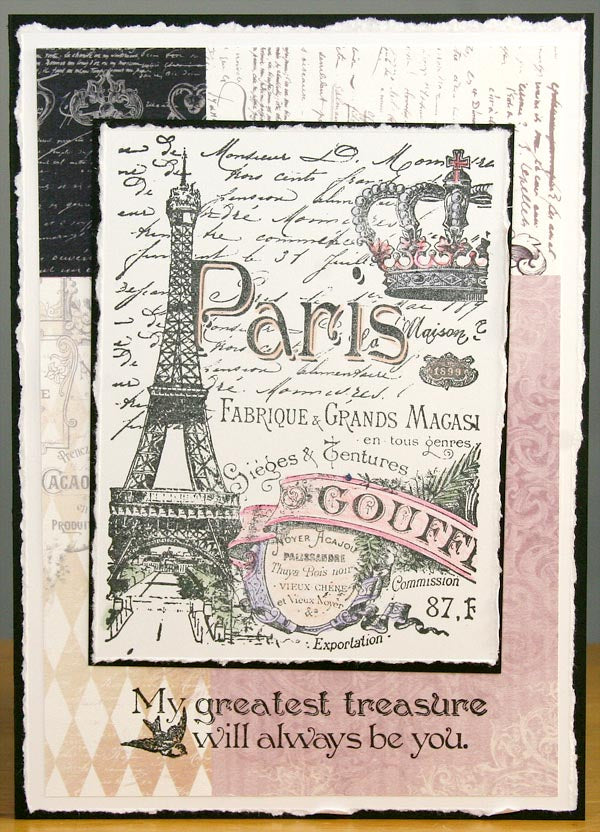
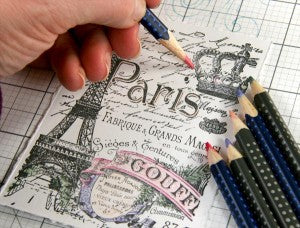
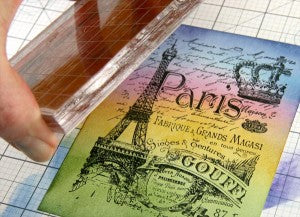
1. Stamp the image onto a White panel with India Black ink. Tear away the four outside edges with the help of a CS Acrylic Ruler.
2. Add color to a few spots on the image with your favorite art medium.
3. Trim the Club Stamp Quad Print into a 4.5x6.5" panel with the intersection of the four images in the upper left corner. Nest onto another panel and 5x7" card base to finish the card.
CARD #2 - BANDS OF COLOR WITH HIGHLIGHTS
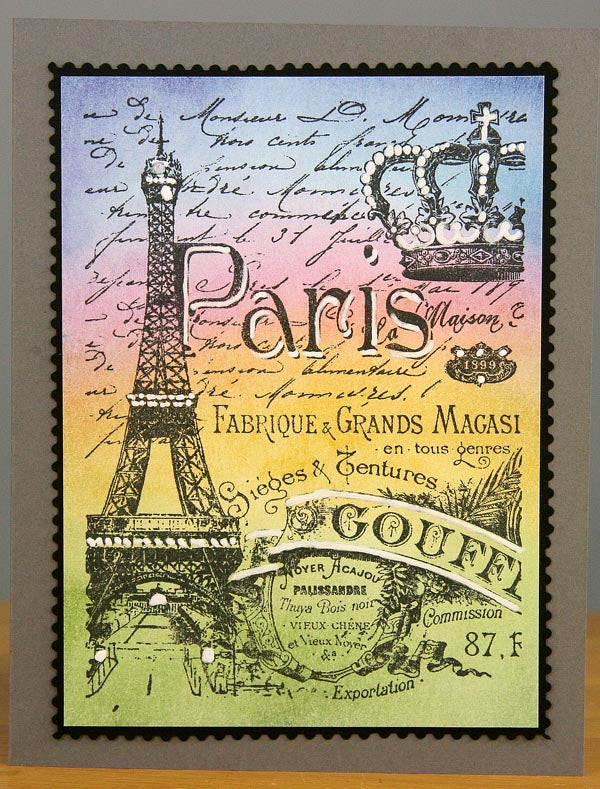
1. Lightly apply Topaz and Carnation inks to the center of a card panel with a CS Ink Applicator.
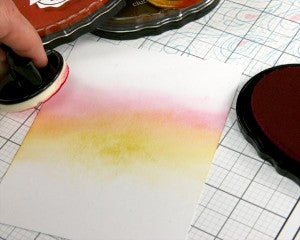
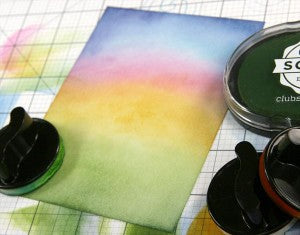
2. Add a band of Sapphire ink at the top and Leaf ink at the bottom of the panel. Use sweeping strokes to avoid harsh marks.
3. Stamp the collage image onto the panel with India Black ink.
4. Highlight areas of the image with a white gel pen and layer onto a folded card base.

CARD #3 - COLORED SPOTLIGHT
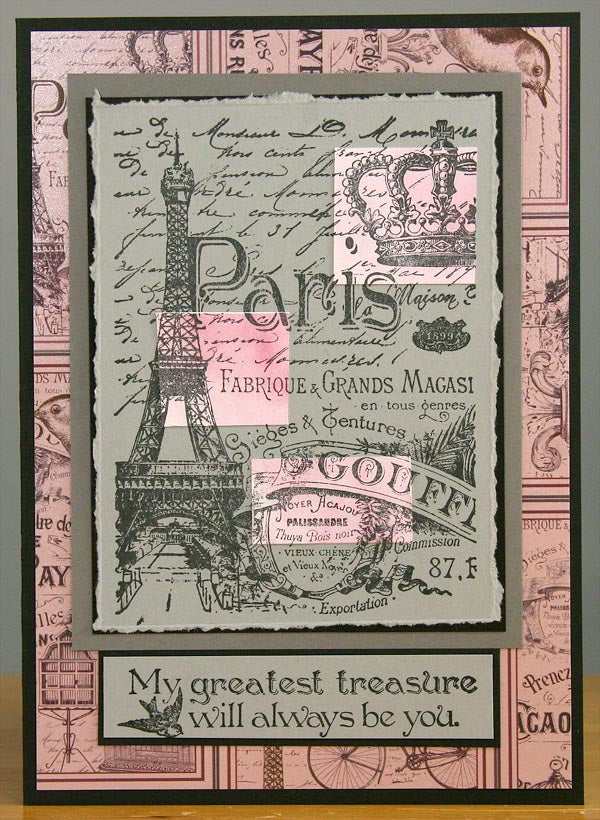
Stamp the image onto a Lt. Gray and White panel with black ink. Sponge color onto the White panel. Trim or punch shapes from the White panel and adhere to the corresponding area of the Lt. Gray panel.
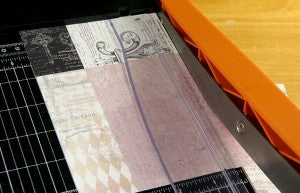
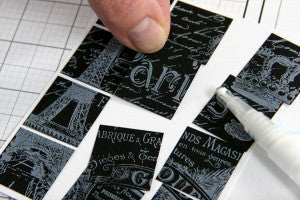
CARD #4 - ON THE GRID
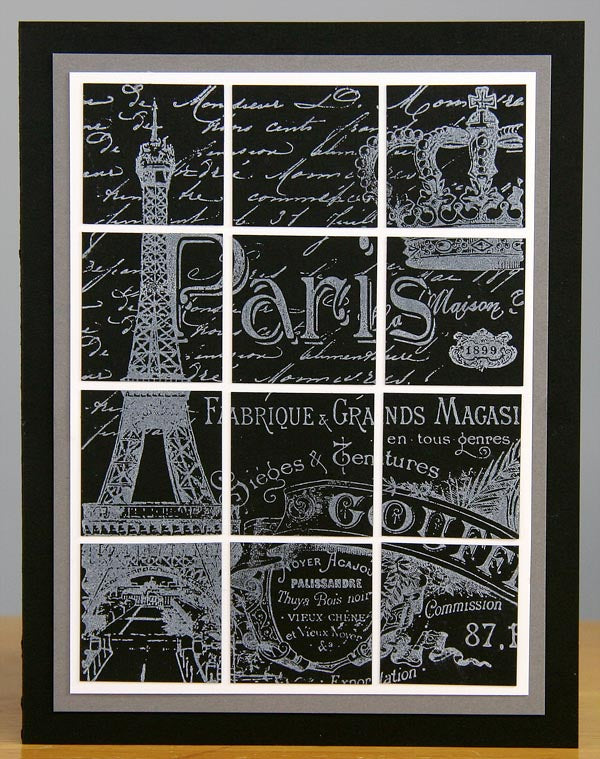
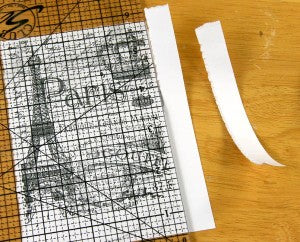
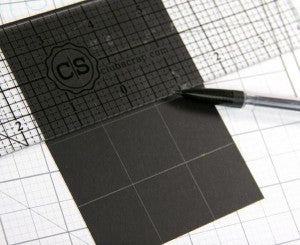
1. Stamp the image onto a Black panel with White Pigment ink and heat set to prevent smearing.
2. Mark vertical and horizontal lines on the back of the panel with a grid ruler and pencil. For best results, make the first horizontal line at the center and add lines above and below. Make a vertical line 1/2" to the left and right of center.
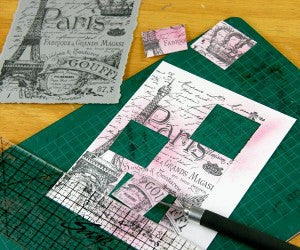
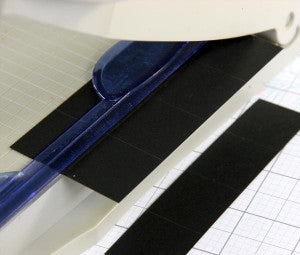
3. Trim the panel along the marked vertical guidelines, keeping the pieces in order to avoid a big puzzle!
4. Trim each strip horizontally to create squares, again keeping the pieces in order.
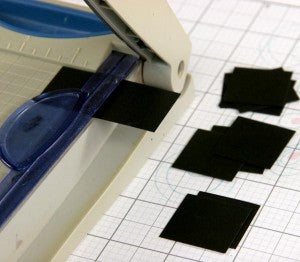
5. Assemble the squares onto a White panel with a Glue Pen, leaving about 1/16" between squares.
All the techniques above will work beautifully with collage images from past months, as well. Why not give them a try with one of your favorites?
Kay