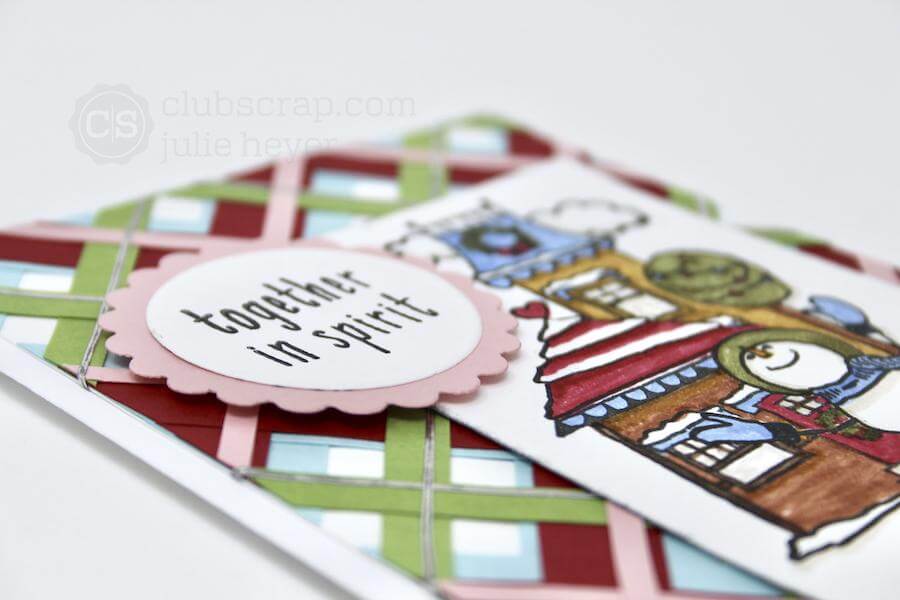

Create stamped scenery with the Christmas In The Neighborhood collection paired with the paper strips plaid background. Be sure to visit Part One for detailed instructions on how to create the layered plaid panel.

Stamped Scenery technique
Adhere the snowman image to a stamping platform and add it to a piece of Super Smooth White Coverstock with Ash Ink. Do not remove the stamp from the platform


Color the snowman with markers that coordinate with the plaid background. Place the paper in its original location on the platform.


Add India Ink to the snowman image and stamp again into the same spot. Repeat if necessary.


Still using the platform, stamp the snowman onto a Post-it Note and trim to create a mask. Place the mask over the stamped image on the art panel in the platform.


Position the small house face down onto the scene to ensure proper placement. Press the lid onto the image to pick it up, and load the stamp with Ash ink. Stamp onto the masked panel and leave the house image on the platform.


Color the small house with the snowman mask in position. If the mask is moved, it may not be able to be repositioned correctly.


Add India Ink to the stamp and press firmly over the colored image.


Create a Post-It Note mask of the small house.


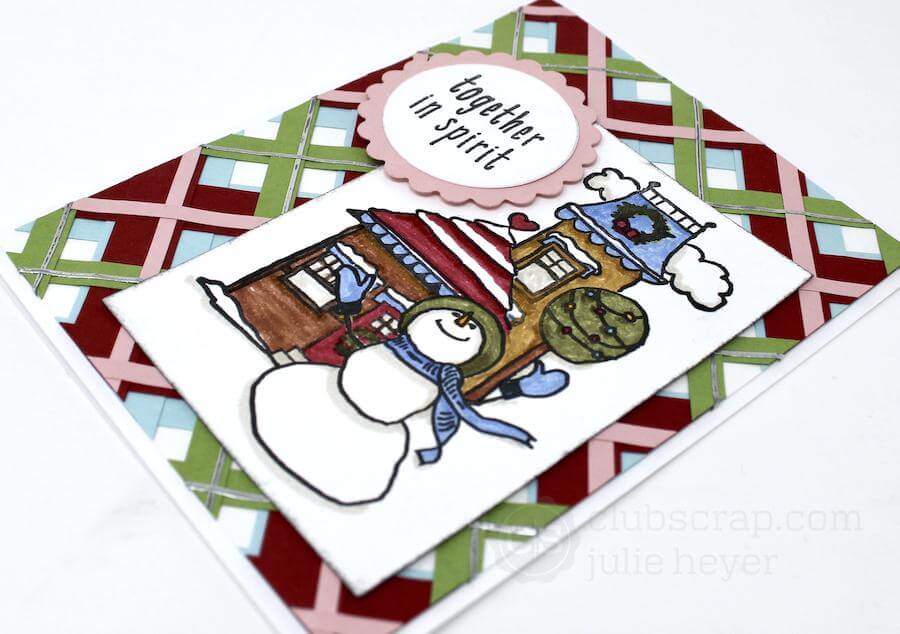
Fussy cut the image and place over the house and snowman images. Stamp the tall house with the same technique as described in the previous steps.


Add India Ink to the tall house image and remove all the masks to reveal the completed scene. NOTE: Color in any areas that might have been missed when the masks were in place.

Let's take another look at the completed card.

I hope you enjoyed seeing how this Christmas card came together. Happy Holidays!

Julie