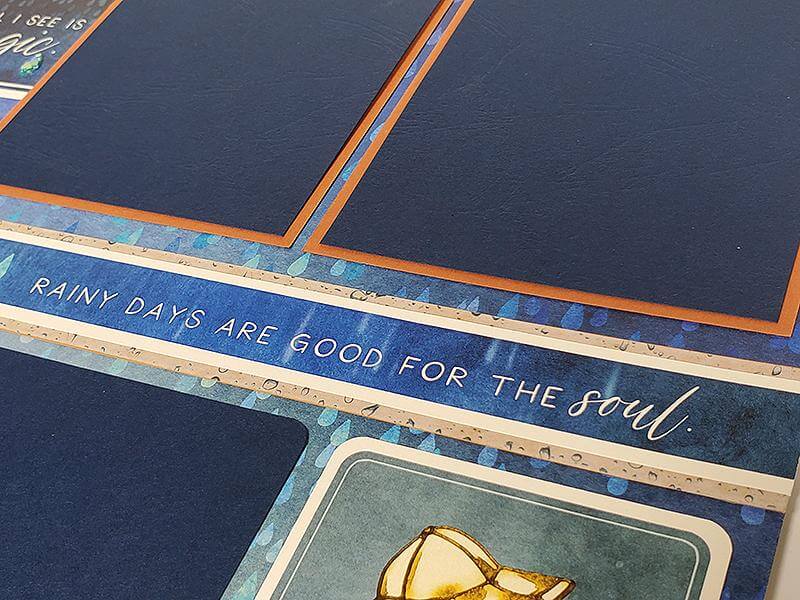

The Rainy Day pages contain a storm of creative potential. Check out the newest release from Club Scrap !

See the entire collection including the page kit, card kit, stamps, and completed samples in my unboxing video on the Club Scrap Facebook page. Check it out!

Layouts 1 & 2
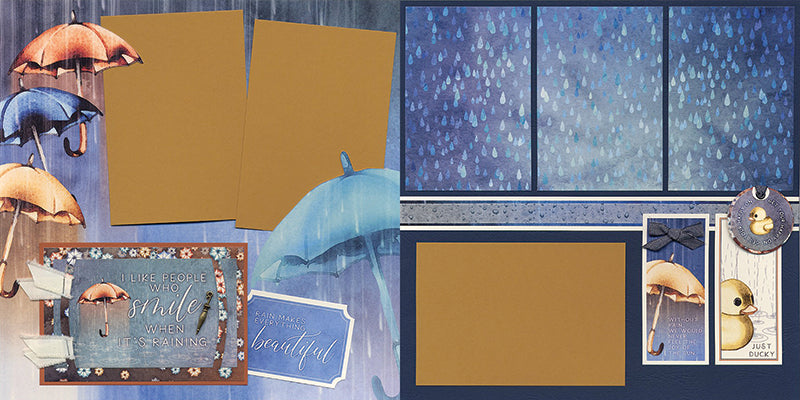
We're back with more craft knife tricks. Cut around the umbrella images on the gorgeous 12x12 print to keep them in the foreground, and tuck the photo mat beneath.

Layouts 3 & 4
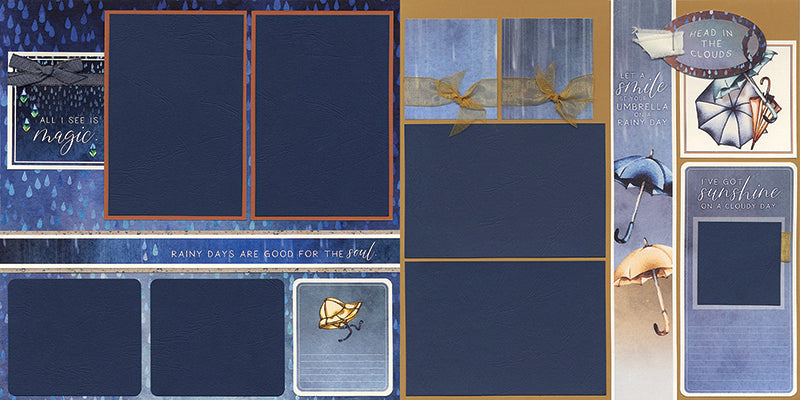
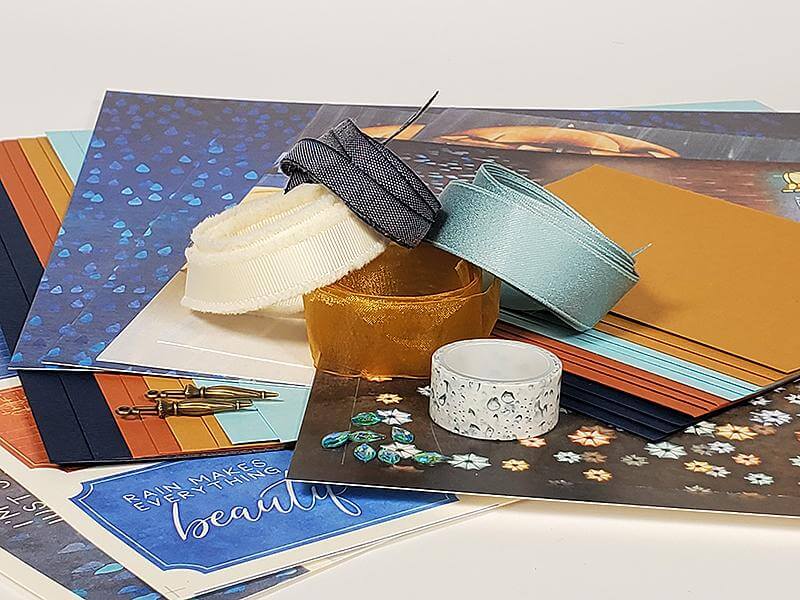
Adhere a collection of four raindrop crystals to the ribbon-wrapped cutapart. Our amazing bookbinding glue is the perfect adhesive for the job.

Layouts 5 & 6
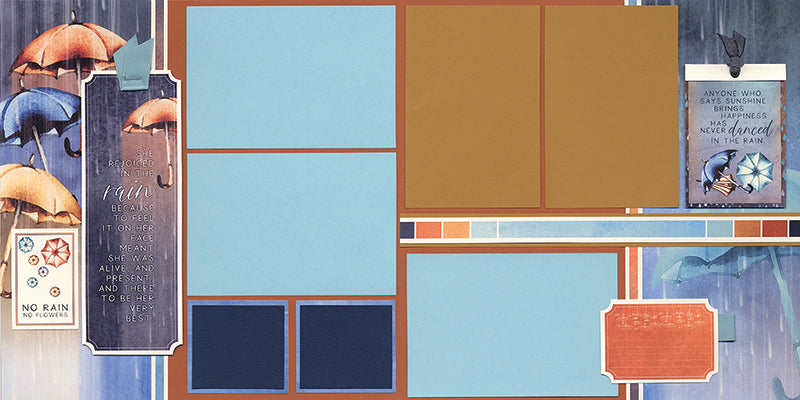
You are going to adore the sheet of printed die cuts we've designed for this kit. The sheet includes several "pairings." Nest the smaller die cut onto the larger one, and wrap the top flap around to the front. If you happen to have a 3/8" eyelet, add it to the top of the tag and finish with ribbon.

Layouts 7 & 8
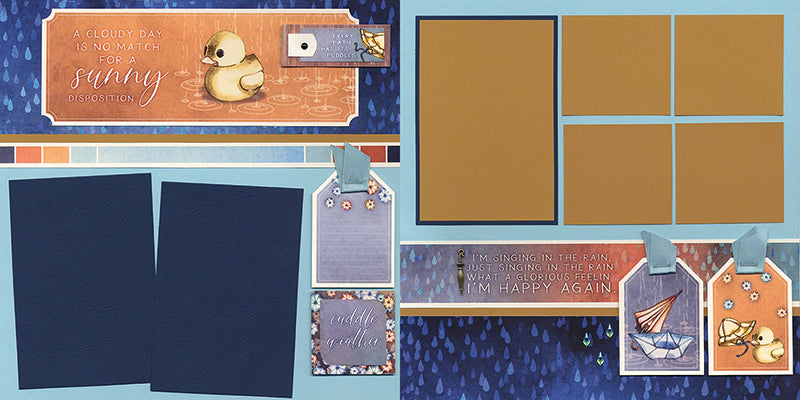
Once the tag images are trimmed from the cutapart sheet, use a trimmer, scissors, or craft knife to remove the upper left and right corners. Simply trim a 2" piece of ribbon, fold in half, and staple to the top of the tag. Add to the layout with foam adhesive circles.

Remember, this is a just a sneak peek of the Rainy Day pages. Don't forget to watch your exclusive workshop video for more important details.
Stop by tomorrow for a closer look at the card kit and the incredible sixteen cards and two card folios you'll make!
Tricia