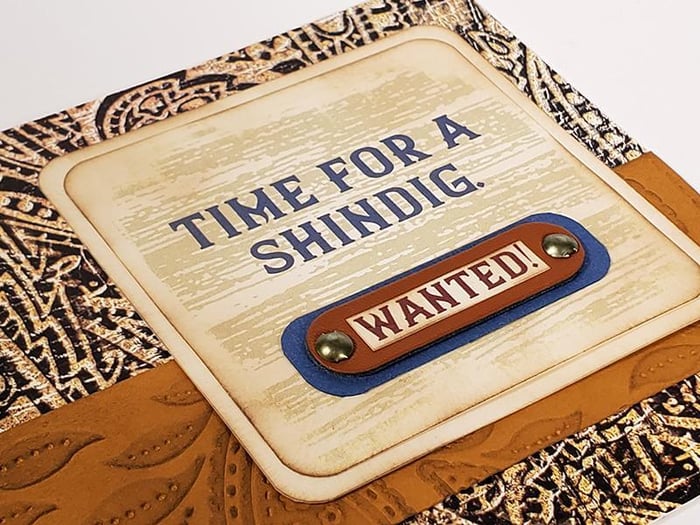
I'm a goner for the Western pages. While the layouts center around a theme, the neutral wood texture and paisley designs add a touch of class to any layout, even if you're a city-slicker!
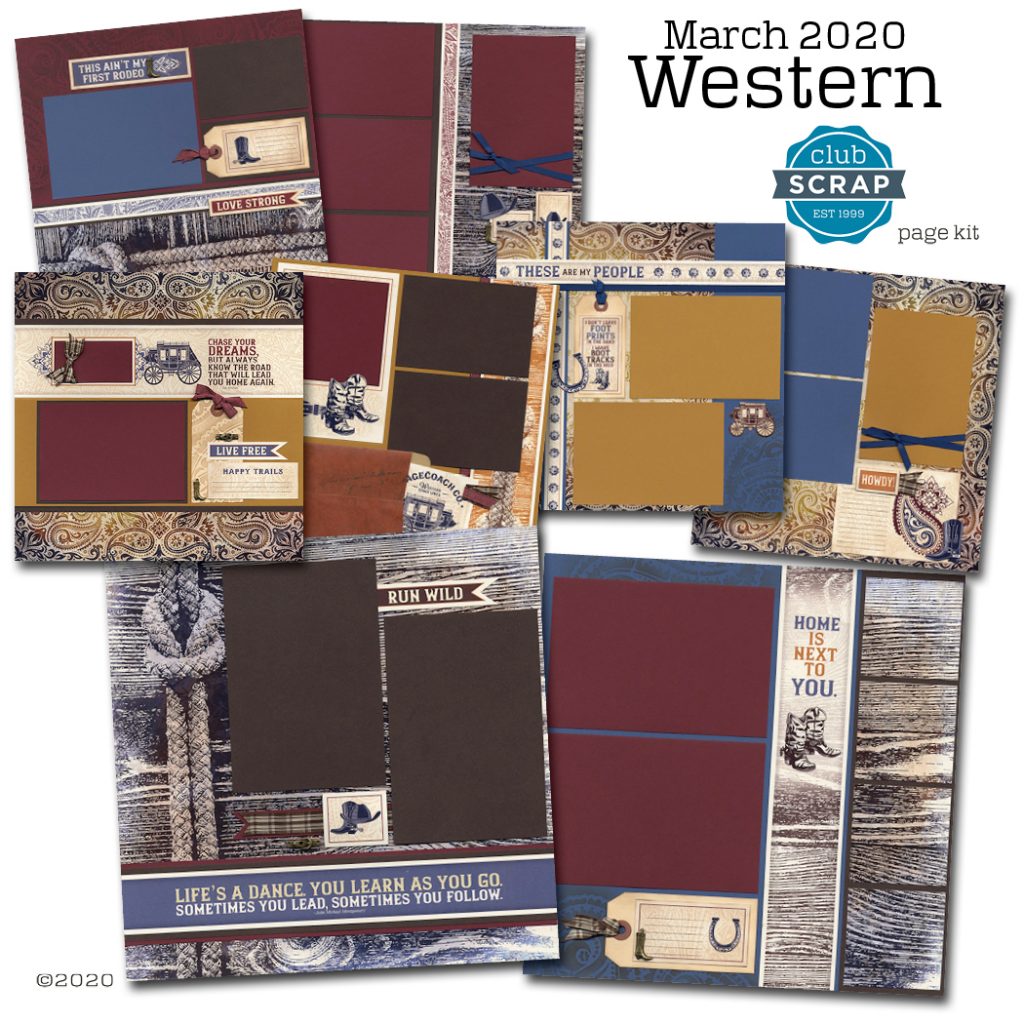
You're going to adore the gorgeous paisley masking stencil, ribbons, and charms we've selected for this collection!
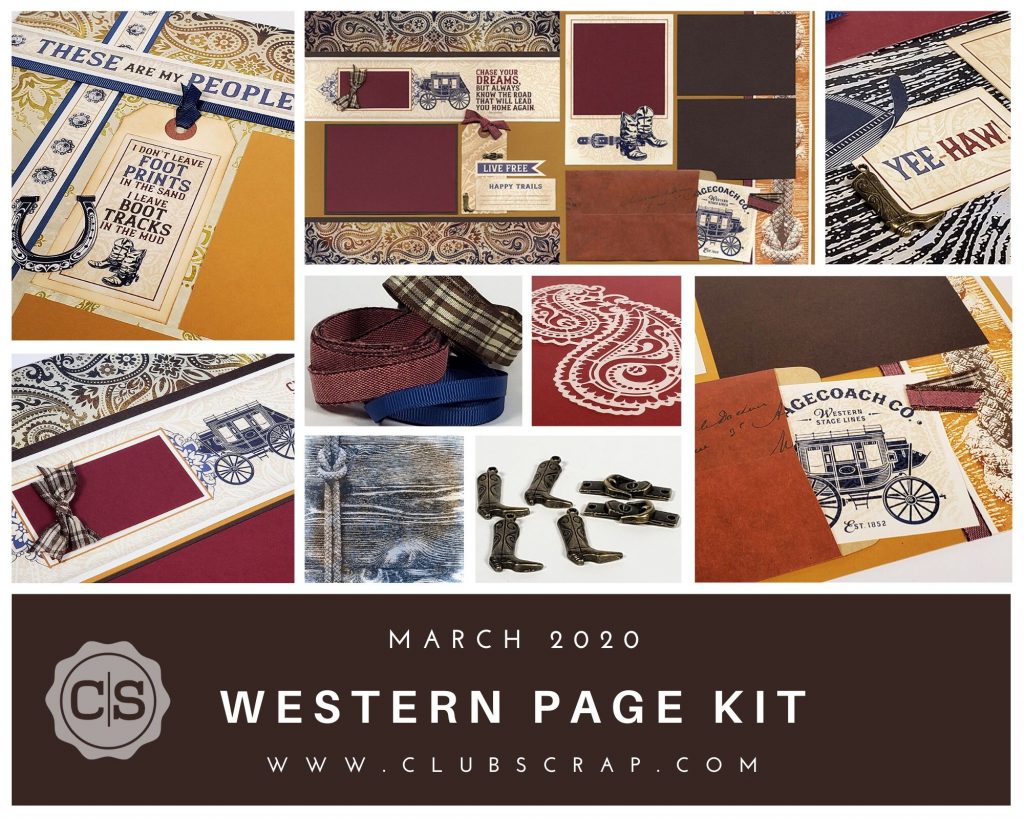
Take a moment to witness the most efficient scrapbooking in the west! Our instructions and video tutorial will guide the way.
Take a gander at each double page spread we'll complete together if you follow the assembly guide . . .
Layouts 1 & 2
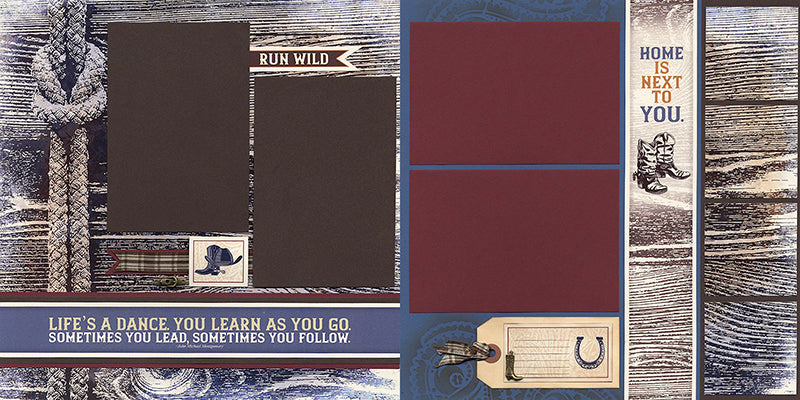
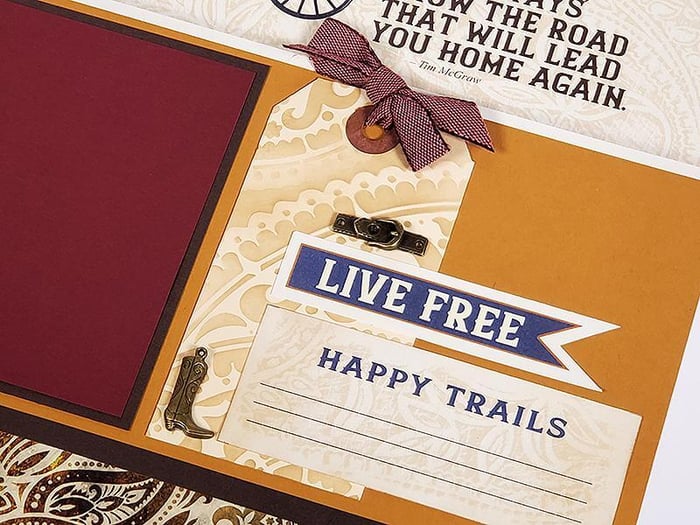
Equip yourself with an Earth ink pad and ink applicator brush to easily adorn any plain paper areas with stenciled art. Complete the layout with a ribbon-topped tag, journaling prompt and bronze boot charm.

Layouts 3 & 4
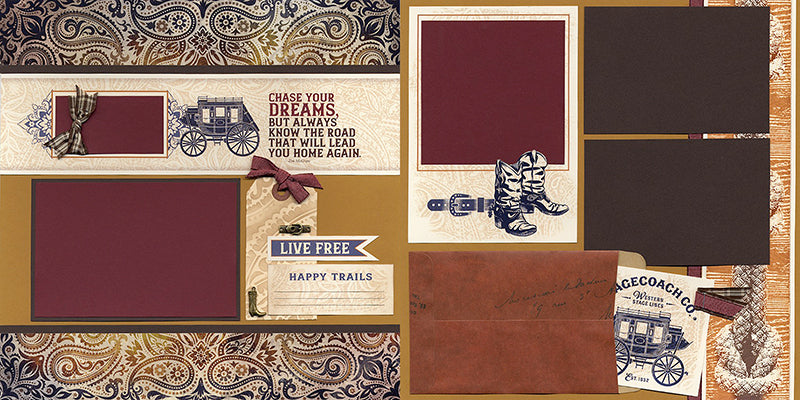
Stencil the manila tag and top with a burgundy cotton ribbon bow. Trim a "v" into the "live free" cutapart and add to the layout. Adhere the belt buckle and boot charm with our legendary bookbinding glue.

Layouts 5 & 6
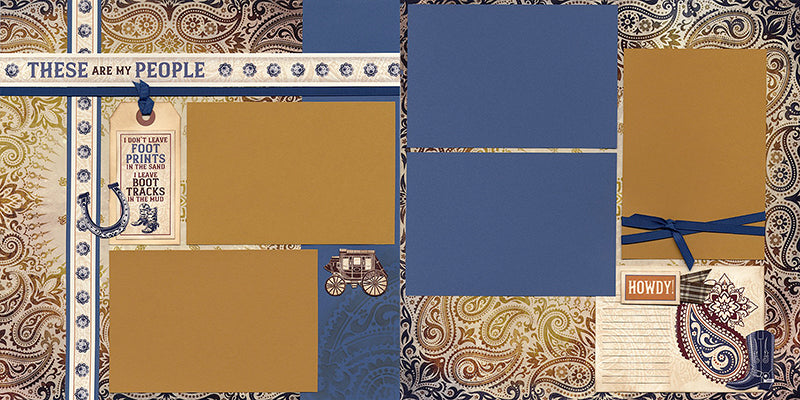
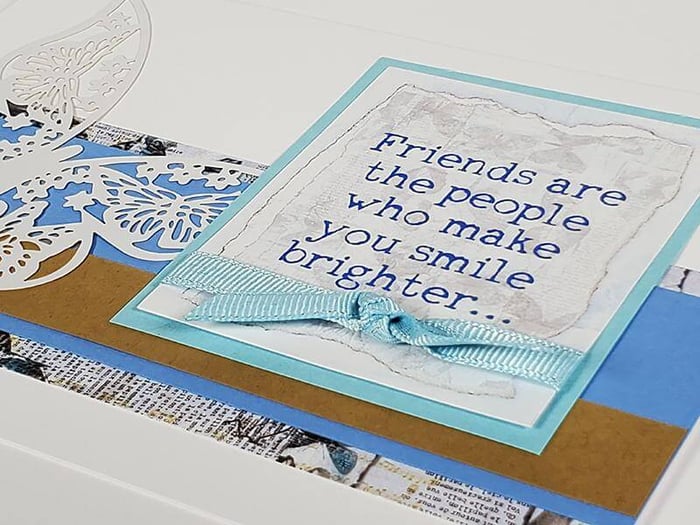
The left page is an optical illusion. The vertical border strip appears to be matted with a blue strip, but that's not the case! Start with a 12x12 Blue Plain, and layer with two pieces of the Paisley Print. Place the vertical strip between the two prints, allowing some of the blue paper to show through on each side.

Layouts 7 & 8
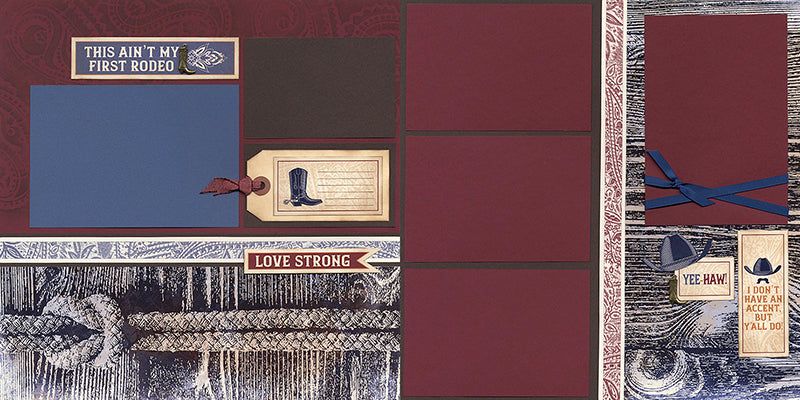
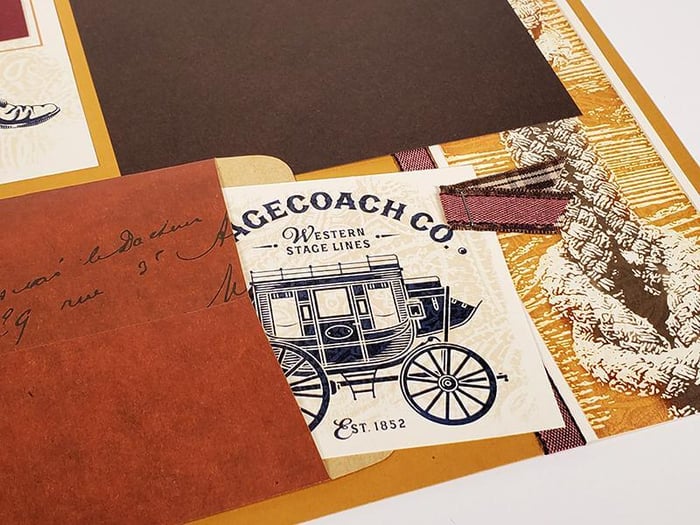
There are four objects on the cutaparts that require a bit of "fussy-cutting." Don't fret, it goes pretty quickly. Create an eye-catching grouping in the lower right corner of the page by wrapping the photo mat twice with grosgrain ribbon. Add the trimmed hat image to the upper left corner of the "yee-haw!" cutapart and top with a bronze boot charm. Add Earth Ink to the edges of the Ivory cutapart with an ink applicator brush.

If you haven't already, skedaddle to the online shop and add the Western Pages to your cart. We'll help you turn the kit into eight beautiful layouts, every step of the way.
See you tomorrow!
Tricia

