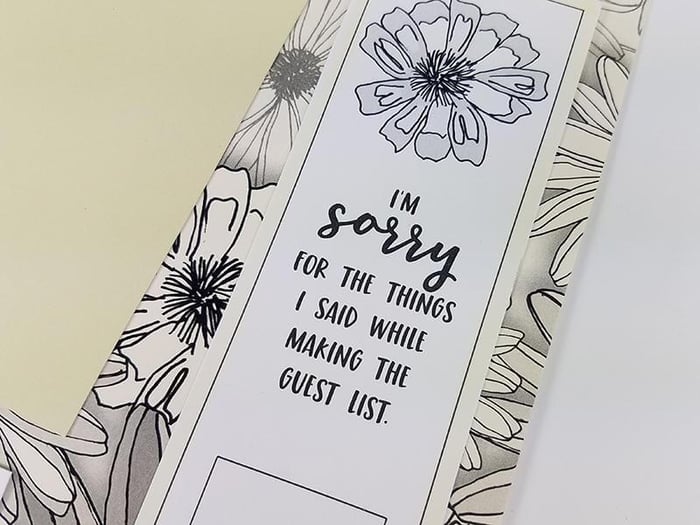
The new Wedding collection releases today, and we are in love with the beautiful marriage of artwork remixed from the Girlfriends collection and its neutral palette of Ivory, White, Black and Taupe papers.


You'll need to know a few important things about this collection before you dive in:
1. This is not a monthly kit and will not be shipped to you automatically.
2. In order to complete the layouts as shown, you will need to add four 12x12s in the color(s) of your choosing. If you'd like to add these exact papers to re-create the pages as shown, be sure to include the "Wedding Plain Paper Add-on" with your order. We've built in a 50% discount for this add-on!
3. The collection does not include pre-cut photo mats. However, we are featuring three beautiful pairs of 12x12 prints on Ivory, White, and Black.
4. When following the assembly instructions, this kit makes a total of ten 12x12 pages.
Wedding Page Kit
Let's take a peek at the layouts you can create. Use your imagination to envision your color palette on the pages and artwork!
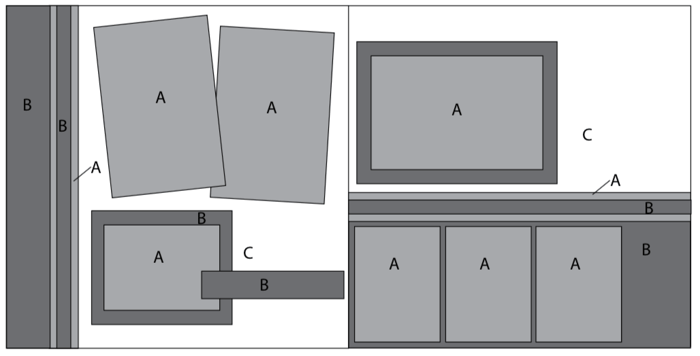
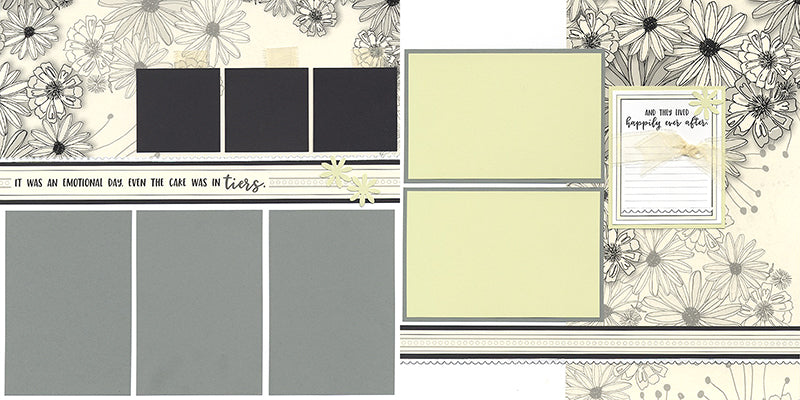
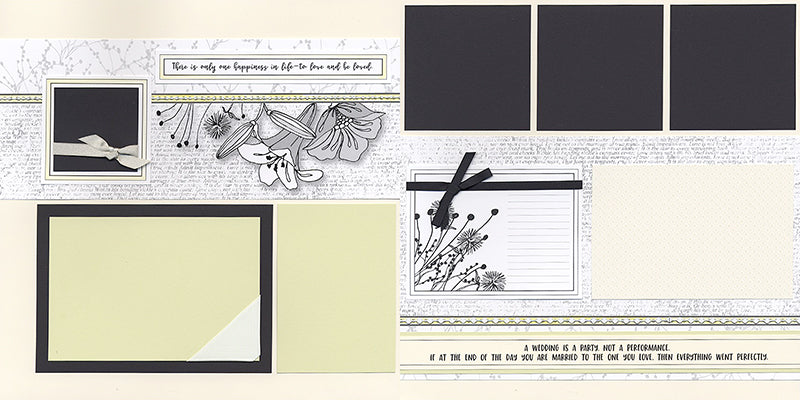
LAYOUTS 1 & 2
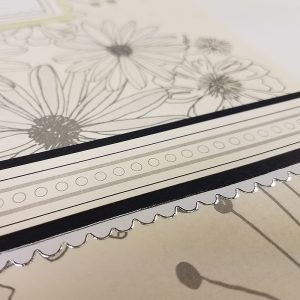
We've included a full sheet of Dazzles Border Stickers in your kit! Add them to the edges of nested cutaparts for that extra-special touch. Link the strips together to make a full 12" length.
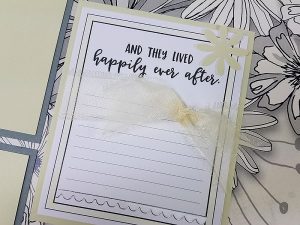
There is a small scrap of paper left after trimming is completed. Use it to punch a few small flower shapes if you have an appropriate punch in your stash. I like to dust mine off and use them occasionally!
Make small loops of chiffon ribbon and tape them to the back of each black photo mat.
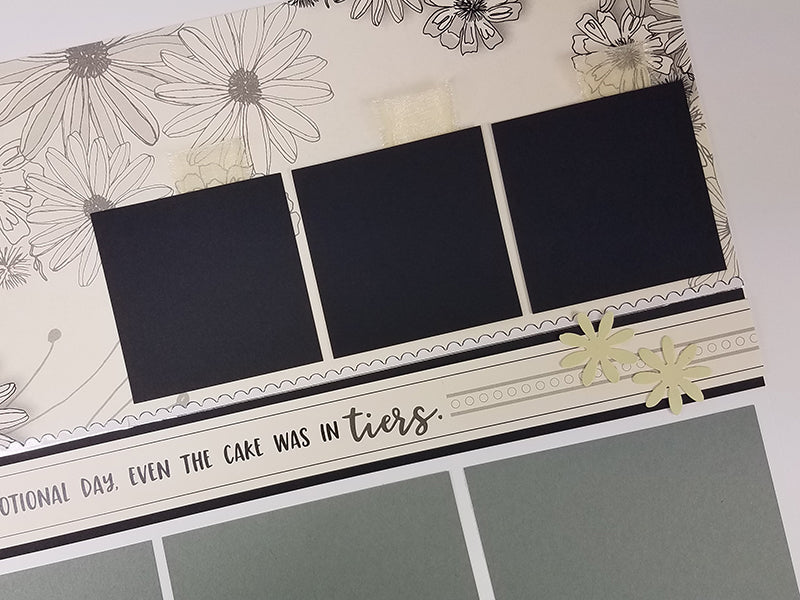
LAYOUTS 3 & 4
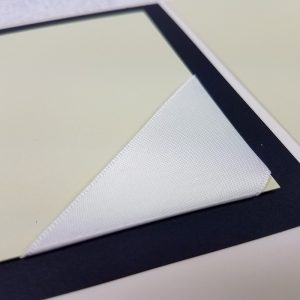
Wrap the corner of a photo mat with the white double-faced satin ribbon. Tape the ends to the back.
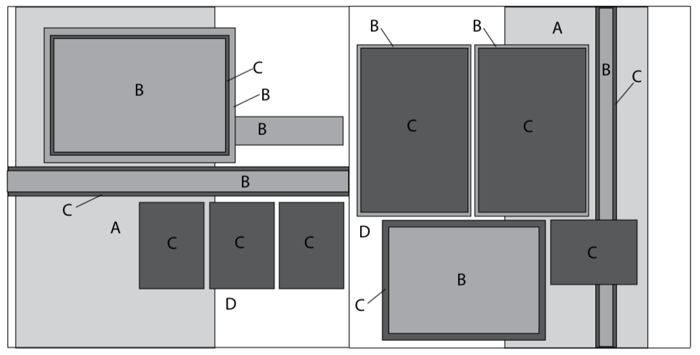
LAYOUTS 5 & 6
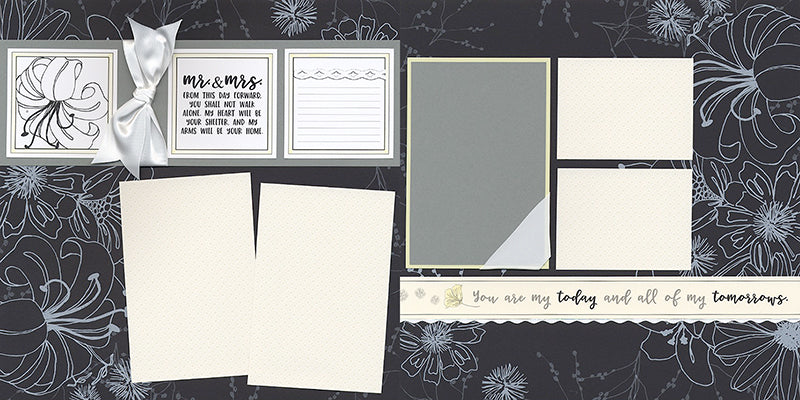
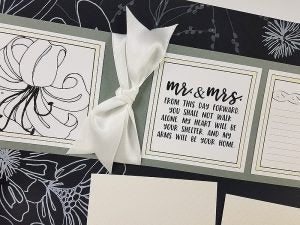
Allow the satin to shine on the title of this double page spread. Adhere the three cutaparts to the 3.75x12" strip, leaving a space between the first and second square. Tie a big bow and trim ends in a "v" shape. Gorgeous!
LAYOUTS 7 & 8
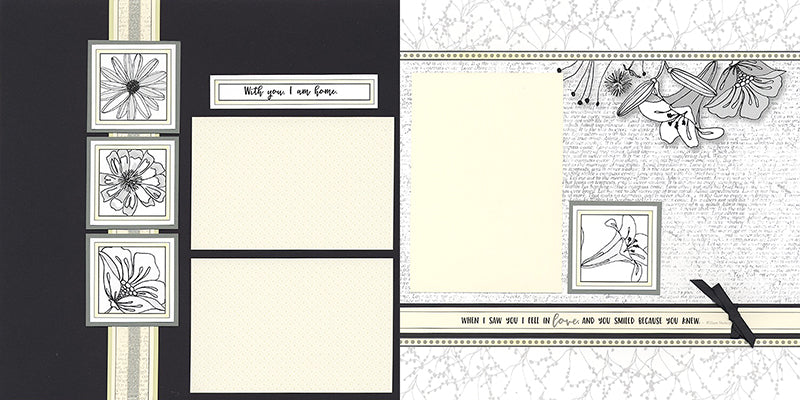
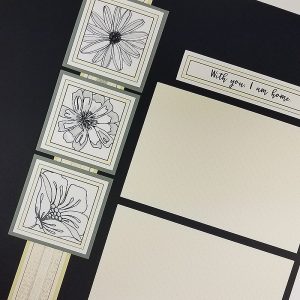
Anchor three floral cutaparts with a nested border strip topped with the 1/2" soft metallic ribbon.
LAYOUTS 9 & 10
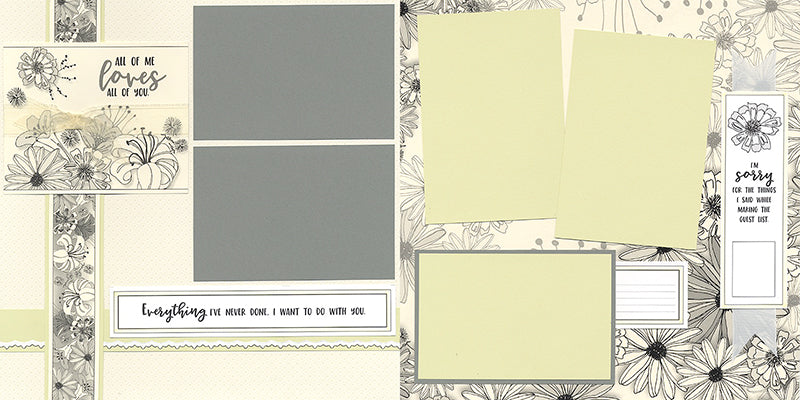
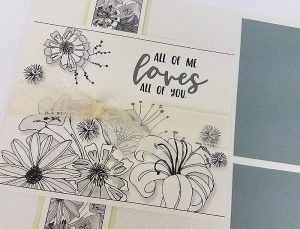
After planning the layouts, I realized I had enough papers to make an additional two pages! And, with four yards of beautiful ribbon, I had plenty to go around. Wrap the page title with the gorgeous frayed-edge chiffon.
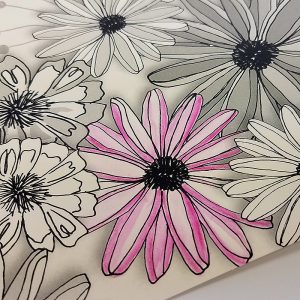
Finally, use markers, spray inks, chalks, paints, watercolors, etc. to enhance the artwork to coordinate with your color scheme. I kept my pages very neutral by adding an occasional swipe with a Faber-Castell Ivory Big Brush PITT Pen.

No matter what color the bride selects, your pages are sure to coordinate after you personalize the prints and cutaparts.
We are excited to have an upcoming wedding in the Club Scrap family. Beth's daughter Abbie got engaged last weekend and planning is in full swing. (She just said "yes" to the dress!)
As always, made with love, Tricia

