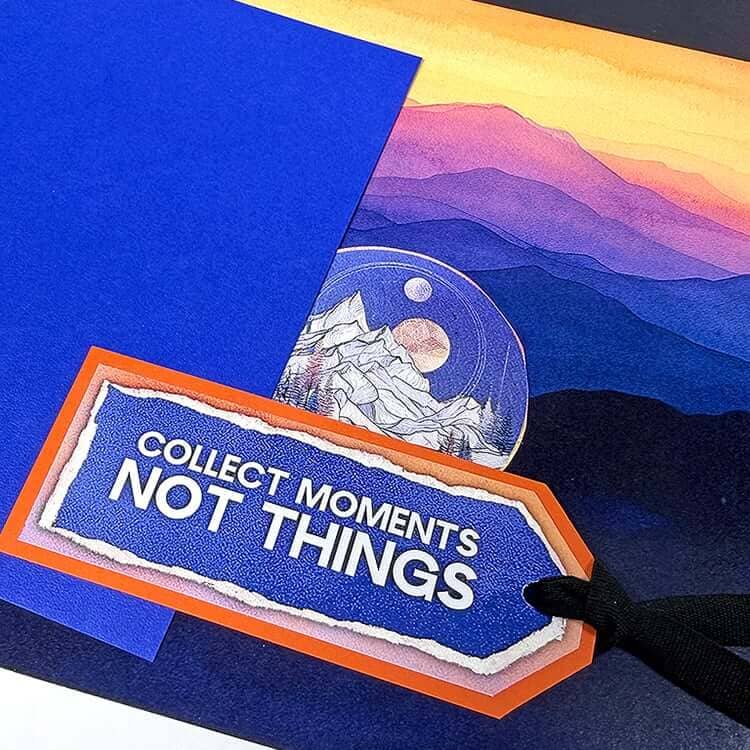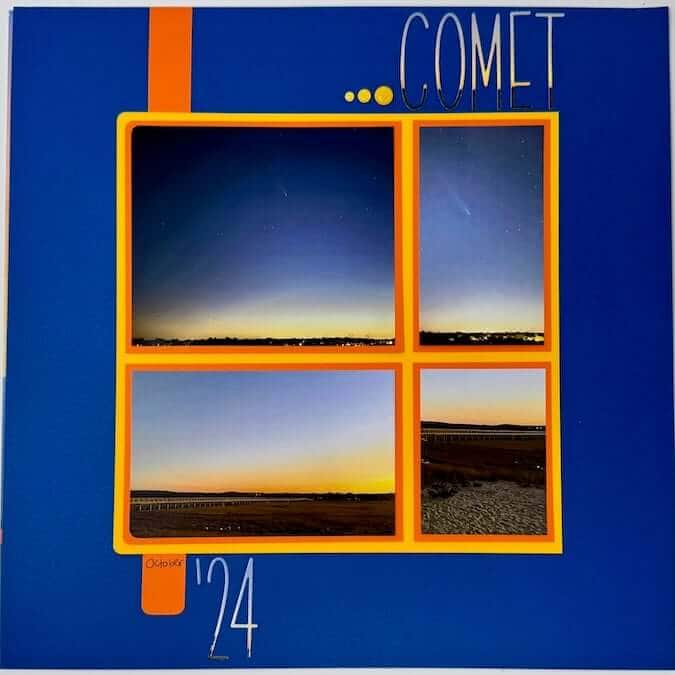

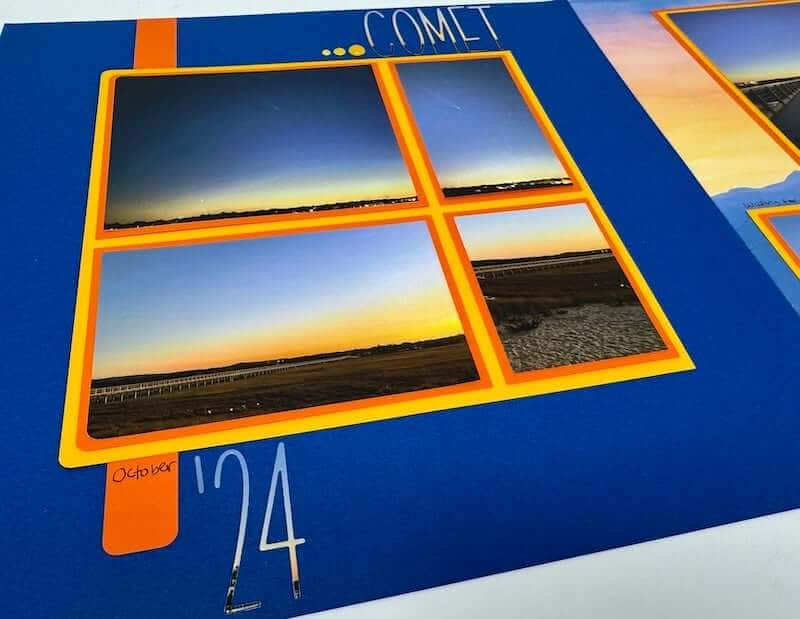
Create more Vista pages when you pair the Bonus Formula with the gorgeous Mountain Print and papers and embellishments from your stash.
Vista Bonus Pages
May Page Formula
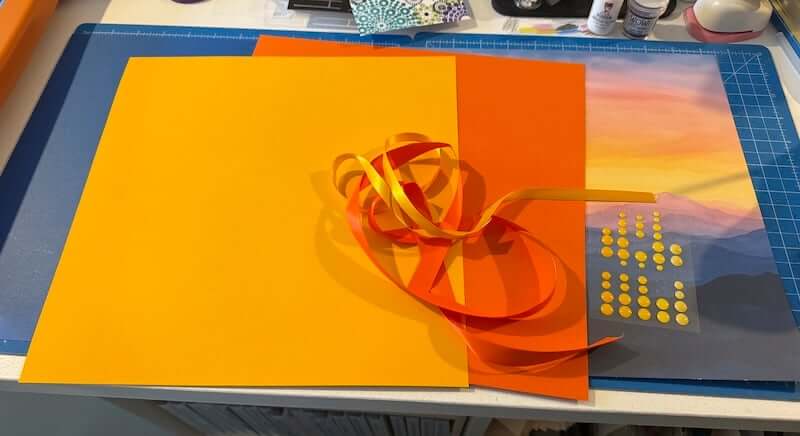
Gather the Vista Mountain print and three coordinating plain papers from your stash as indicated in the May Bonus Formula.
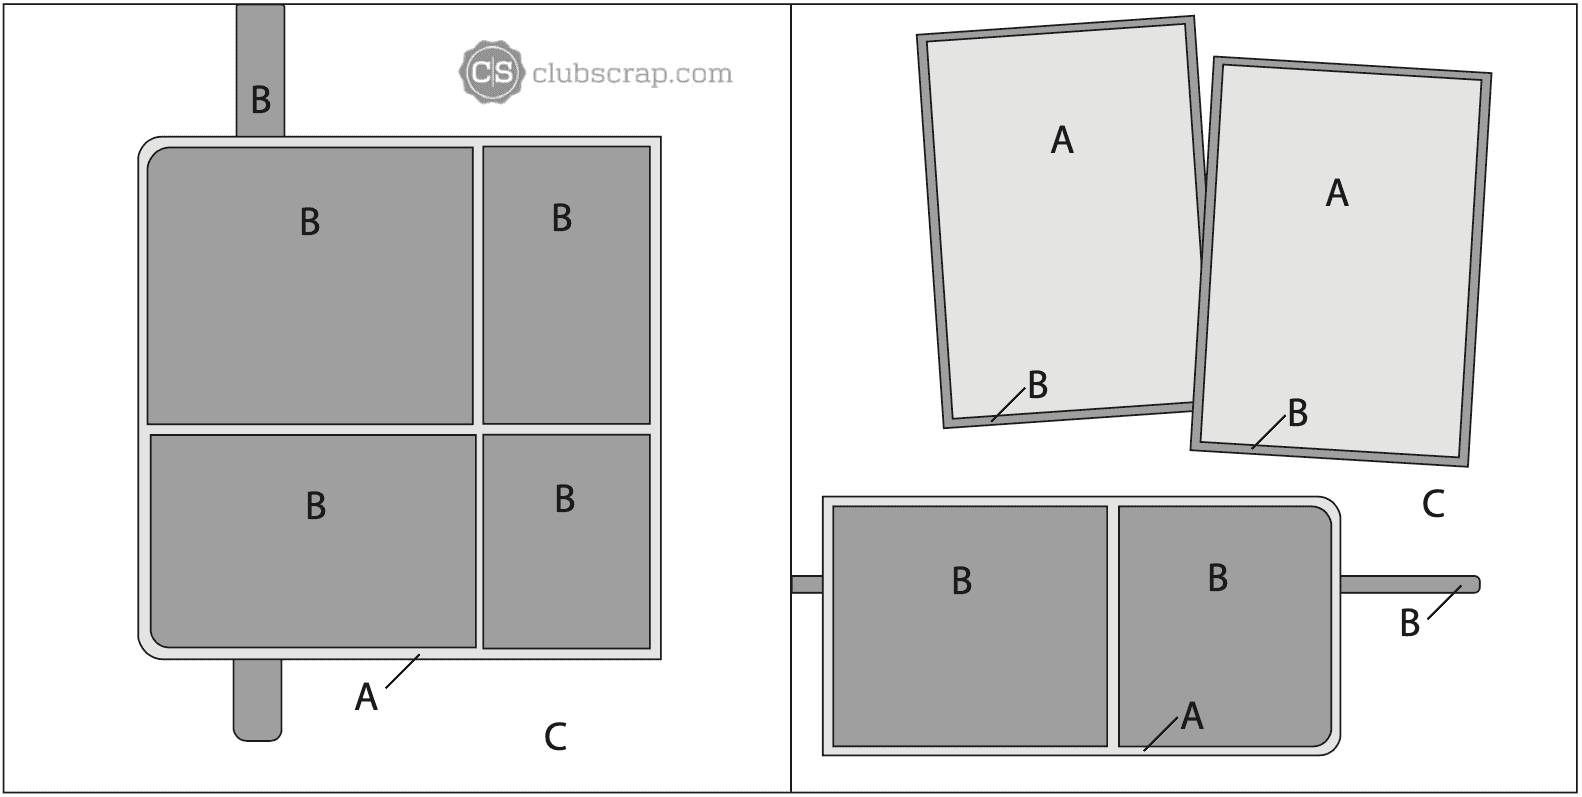
To recreate my layout, utilize the following paper assignments:
- Zest for Life Dk. Yellow (Paper A)
- Zest for Life Orange (Paper B)
- Starry Night Bright Blue (Paper C Left)
- Vista Mountain Print (Paper C Right)
Page Trimming and Assembly
Sort the 12x12" papers: Zest for Life Orange (Paper A), Zest for Life Dk. Yellow (Paper B), Starry Night Bright Blue (Paper C Left) and Vista Mountain Print (Paper C Right); cut the paper with a trimmer* according to the formula's instructions and sort the pieces.
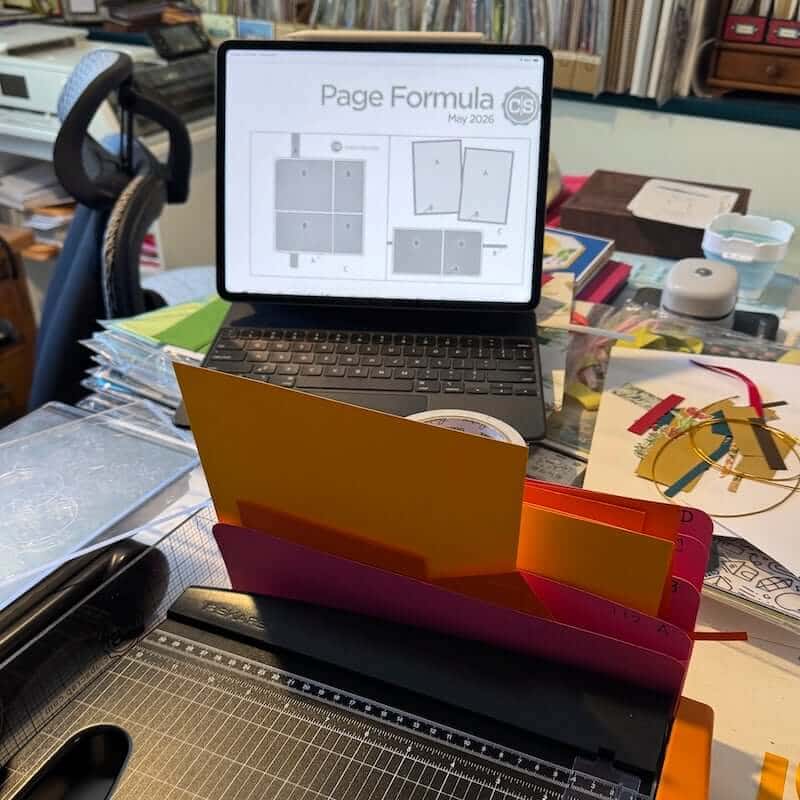
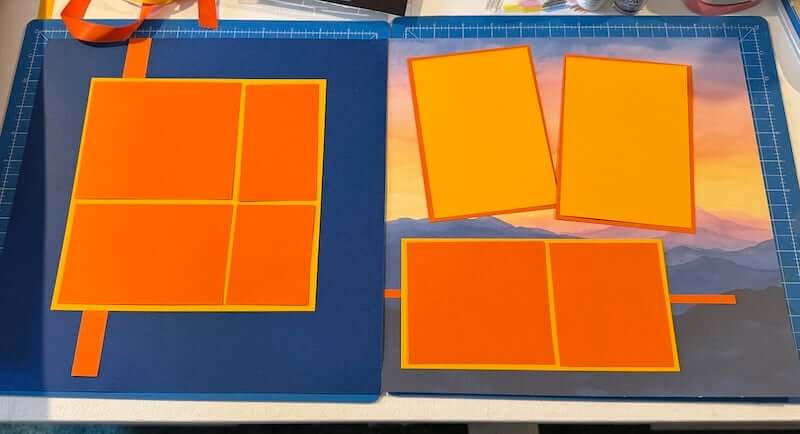
Once all trimming is complete, refer to the sketch to dry fit the pieces.
Punch the panels and anchor strips as indicated on the sketch with a Corner Rounder tool.
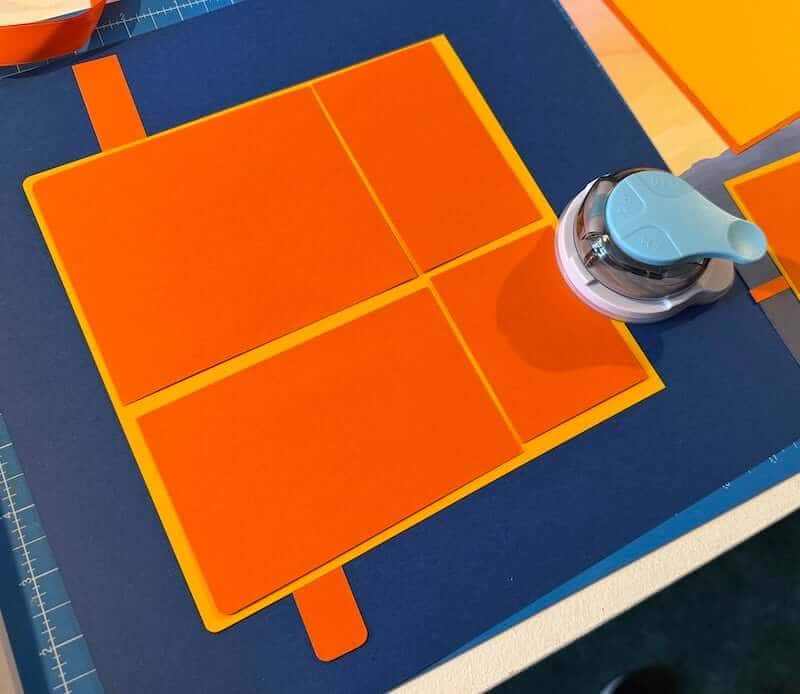
Test-fit photos over the mats until you're happy with the arrangement.
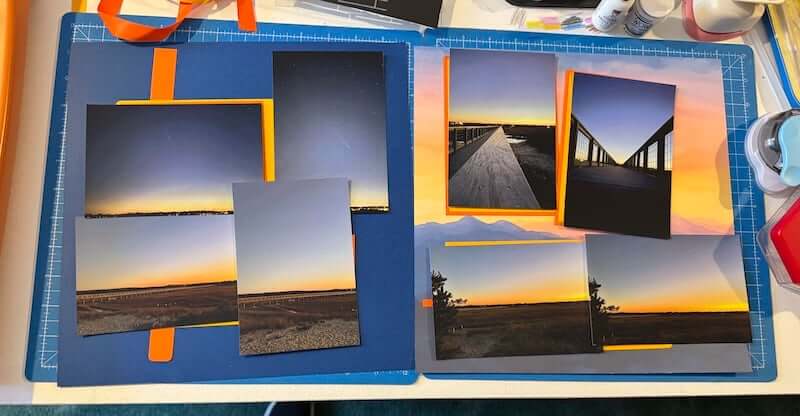
Hover a 8x8 grid ruler over the photo mats to determine the ideal photo size.
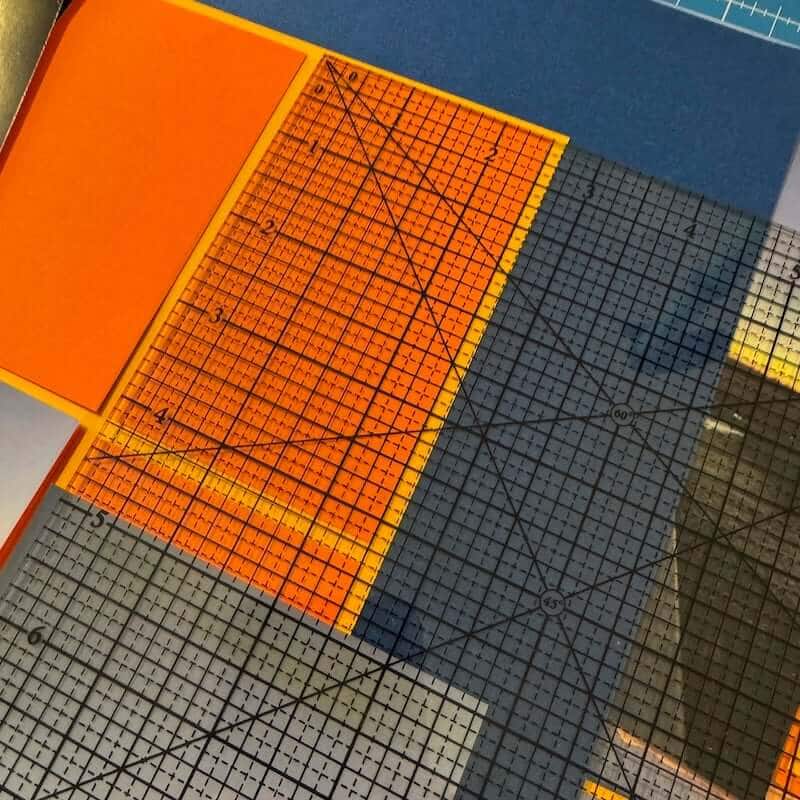
Hover the ruler over the photos to determine if it can be cropped to size without losing any important subject matter. Trim the photos to fit inside each mat and set aside.
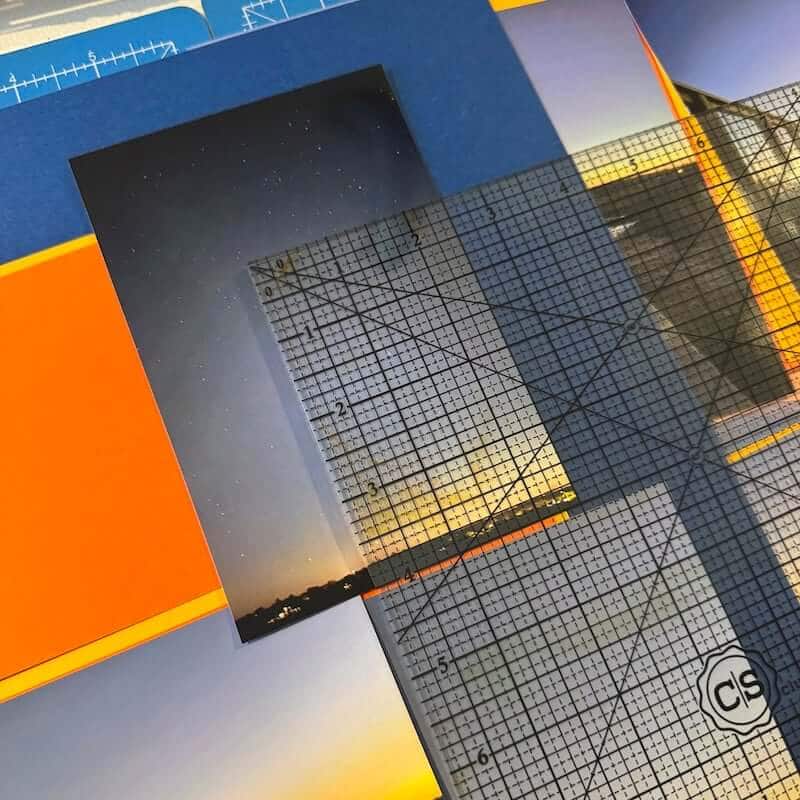
Nest the layered mats together as shown in the sketch. Adhere the Orange anchoring strip to the left side of the first page using the 3x14" acrylic ruler to ensure proper alignment.
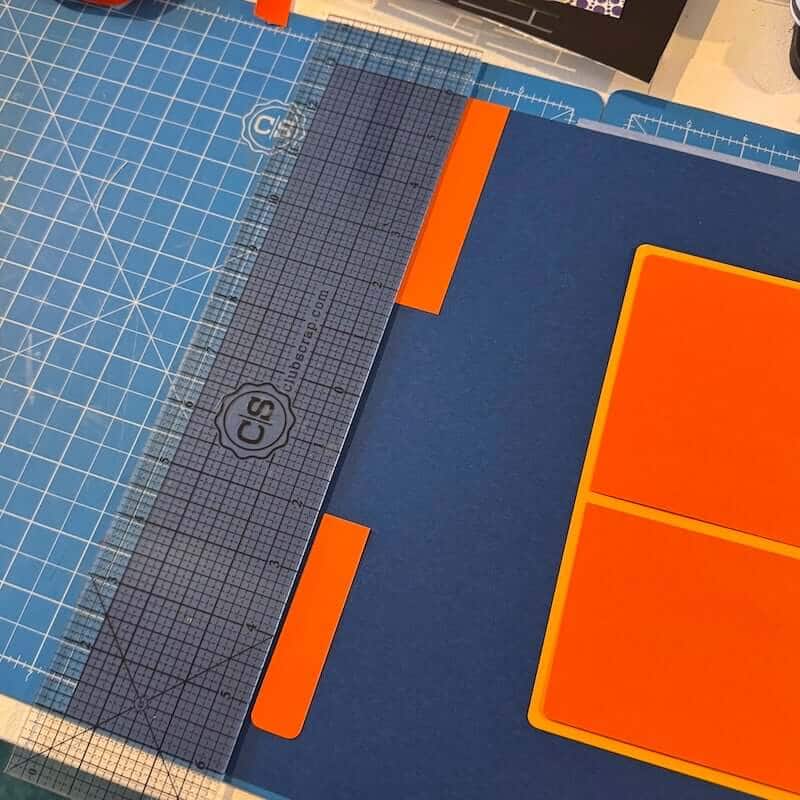
Continue to add the anchor panel with nested photo mats with the ruler as your guide.
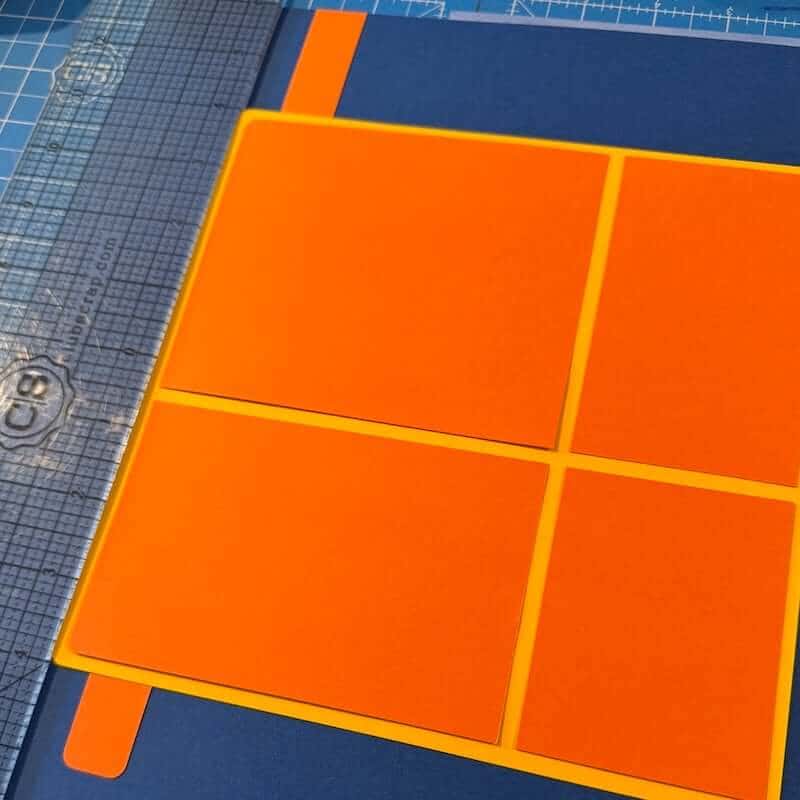
Adhere the cropped photos to each of the mats.
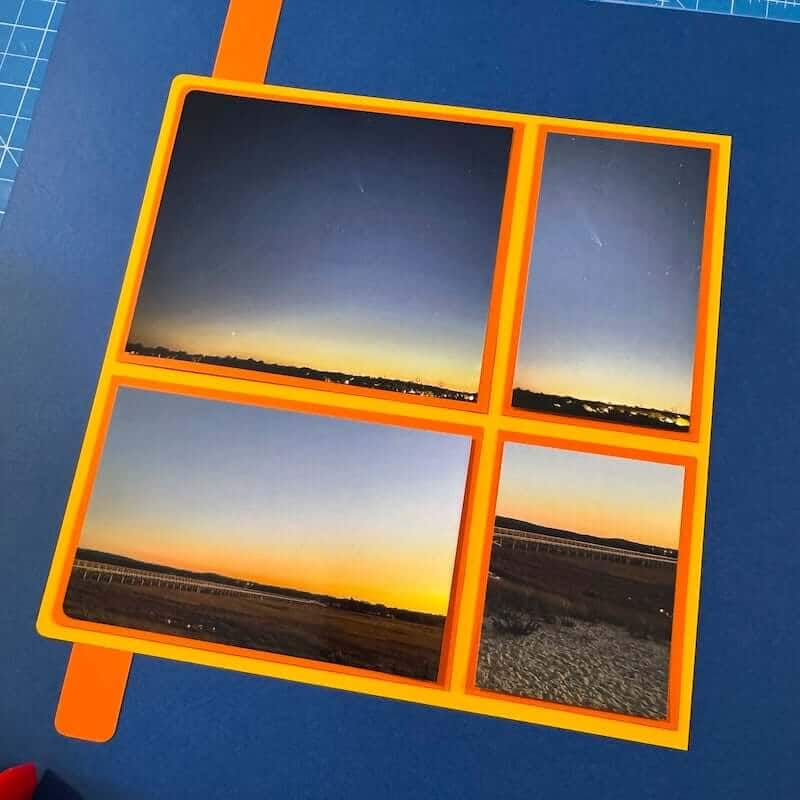
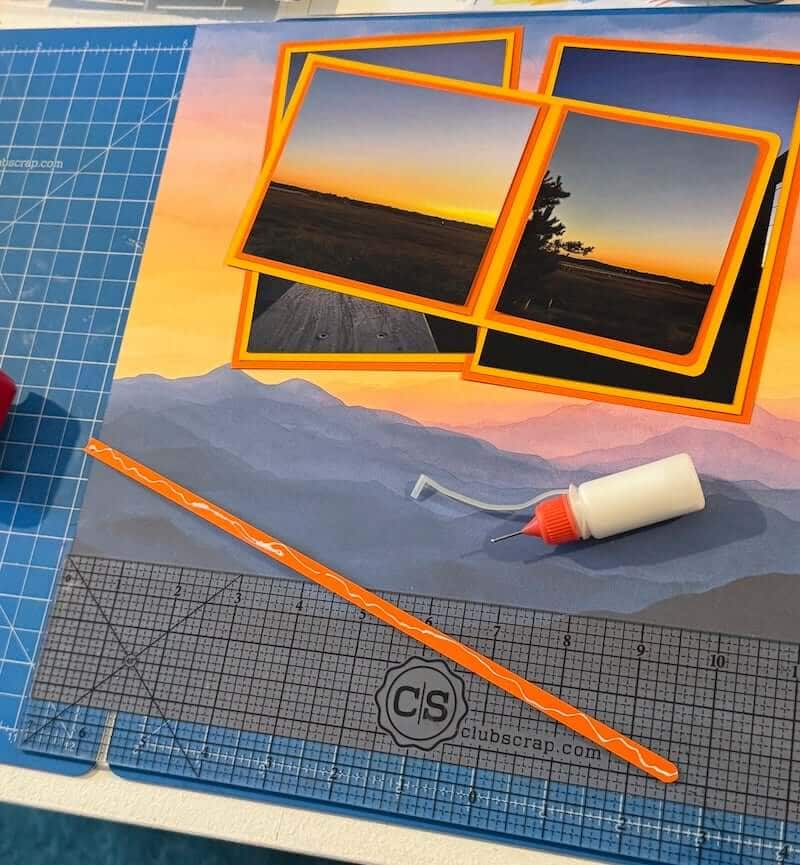
Repeat this process for the remaining photos. Apply Bookbinding Glue dispensed from a Needle-tipped Applicator to the back of the skinny Orange accent strip on the second page.
Create a Custom Title
Die cut letters to form a title with a portion of a photo left over from cropping. Pro tip: Add double sided adhesive* to the back of the photos prior to die cutting.
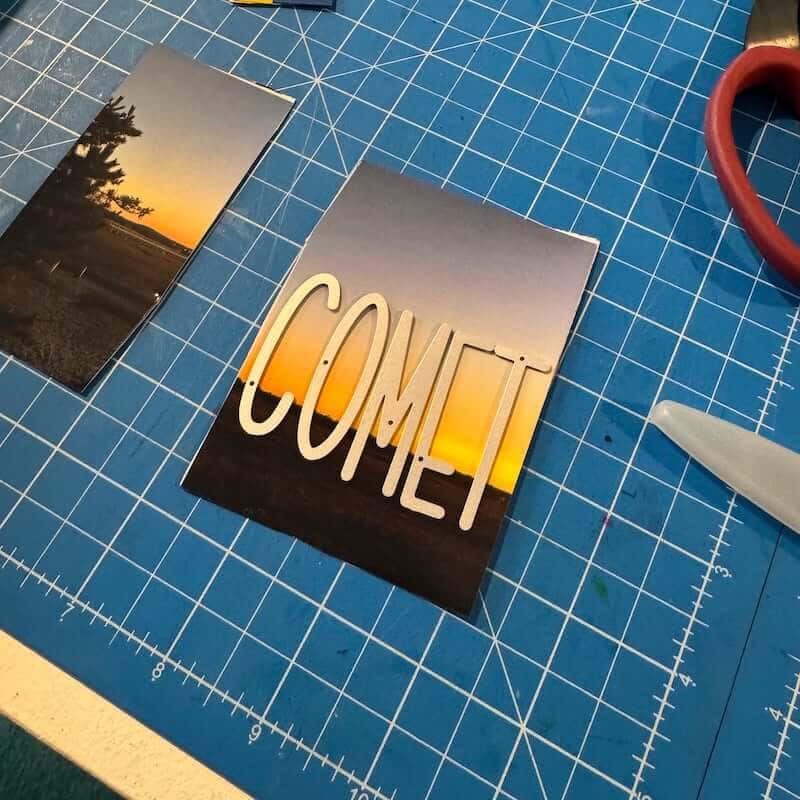
Once the letters are die cut, the adhesive backing can be removed for easy application on any page.
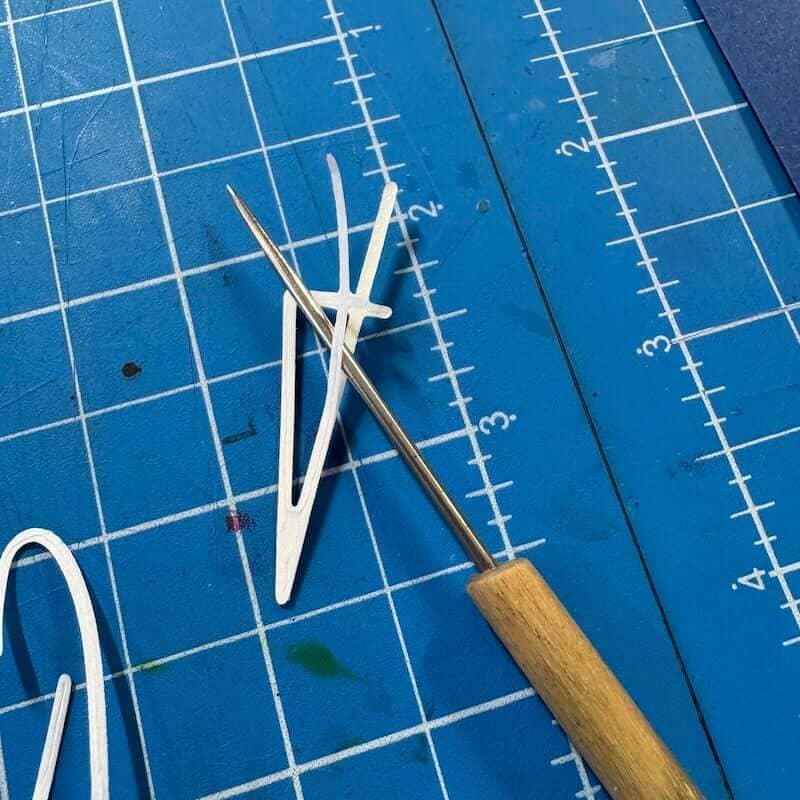
I love how these add such a unique but cohesive look to my page.
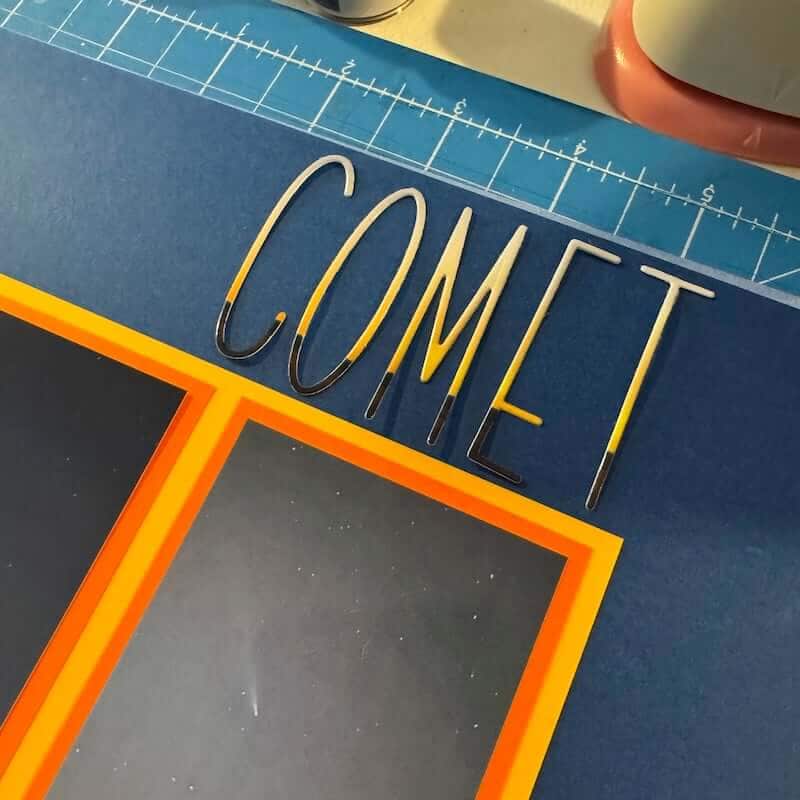
I had enough photo space to die cut the year too!
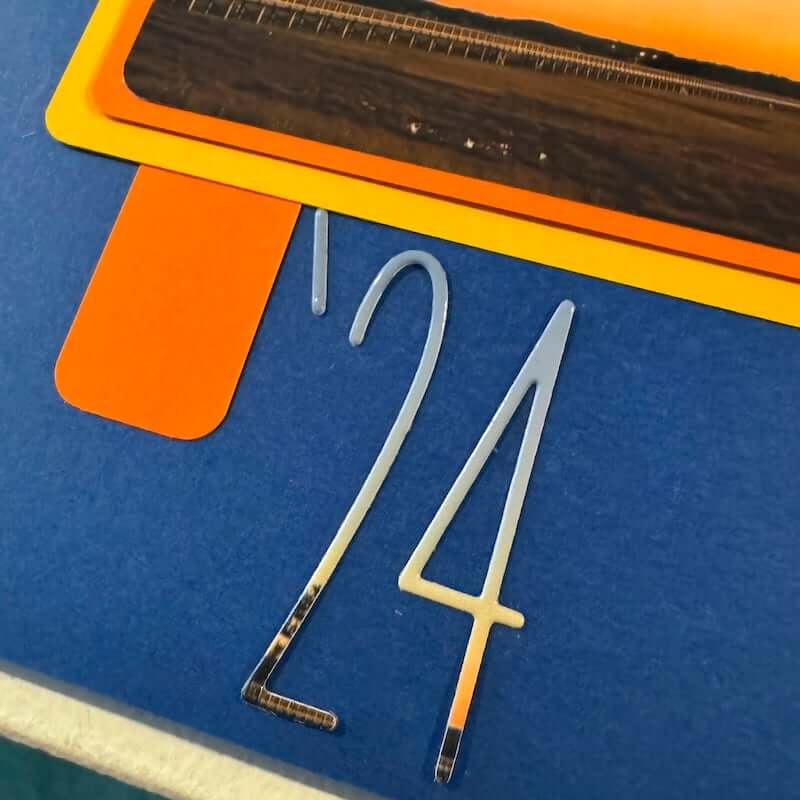
Finally, add journalling and enamel dots (Zest for Life 01.21). Let's take another look at the finished Vista pages.
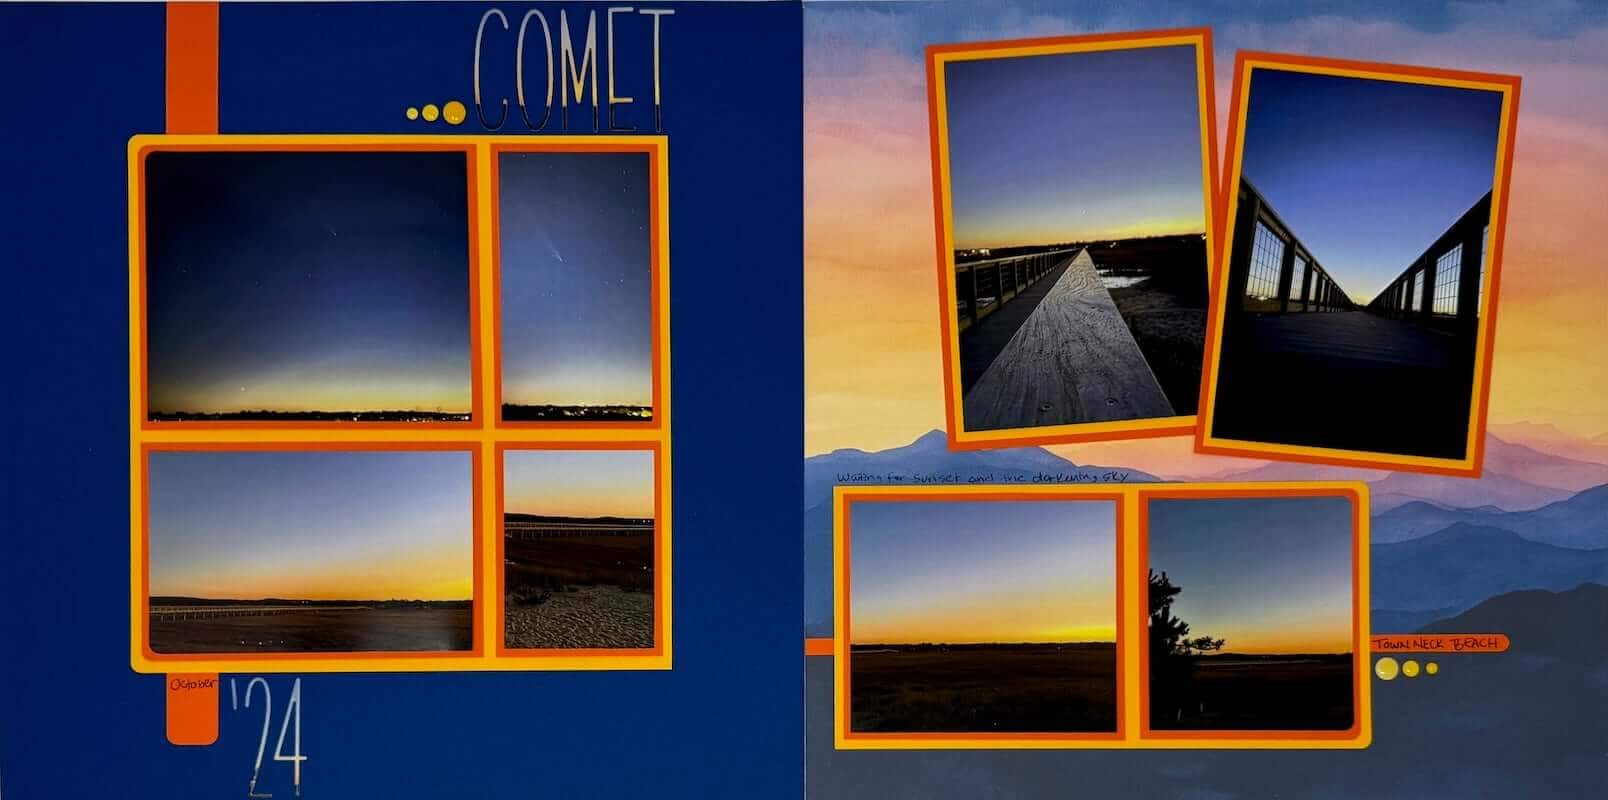
Have you made pages with the May Bonus Formula?
We invite you to share your finished artwork on our Facebook Chat Group. Not a member of the group yet? Simply answer a few questions and we'll get your request processed in no time!

*As an Amazon Associate, Club Scrap earns from qualifying purchases. This means we may earn a commission if you make a purchase through links on our site. Thank you for supporting us!

Shop the links below to recreate this layout with the Ma Bonus Formula. Happy scrapping!
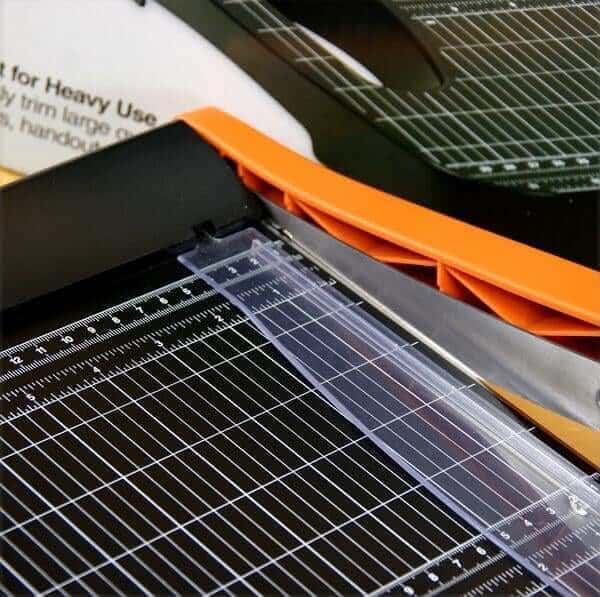
12-inch Paper Trimmer*
Available via Club Scrap's Amazon Affiliate Storefront
*As an Amazon Associate, Club Scrap earns from qualifying purchases. This means we may earn a commission if you make a purchase through links on our site. Thank you for your support!
3 in 1 Corner Rounder
$14.39
New design—same great tool! Rounds corners in three different sizes. Easy to use, lightweight and durable, this handy punch cuts through folding board, cover weight and text weight papers. Non-slip base. Tips: To sharpen, cut thin aluminum foil several times.To… Read More