My card stash is running low on masculine cards and I have quite a few male birthdays coming up. Combining the Typeset Page Kit and coordinating stamps with Deluxe Card Formula # 6 was the perfect solution. I was able to transform the supplies into 16 cards and two card trays with sliding lids.
To get started, download the card formula and utilize the following paper assignments:
(1) Paper A = Letter Print
(1) Paper B = Red Plain
(2) Paper C = Green Prints
(2) Paper D = (1) Red Plain, (1) Letter Print
(2) Paper E = Typewriter Print
(2) Paper F = Gold Plains
(2) Paper G = Navy Plain
Typeset Masculine Cards with Gift Boxes
(2) Trays with Sliding Lids
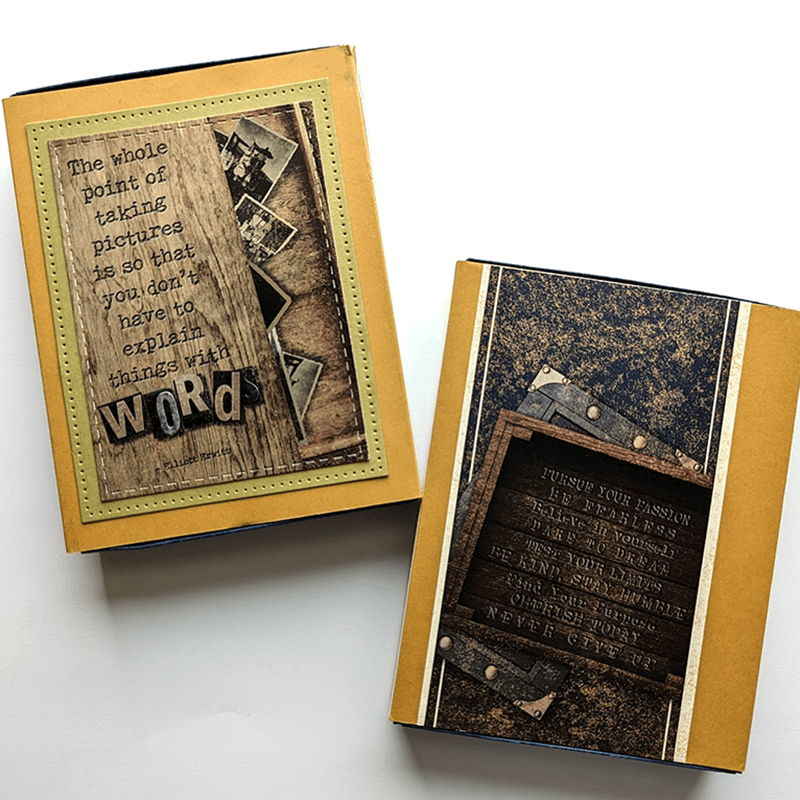
Tray 1: Pair the cutapart sentiment with a stitched rectangle die sized to fit the top of slider lid. Mat with a Green die cut panel.
Tray 2: Trim the border strip cutapart to fit the slider lid.
(16) Typeset Cards
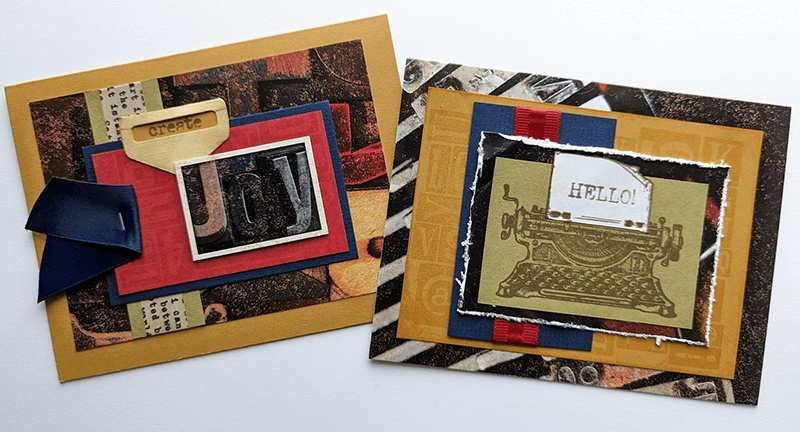
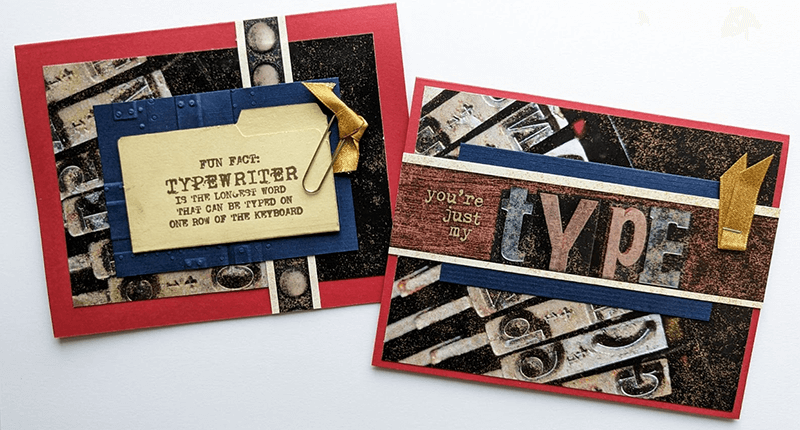
Card 1: Apply gold metallic washi tape to the green strip. Ink the edges of manila folder. Stamp the sentiment with Earth Hybrid ink. Add the large alphabet collage to a Gold panel. Tie gold ribbon onto a gold paper clip and attach to the mini file folder.
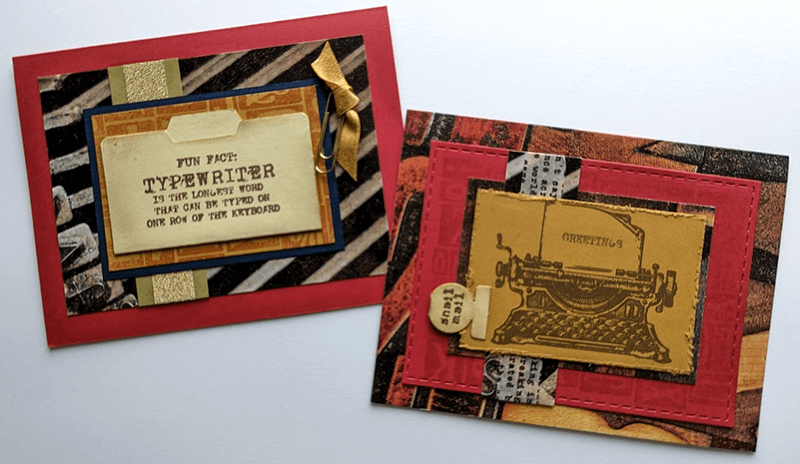
Card 2: Stamp the typewriter image and sentiment onto a Gold panel with Earth ink. Add the large alphabet collage onto the red panel with Red ink. Distress the edges of the Gold panel. Stamp the "snail mail" sentiment onto a round manila tab and adhere. Wrap script washi tape around the narrow strip.
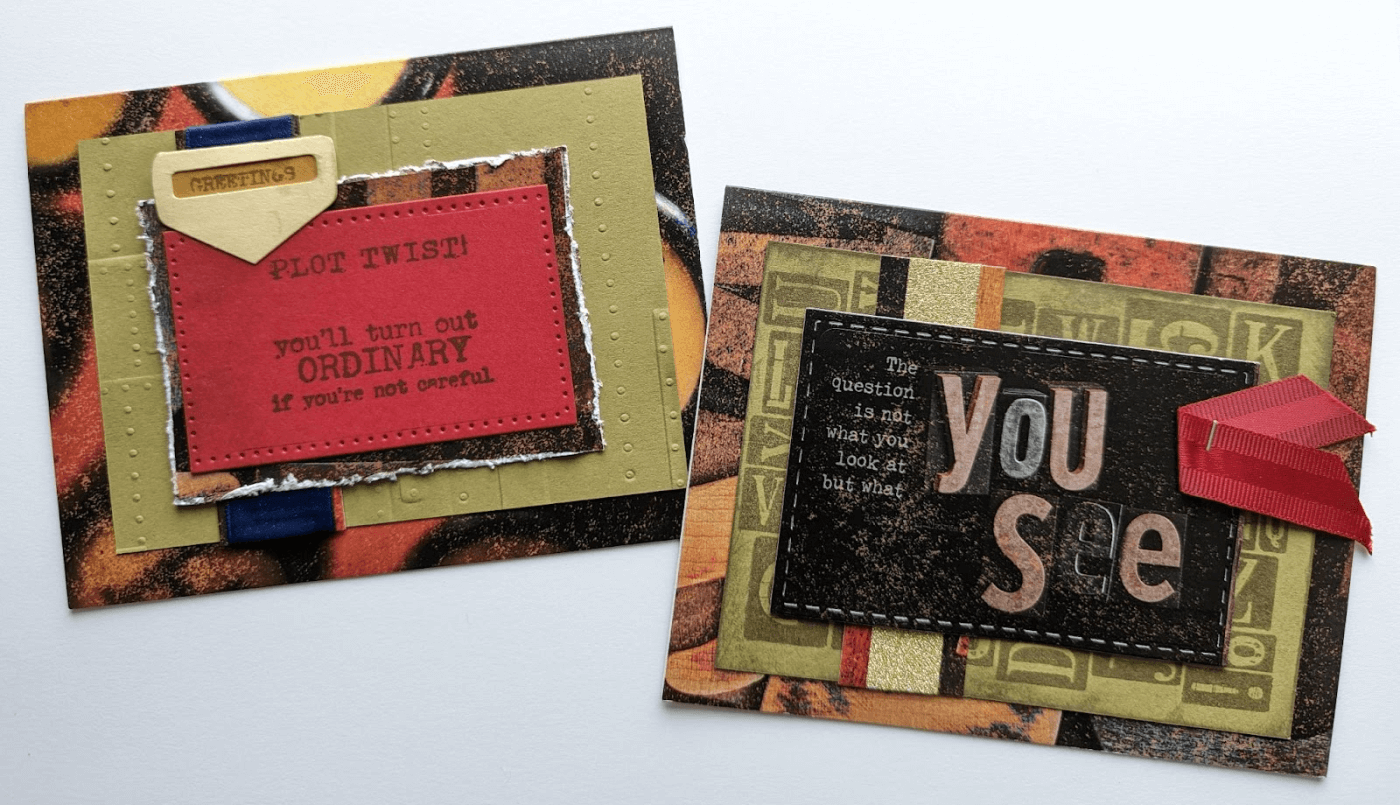
Card 3: Emboss the green panel with an embossing folder of your choice. Stamp "greetings" sentiment onto a scrap and center inside the manila tab. Add the sentiment to the red panel with Earth ink. Distress the edges of the printed panel.
Card 4: Stamp the letter collage image onto a green panel. Wrap gold metallic washi tape around a small strip. Cut “you see” sentiment with a stitched border die to fit the card. Staple red ribbon onto the sentiment.
Card 5: Stamp the letter collage onto a red panel with Red ink. Add a second sentiment in the left bottom corner with India ink. Ink the edges of a manila belt die cut; add the stamped sentiment. Wrap around the nested panels and adhere to the back side with tape.
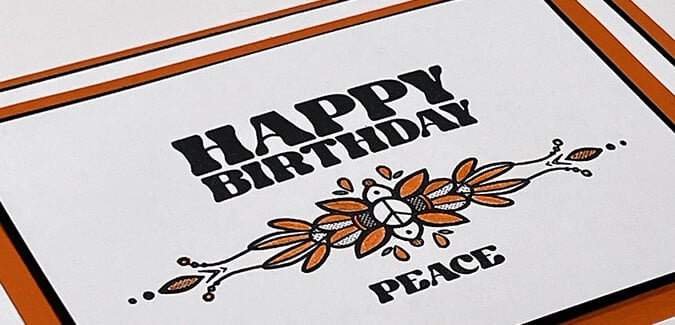
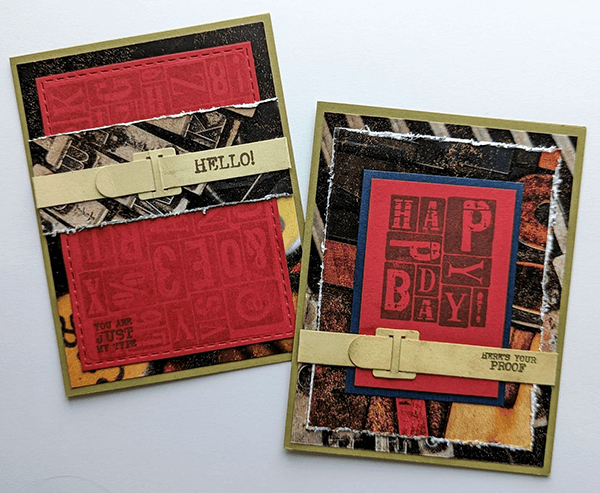
Card 6: Stamp Happy Bday image onto the red panel. Distress the edges of the printed panel. Ink the edges of a manila belt die cut; add a stamped sentiment. Wrap around the nesting panels, securing to the back side with tape.
Card 7: Wrap script washi tape around the green strip. Stamp the letter collage onto a red panel. Stamp a small sentiment onto scrap paper and center inside the manila die cut tab. Ink the edges of manila tab and adhere. Staple ribbon to the left side of the matted panels.
Card 8: Wrap red ribbon around the blue panel. Stamp the letter collage onto the gold panel. Distress the edges of the printed mat. Stamp the typewriter image onto the green panel. Stamp “hello” greeting onto a white scrap; fussy cut the paper portion and adhere to the typewriter image.

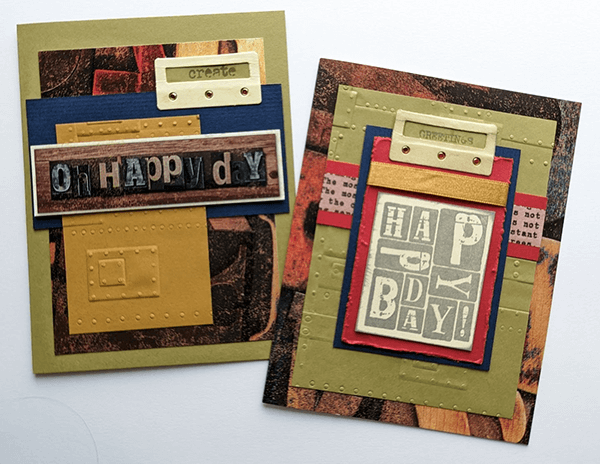
Card 9: Emboss the green panel with an embossing folder of your choice. Punch the "happy" tag with a slot punch; insert ribbon. Wrap the ends around the back of the panel and secure with tape. Adhere a length of gold metallic washi tape to a printed strip. Add a stamped sentiment with Earth ink.
Card 10: Wrap script washi tape around the red strip. Ink the edges of a manila tag die cut; stamp a sentiment in the lower right corner. Tie gold ribbon onto a gold paper clip and clip to the manila folder. Distress the edges of printed mat.
Card 11: Emboss a gold panel using an embossing folder of your choice. Stamp a small sentiment onto a green scrap and center inside the manila tab die cut. Add Dazzles to the manila tab for interest.
Card 12: Emboss a green panel using an embossing folder of your choice. Stamp a small sentiment onto a green scrap and center inside the manila tab die cut. Wrap script washi tape around the red border strip. Stamp “Happy Bday” onto Ivory with Ash ink. Wrap gold ribbon around the top of the red panel. Add Dazzles to the manila tab for interest.
Card 13: Ink the edges of a manila mini file folder; add a stamped sentiment. Tie gold ribbon onto a paper clip and clip it to the manila folder. Emboss the blue panel with an embossing folder of your choice.
Card 14: Staple gold ribbon to the upper right corner of a trimmed border strip.
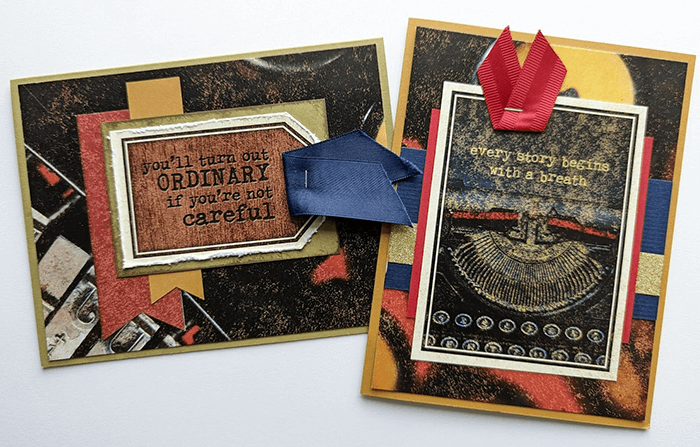
Card 15: Cut notches into the red border and a scrap gold paper strip. Distress the edges of the “ordinary” sentiment tag. Staple blue ribbon onto the tag.
Card 16: Wrap gold metallic washi tape around the blue strip. Staple red ribbon to the top of the "breath" sentiment cutapart.
It's so easy to create cards from any page kit with Club Scrap's selection of Card Formulas. There are so many options available for download in the online store. The possibilities are nearly limitless!