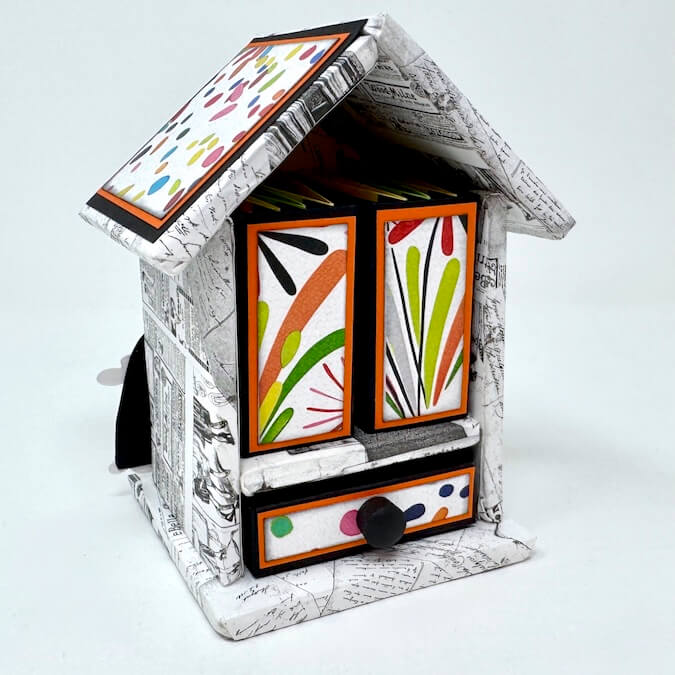

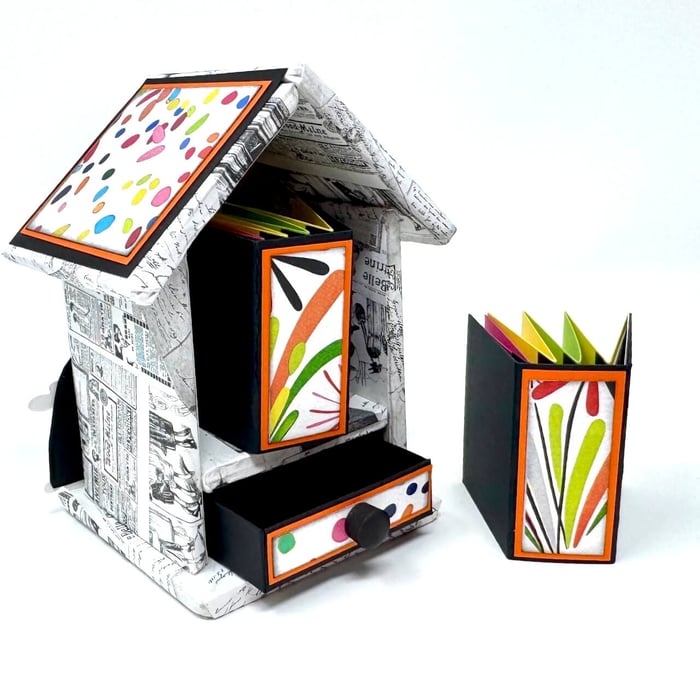
Build an adorable tiny house to hold miniature u-hinge albums and other keepsakes. You can make this adorable project with the Happy Life collection and a pizza box!
I recently unearthed a project I had started back in 2019 and finally decided to finish it.
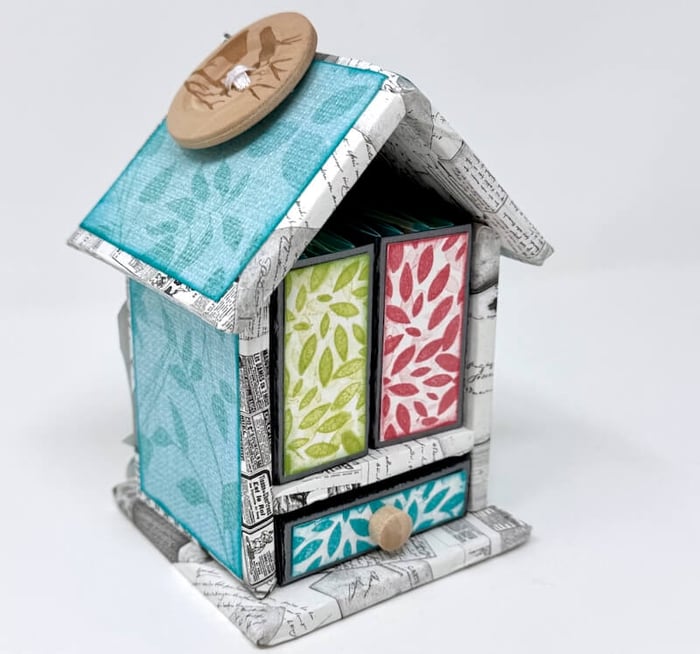 Tiny House - Aviary 2019 stamps, papers and embellishments
I shared the results on Facebook and it was a hit. So I set out to make another one featuring the January 2025 collection.
Tiny House Tutorial
Trimming and Wrapping the Boards
Gather text weight collage prints (kraft packing paper can also be used)...
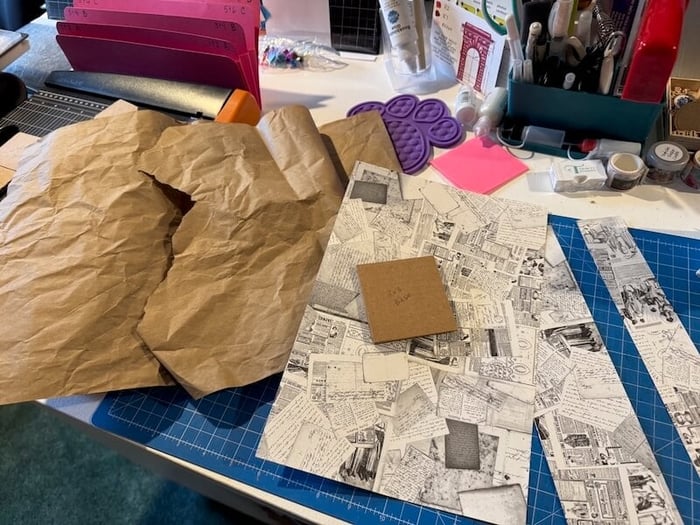
...and a clean Club Scrap pizza box.
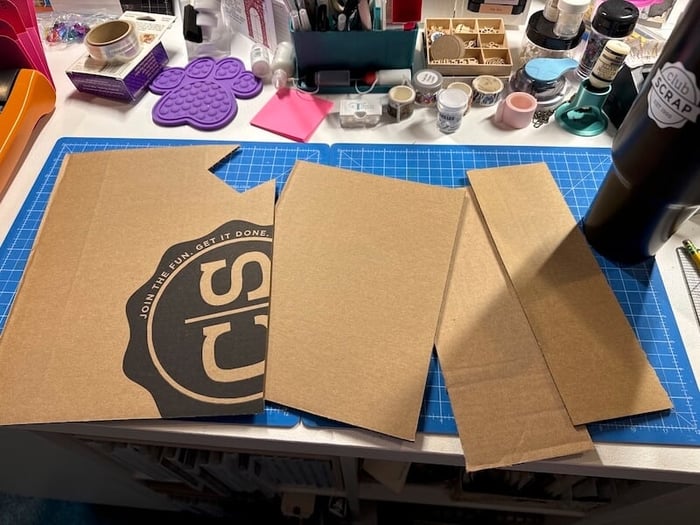
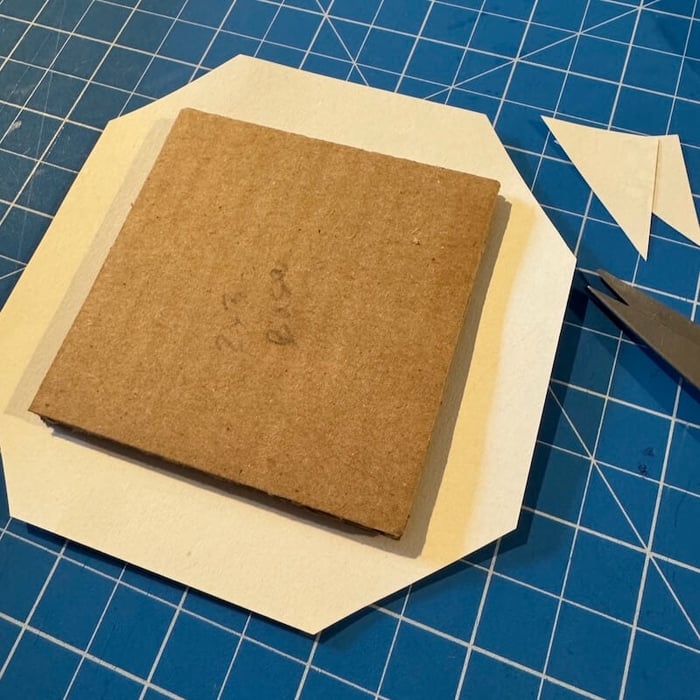
Cut the pizza box cardboard to create pieces with the following dimensions:
(2) 3x3" Base
(2) 2-1/4x4" Back Wall (*see trimming instructions below)
(2) 2-1/4x2-3/4" Short Roof
(2) 2-1/2x2-3/4" Long Roof
(4) 2-1/4x3" Side Walls
(2) 2x2-1/4" Shelf
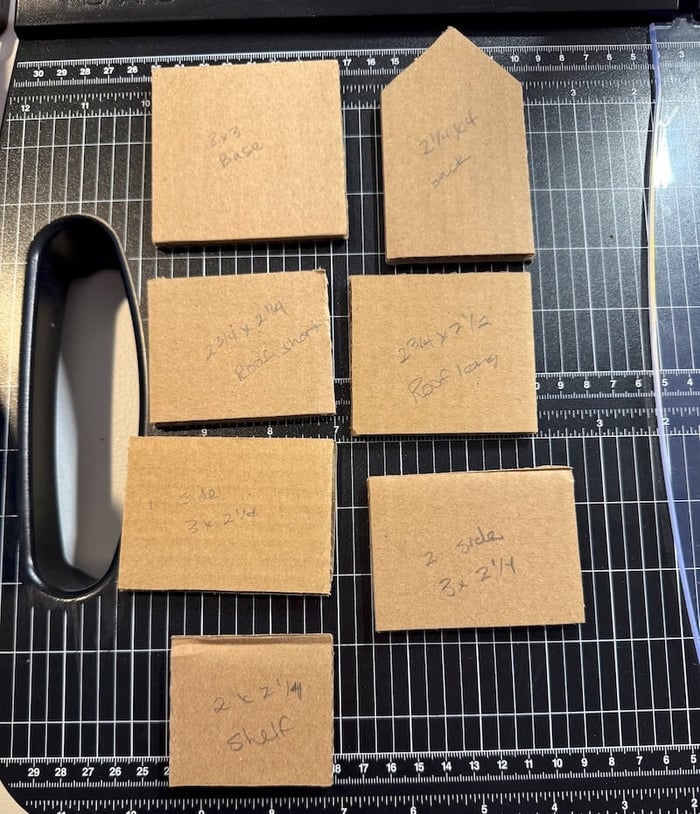
Each panel shown above is a double thickness of cardboard: Gluing two pieces together creates a much sturdier panel. When cutting and gluing the pieces, make sure the grain direction, or corrugate pattern, is running in opposite directions.

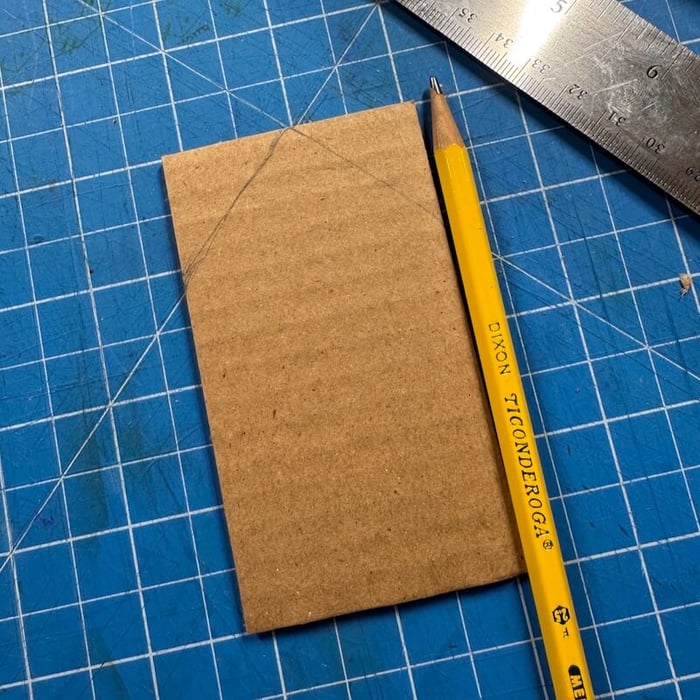
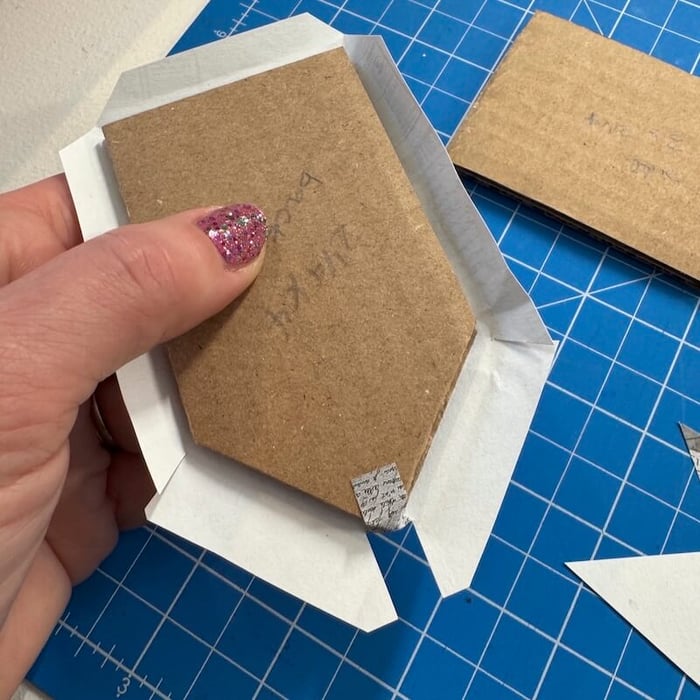
*Before gluing, position each Back panel onto a Club Scrap cutting mat, centering the top of edge of the panel over the 45 degree angle mark. Draw the angle markings with a pencil and ruler.
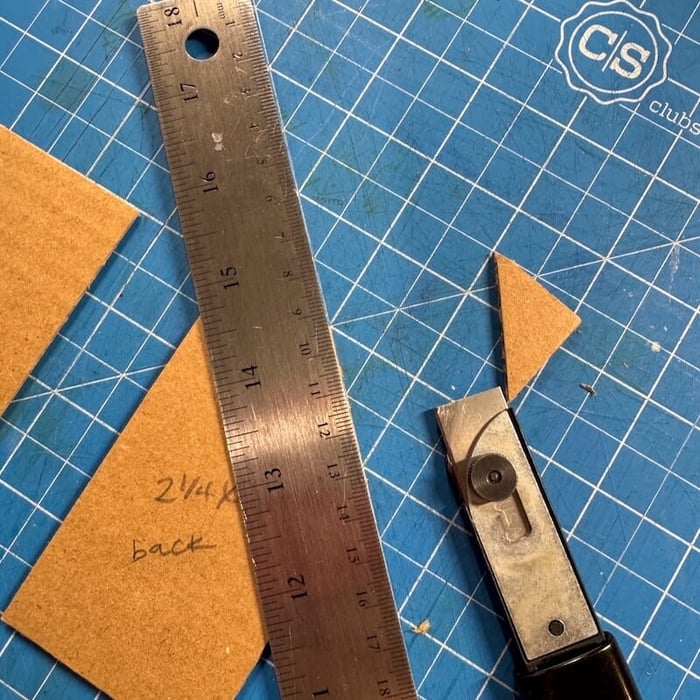
Remove the top corners of each Back panel with a utility knife. Apply Bookbinding glue to one panel and adhere to the other to create the double thickness.
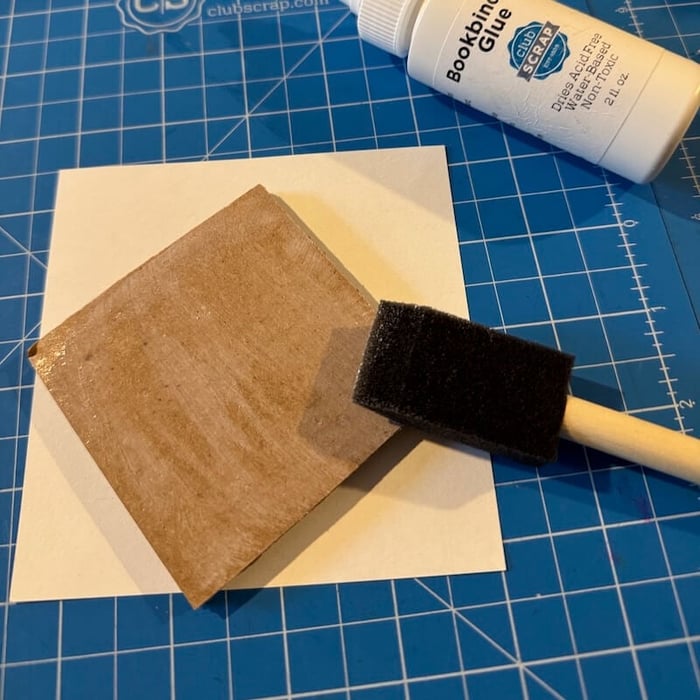
Spread a thin layer of Bookbinding Glue onto the Base. Adhere to the plain side the collage paper, leaving at least a 1/2" reveal on all sides. Need a quick review? Check out this video on wrapping boards.
Mitre the corners, making sure to leave a 1/4" space between the edge of the board and the trimmed paper. Pre-fold the flaps on each side of the board to "train" the paper in preparation for gluing.
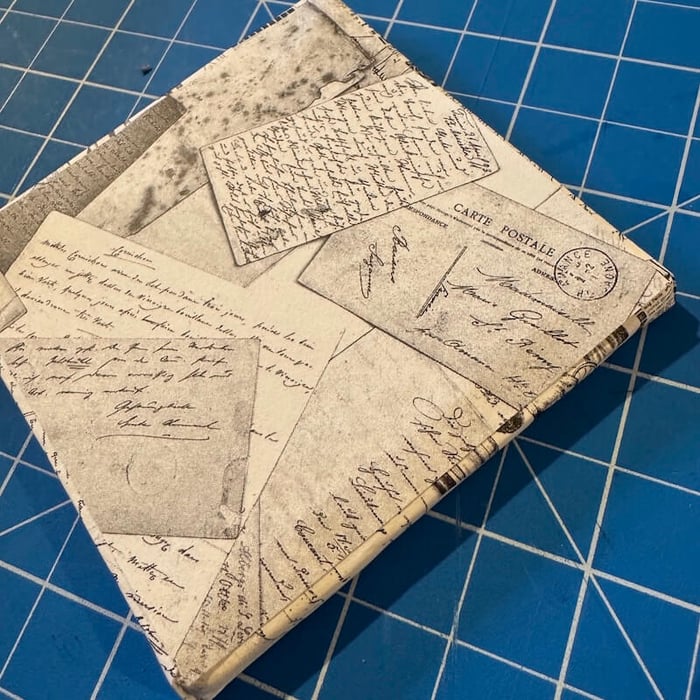
Complete the wrapping process making sure to tuck in the corners on each short end of the cardboard panels.
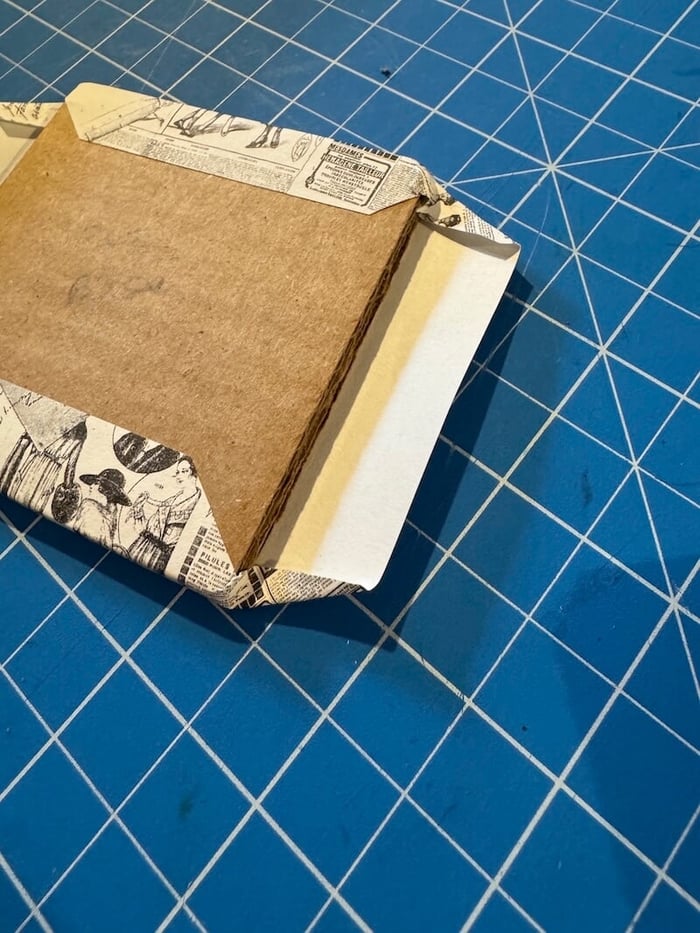
Trim and adhere paper to cover the exposed cardboard on the back side. (Tip: Cut paper to 1/4" smaller than the cardboard dimensions.)
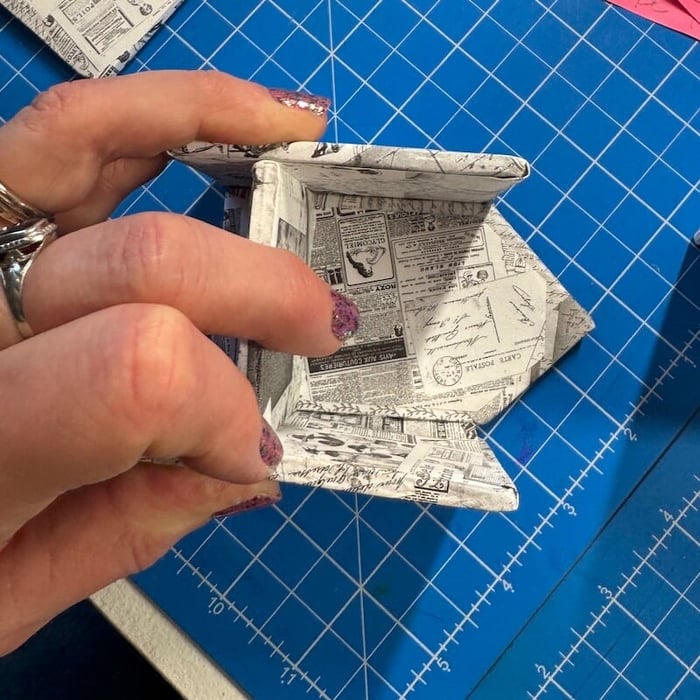
Next, trim the collage print cover wrap for the Back Wall as shown.
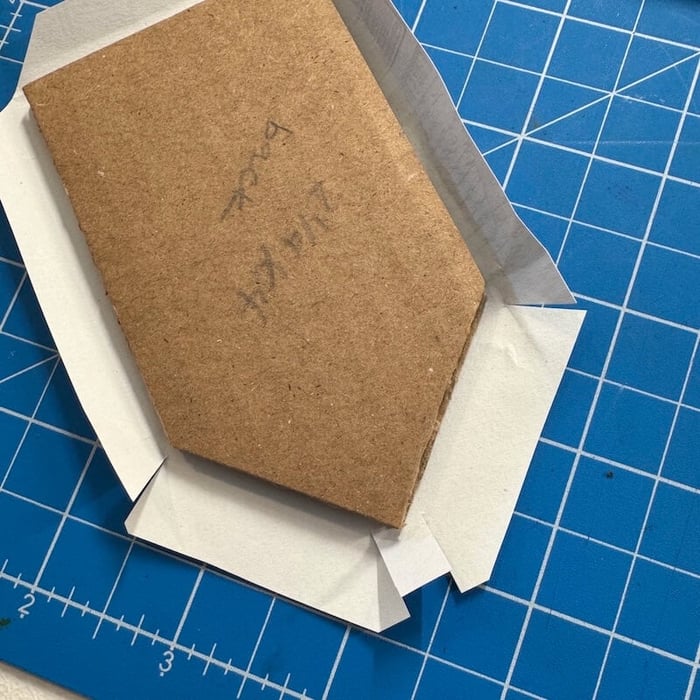
Glue the tiny tab at the roof peak first. Add glue to the tab and fold over the tip of the peak. The glue makes the text weight paper quite pliable and allows you to mold it easily around the shape of the peak.
Add glue to each long flap and wrap around the cardboard.
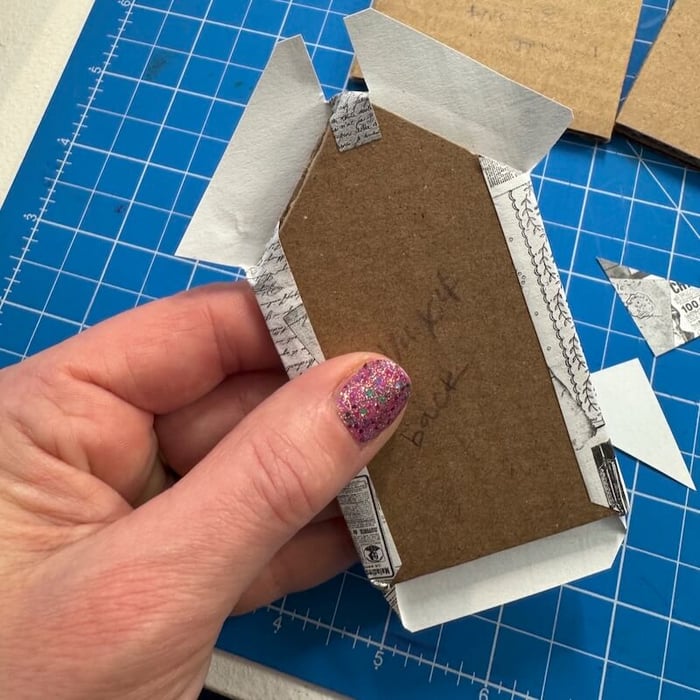
Add glue to the roof line tabs and adhere into place.

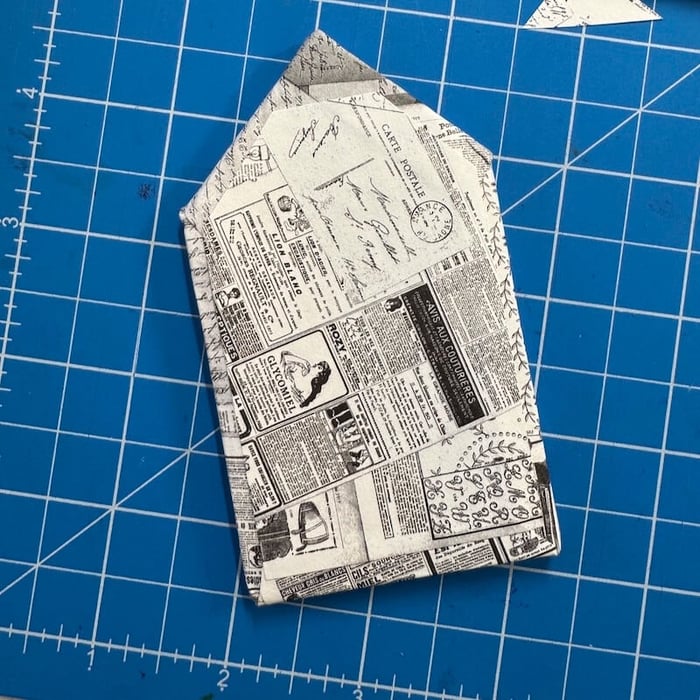
Finish the wrapping process with the short end tab, tucking in the corners. Add a trimmed piece of collage print to cover the exposed cardboard on the Back Wall.
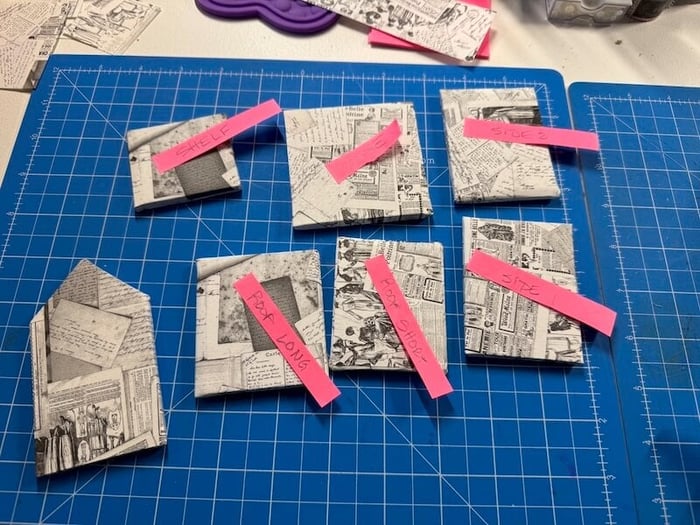
Continue wrapping each of the remaining sections of the tiny house. Be sure to label each part to avoid confusion during assembly.
Tiny House Assembly
Add Bookbinding Glue (dispensed from a Needle-tipped Applicator) to the long sides of the Back Wall. Position each Side Wall perpendicular to the Back Wall where the glue was applied. Hold in place a few moments, until the glue "sets".

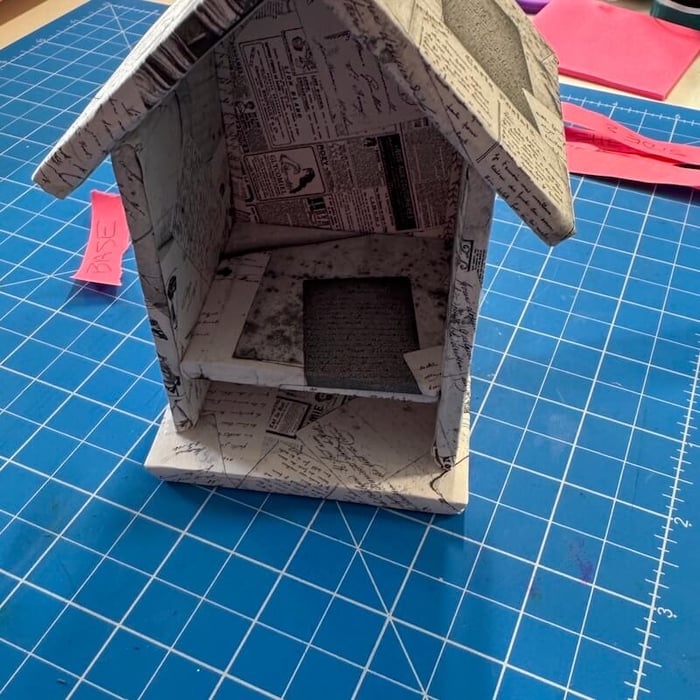
Add glue to the sides and back of the Shelf. Slide the piece between the two Side Walls 3/4" from the bottom of the Back and Side Walls. Hold in place until the glue sets.
Turn the house on its side and place a heavy object on it until the glue is fully set - approximately 15 minutes.

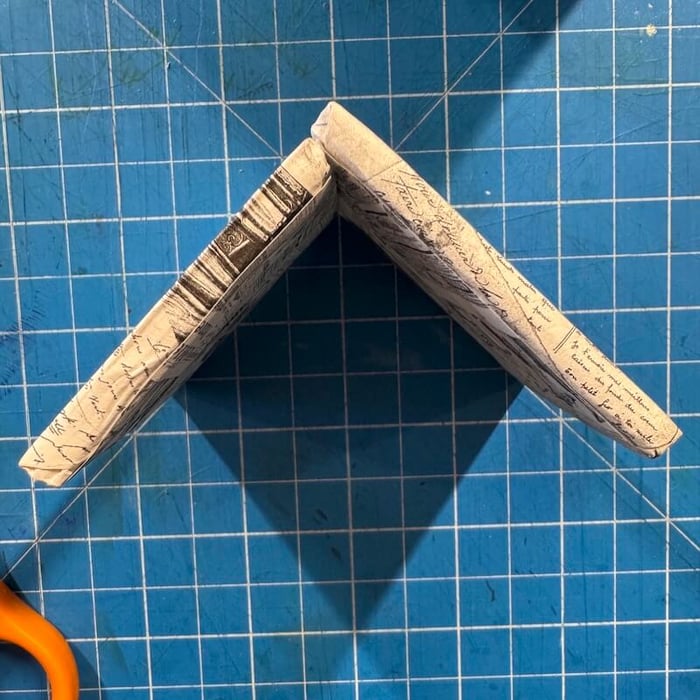
Add glue along the long edge of the Short Roof piece. Adhere to the Long Roof as shown below. Position it onto the cutting mat to ensure it forms a 45 degree angle. Allow the glue to dry completely before moving on to the next step.
Run a line of glue along the top edges of the Back Wall peak and Side Walls. Place the Roof onto the house, leaving equal reveal on the front and back. Press firmly until the glue is set. 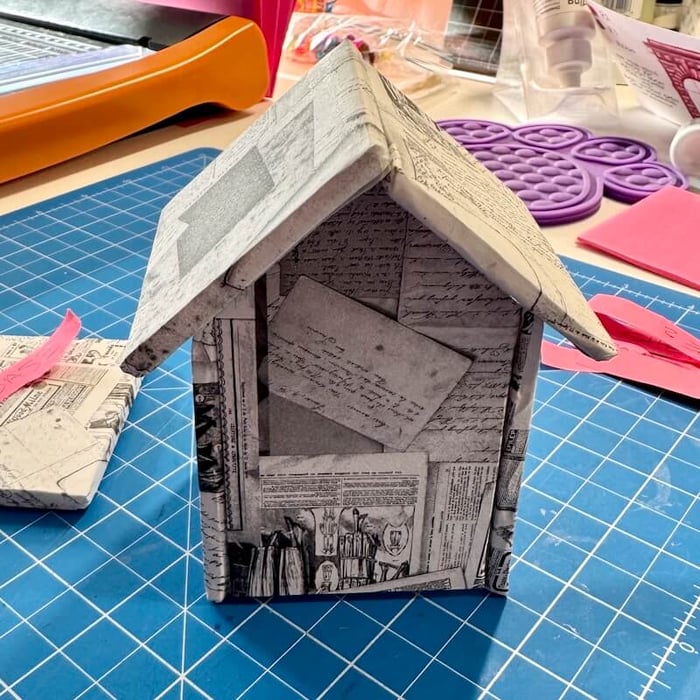
Add glue to the bottom edges of the Side and Back Walls; position onto the Base. Make sure to leave an 1/8" reveal on all sides.
Mini Book and Drawer Assembly
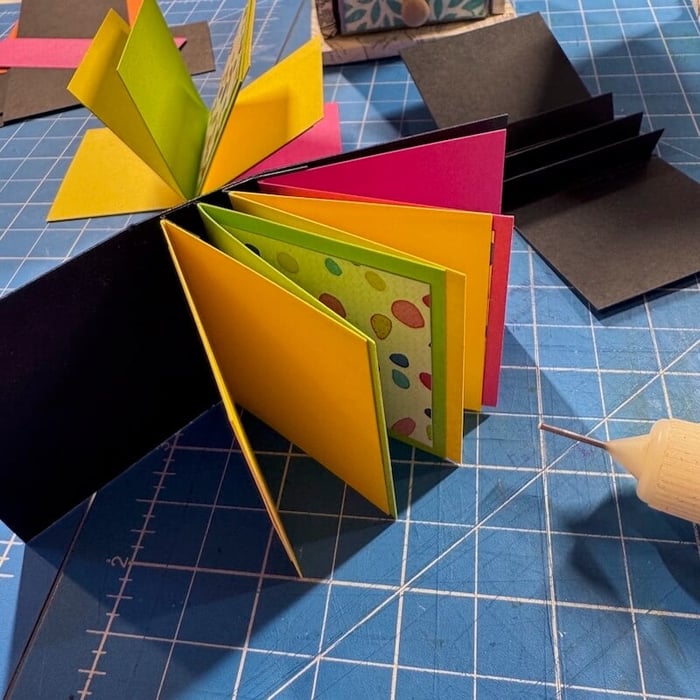
Score two 2x4-1/2" Black Folding Boards at 1-3/4 and 2-3/4". Make little u-hinges and adhere to the spine of the folding board covers.
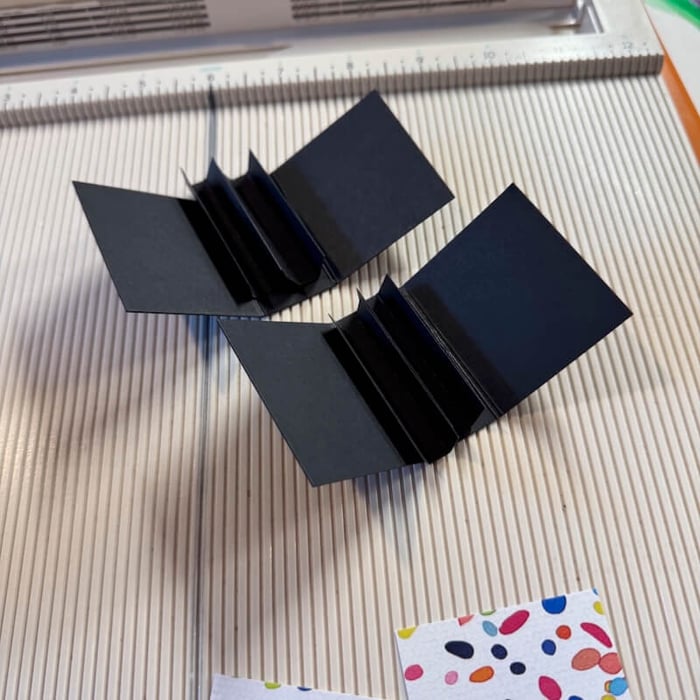
Trim tiny signatures for each book. Adhere to each of the u-hinges. Add tiny mats from the Happy Life Card Print.
Score a 4-1/2x4-5/8" Black panel at 5/8 and 1-1/4" from all four sides. (Check out this video for box assembly tips.)
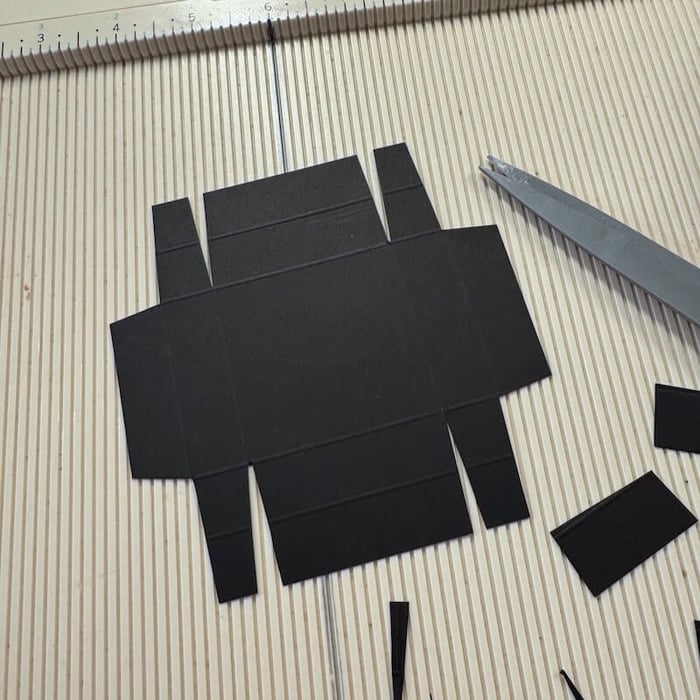
Fold on all the score lines and assemble the box/drawer.
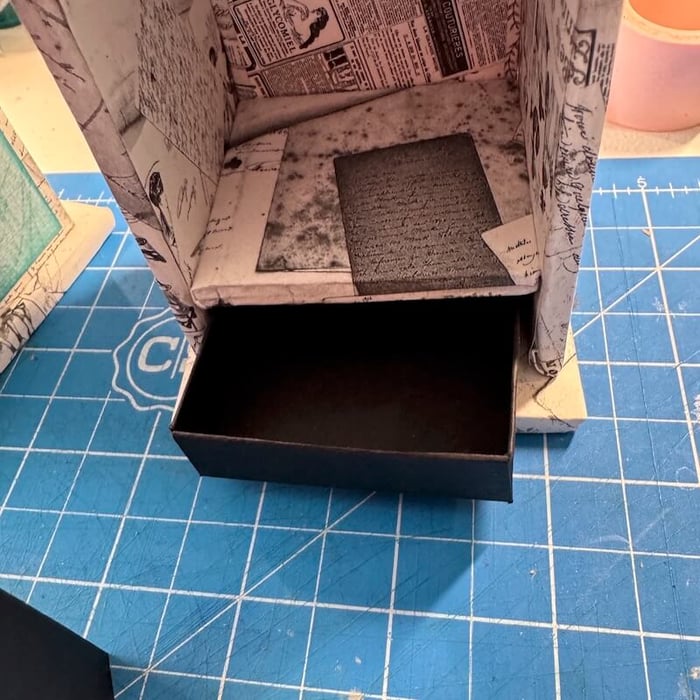
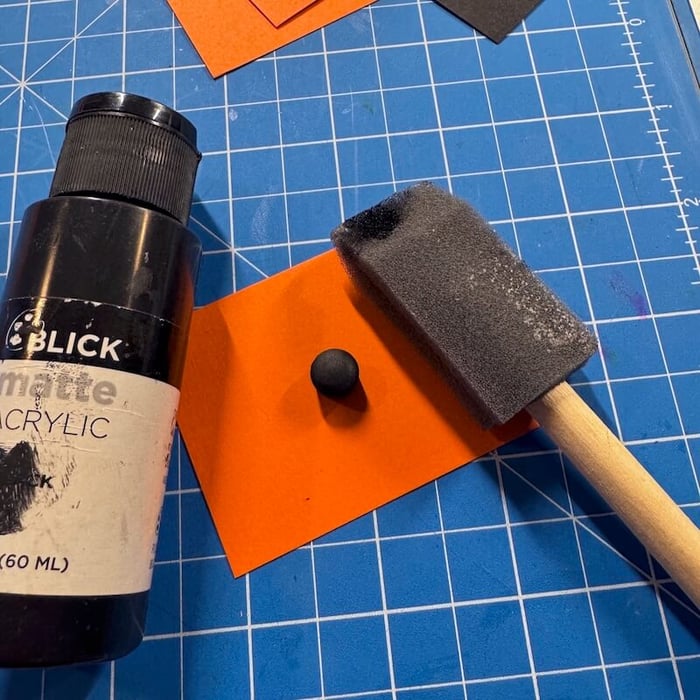
Paint a small wooden plug to use as a drawer pull. Center and adhere to the front of the box with Bookbinding Glue.
Embellish the house with stamped images and papers from the Happy Life collection.

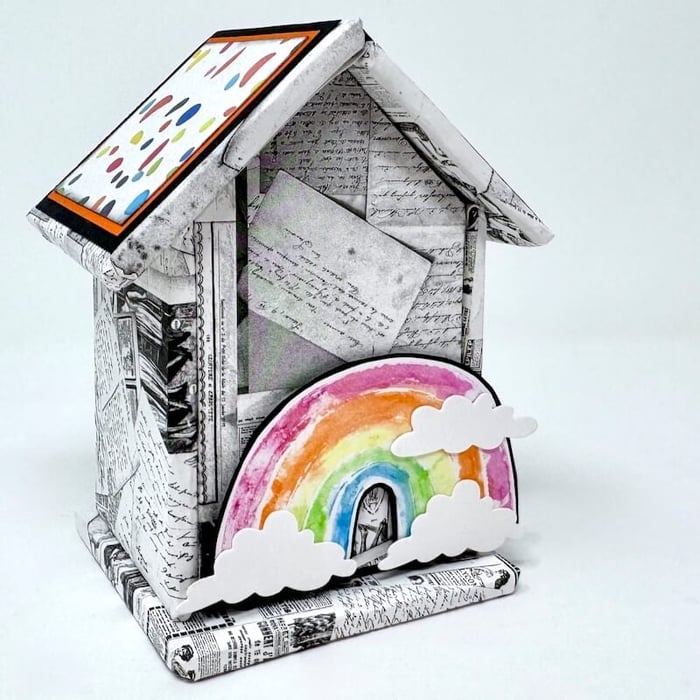
Let's take another look at the finished project. Here is the back side, decorated with an adorable rainbow and die cut clouds.
I had so much fun making this project! I hope you'll try making one for yourself. If you do, be sure to share your creation on the private Club Scrap Chat Group on Facebook.
Happy crafting!
Happy Life 12x12 Prints

$1.67
12x12" premium scrapbook papers, sold individually, by the sheet.… Read More
12x12 Folding Board
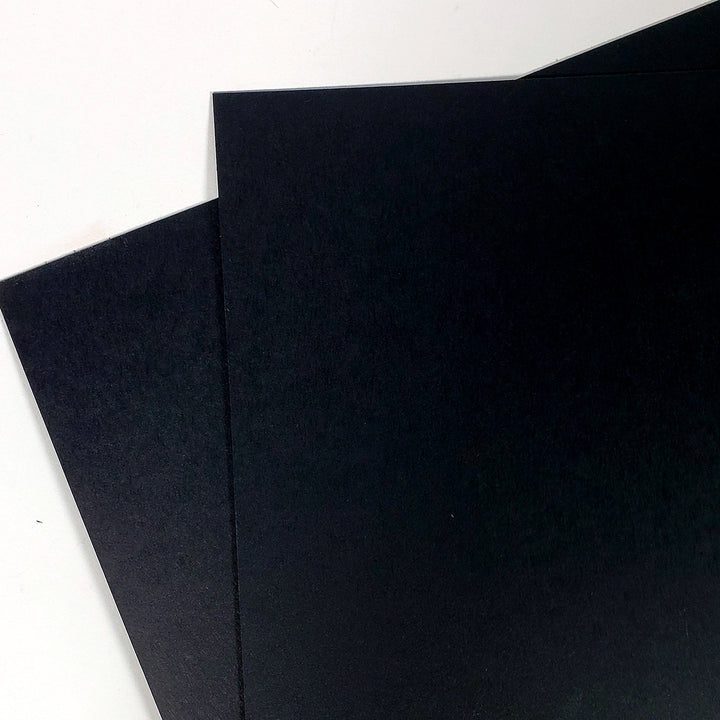
$2.75
Heavier than cover weight paper, but lighter than mat board. Equivalent to 18 pt. board or 125 lb. cover weight stock. Cuts easily with our 12-inch paper trimmer. Perfect for book and box projects, such as the M.E.M.B.E.R. Album, Notecard… Read More