It's time for your Surprise details! Scroll and read on to learn everything you need to know about the January Deluxe layouts and Greetings to Go cards!
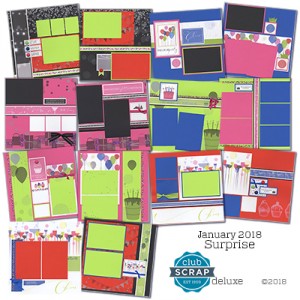
Surprise Details - Deluxe Layouts
LAYOUTS 1 & 2
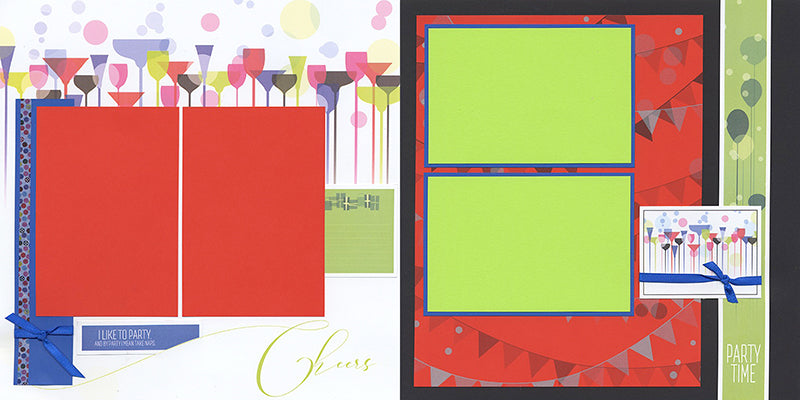
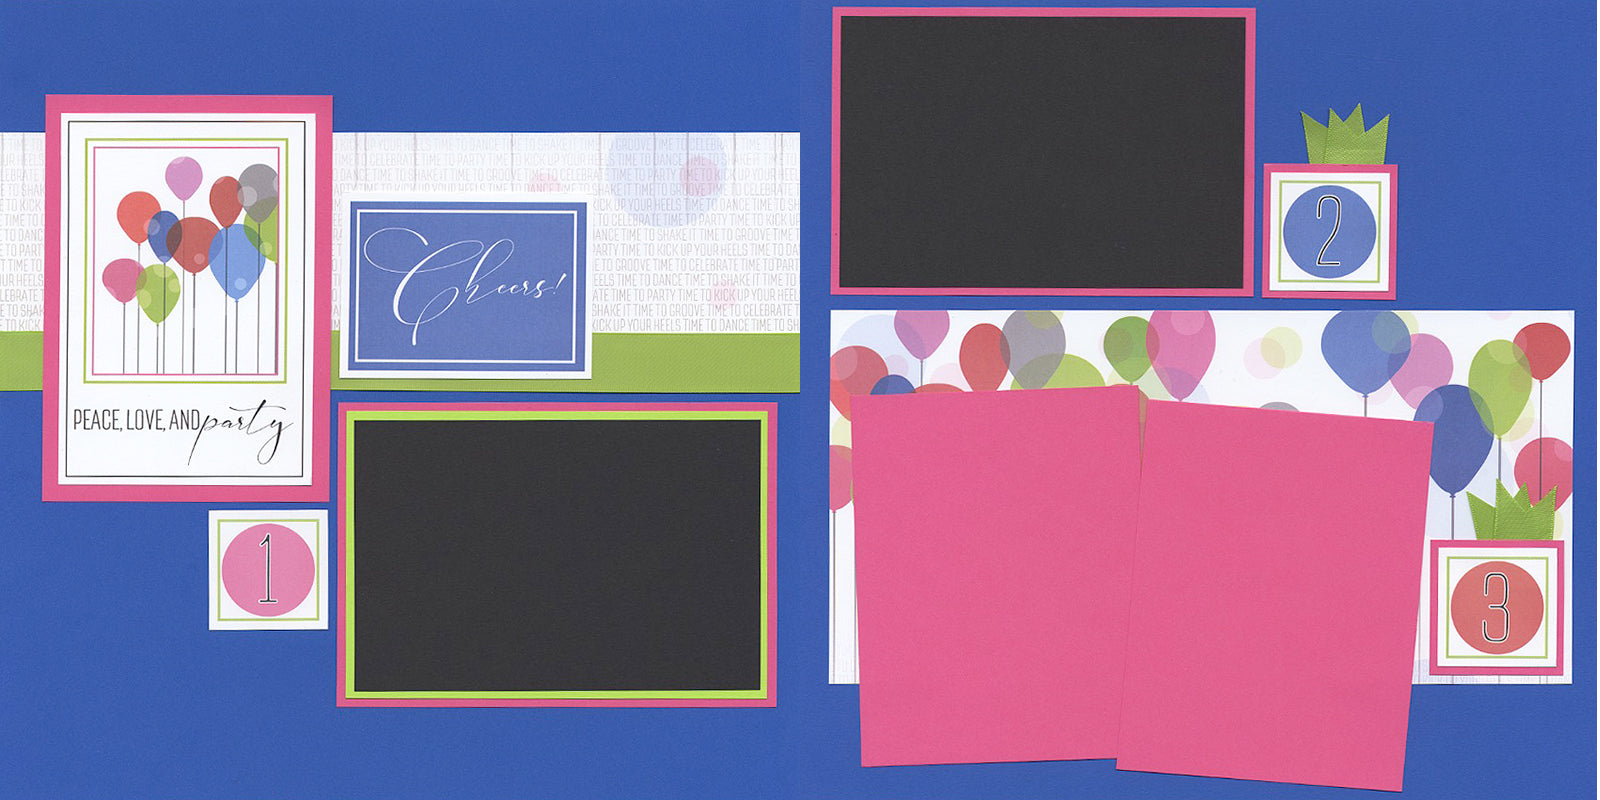
I love the big swoop on the "cheers" text at the bottom of the 12x12 White Print. Cut a slot along the edge of the swoop with a craft knife and a cutting mat, and slide the cutapart into the slot.
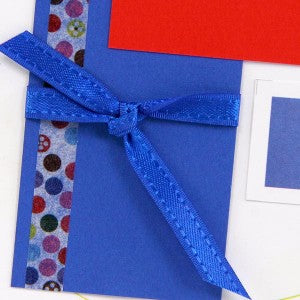
Apply washi tape to the left edge of the Blue panel and finish with blue taffeta-edged ribbon.
LAYOUTS 3 & 4
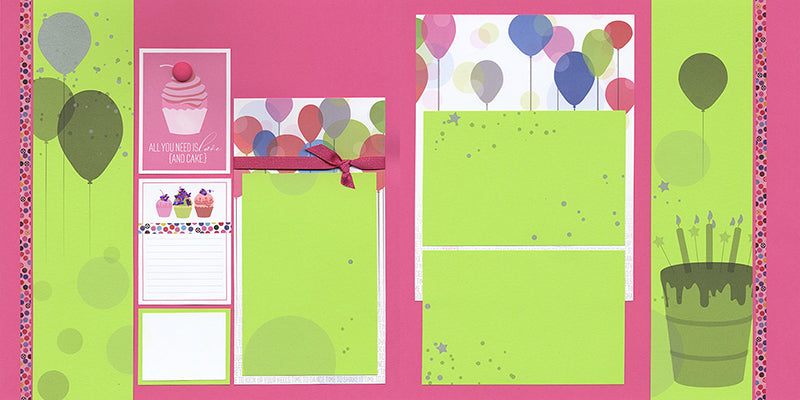
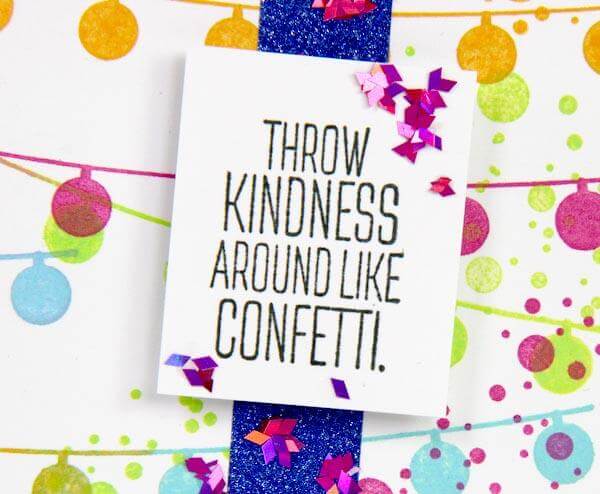
We included an adorable little jar of unique fuchsia glitter flakes. Adhere them with CS® Bookbinding Glue, Scor-Tape, or Wonder Tape (red liner tape).
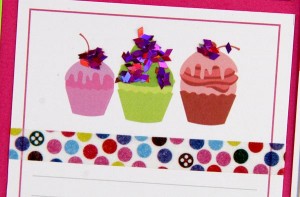
Top the cupcake on the printed cutapart sheet with a fabric wrapped button.

LAYOUTS 5 & 6
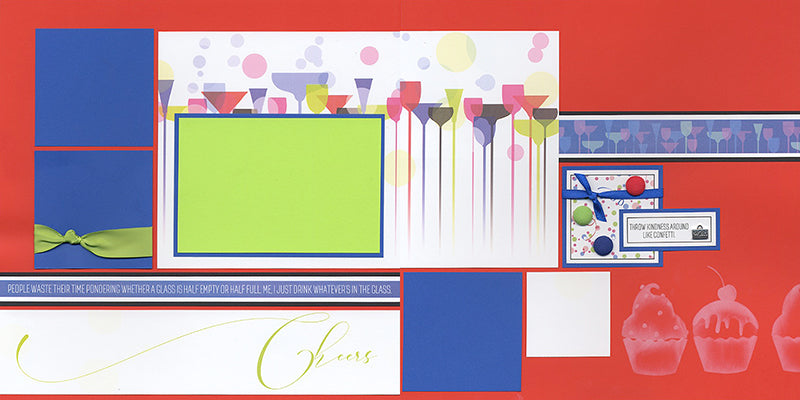
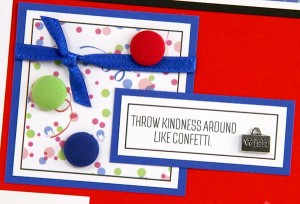
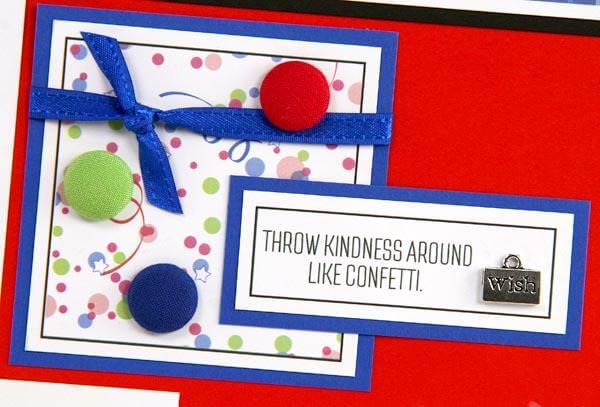
Combine cutaparts, ribbon, buttons, and a silver charm to build an adorable collage on the right side of the layout.
LAYOUTS 7 & 8
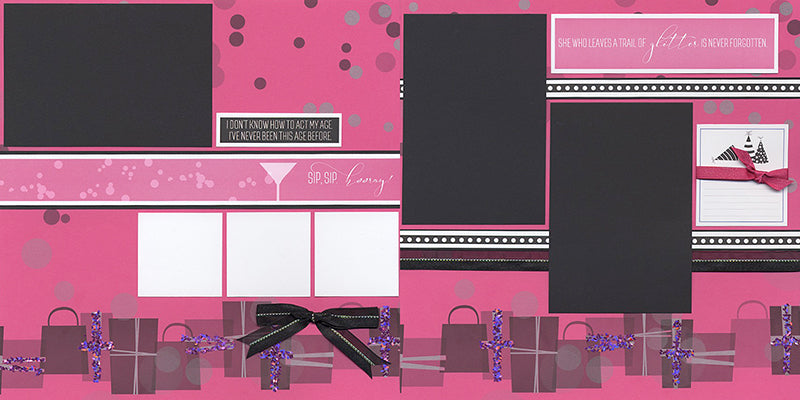
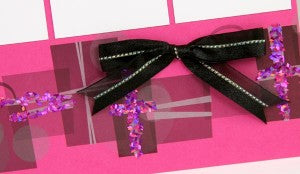
Tie a bow with the satin/chiffon ribbon and glue to the bottom of the left page. Add sparkles to the gifts and shake off the excess. It's a little bit time consuming, but worth it!
LAYOUTS 9 & 10
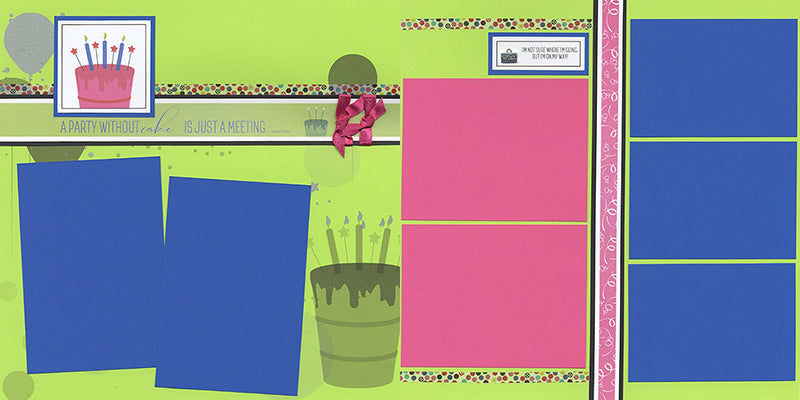
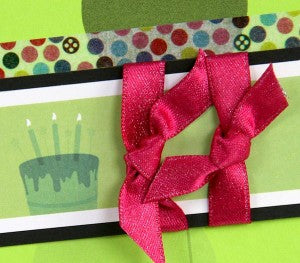
Add a strip of washi tape above the border at the top of the layout. Wrap the cutapart strip with two pink bows.
LAYOUTS 11 & 12
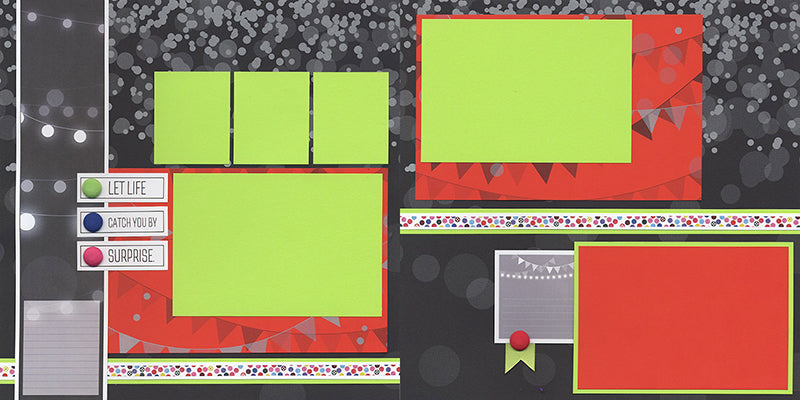
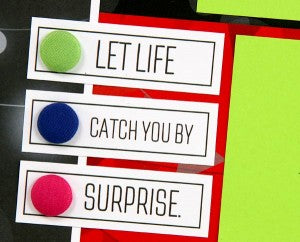
Glue a fabric wrapped button to the left side of each cutapart on the left.
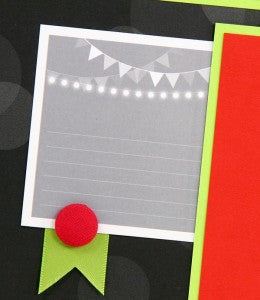
Cut a pointed tip into the satin green ribbon and adhere to the back of the cutapart. Finish with a red button.
LAYOUTS 13 & 14
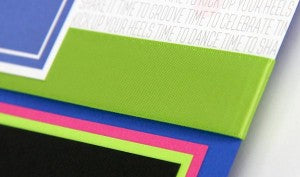
Wrap a 14" length of green satin ribbon around the page and secure the ribbon ends on the back of the layout with tape. The print shown at the top of the layout is only 11" long. Disguise the gap between the two pieces behind the cutapart.
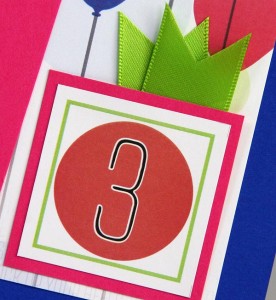
Cut points into each end of a 4" length of green satin ribbon. Fold in half and tape to the back of the nested cutapart.
Surprise Details - Greetings to Go Cards
SET A
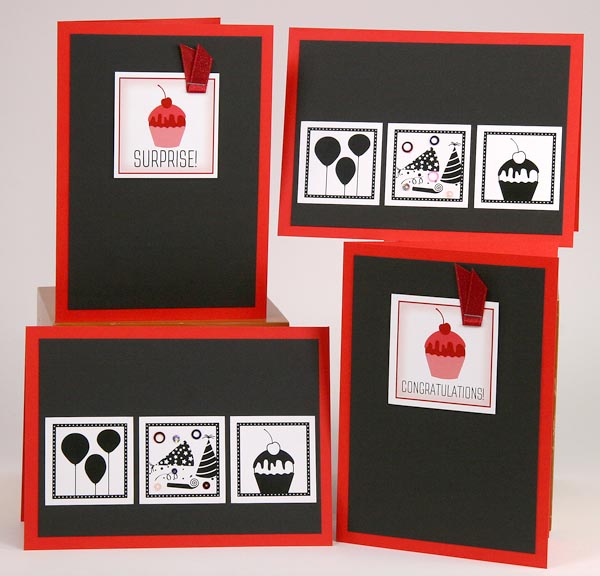
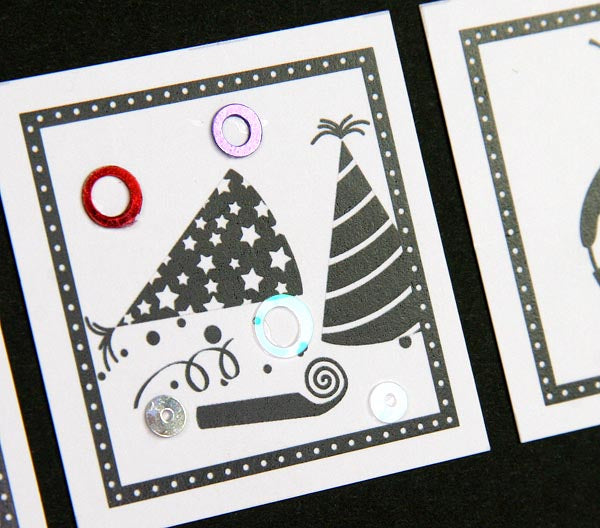
The single fold cards are wonderfully simple in red and black. Use a CS® Grid Ruler to help maintain equal spacing between elements and to avoid the dreaded "downhill" placement. Glue a few adorable sequins to the center image for a festive finishing touch.
SET B
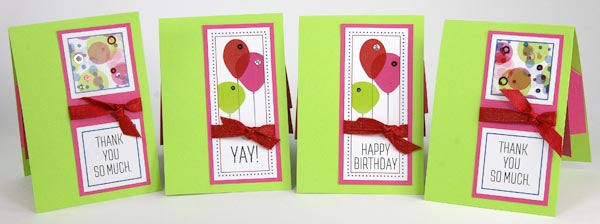
I revised the 4.25x5.5" explosion card featured in the Pattern Play Greetings to Go kit with a fun, miniature size. Be sure to watch my new tutorial on YouTube for clever assembly tips!
SET C
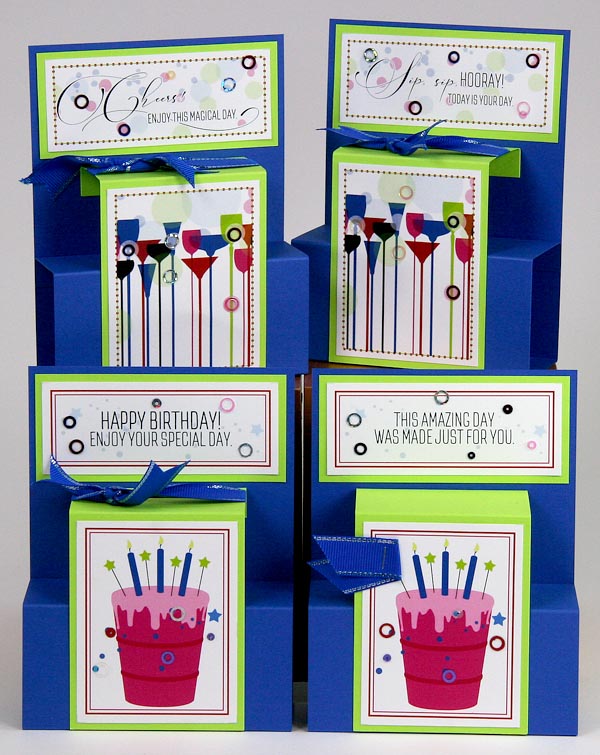
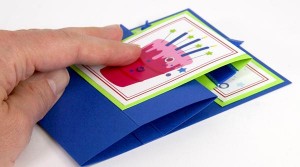
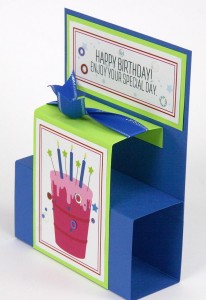
This card structure is another favorite! It mails flat in a standard A2 envelope and then pops up to create tons of dimension.
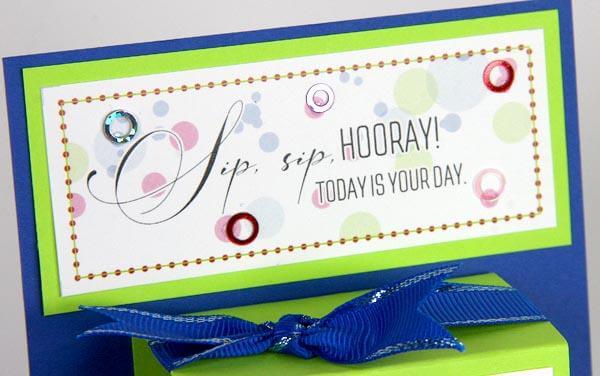
Sip, sip, hooray! Have a creative day!
Tricia

