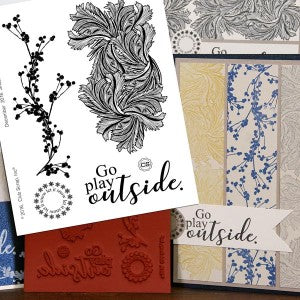
The sentiments and images on the
Shades of Winter unmounted stamps make gorgeous wintry cards. I've shared a few of my creations below to help get the ideas rolling . . .
JUMBO UM
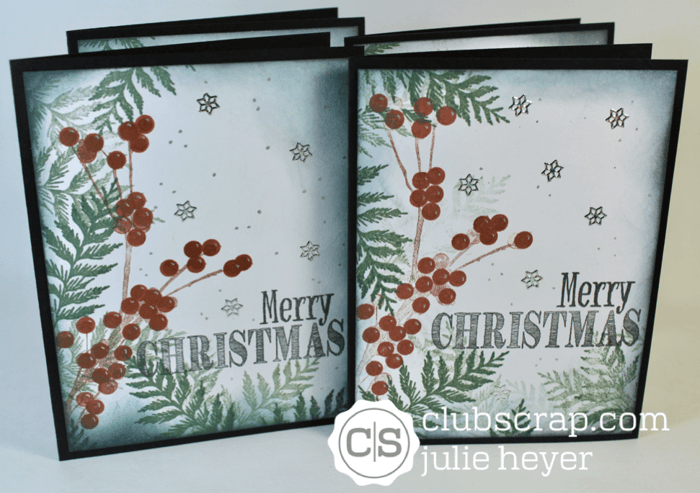
CARD #1

Create a watercolor background with the berry branch and foliage on the Jumbo UM plate with these simple steps:
- Lightly mist the stamp with water.
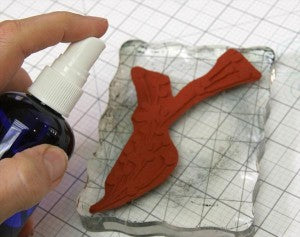
2. Color the greenery with a watercolor crayon.
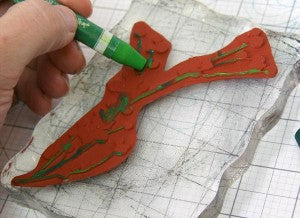
3. Color the berries.
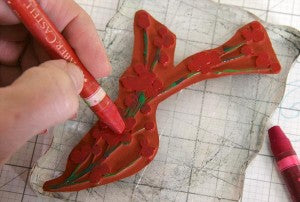
4. If more moisture is needed to activate the color, mist again.
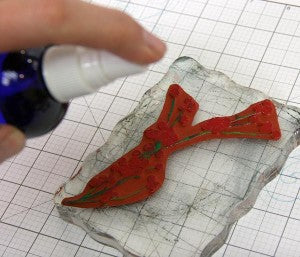
5. Stamp the image onto an Ivory panel.

6. If desired, mist with additional water and stamp again.

CARD #2
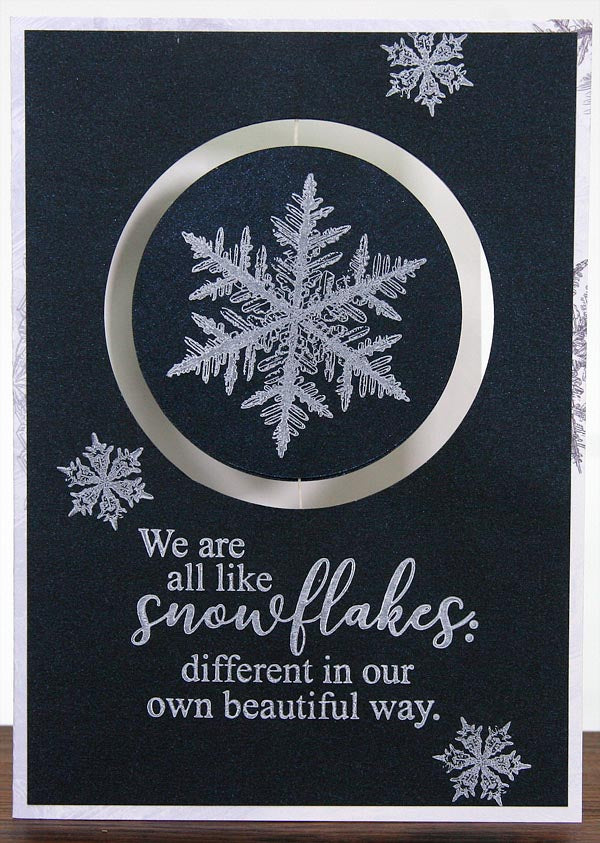
Cut a 3-3/8" circle into the card base and panel. Stamp two large snowflakes onto Blue Plain with
White Pigment ink and cut into 2-7/8" circles. Sandwich a 5" length of waxed linen thread between the circles and adhere the thread between the card base and panel to suspend the snowflakes within the window.
CARD #3

The Champagne and Blue metallic papers in the collection stamp beautifully with our India Black and
White Pigment inks.
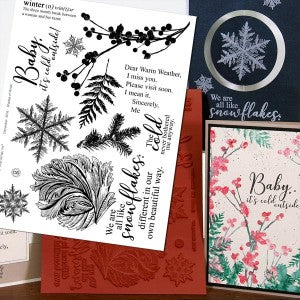
 ART NOUVEAU
 UM
CARD #1
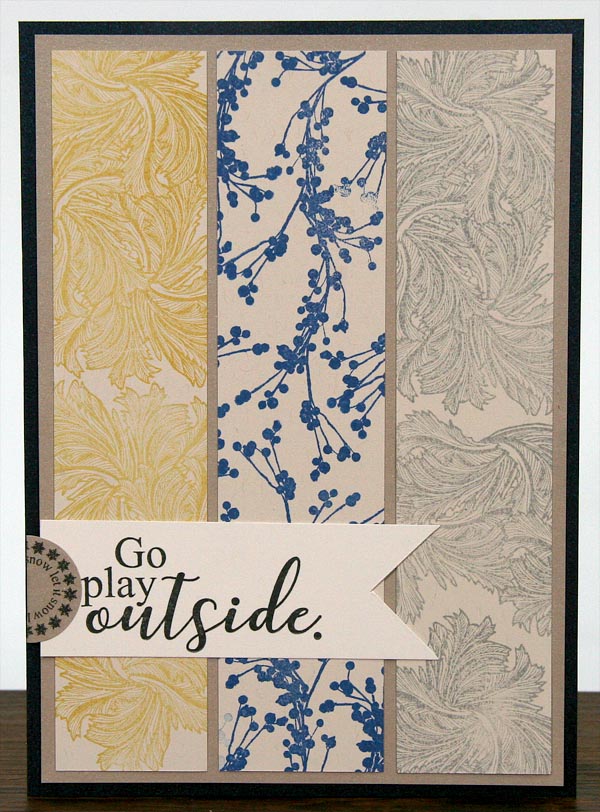
Create a three-part panel with the frost and berry images stamped in Topaz, Sapphire and Ash inks. Stamp and punch the circular "let it snow" image and fold over the left edge of the card.
CARD #2
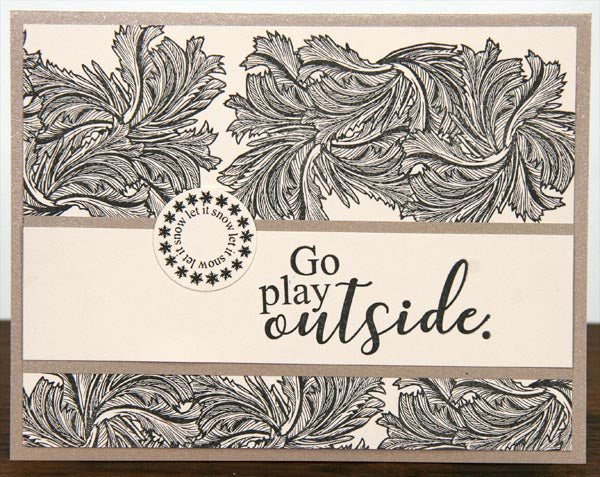
The images look elegant when simply stamped in black ink onto the super smooth Ivory paper.
CARD #3

Stamp the frost image onto a 4x5.25" Champagne panel with White Pigment ink. Stamp the sentiment and berry image onto Blue panels trimmed to nest onto the upper left and lower right corner of the card. Finish with a stamped, punched circle and a bow.
GREETING UM

CARD #1
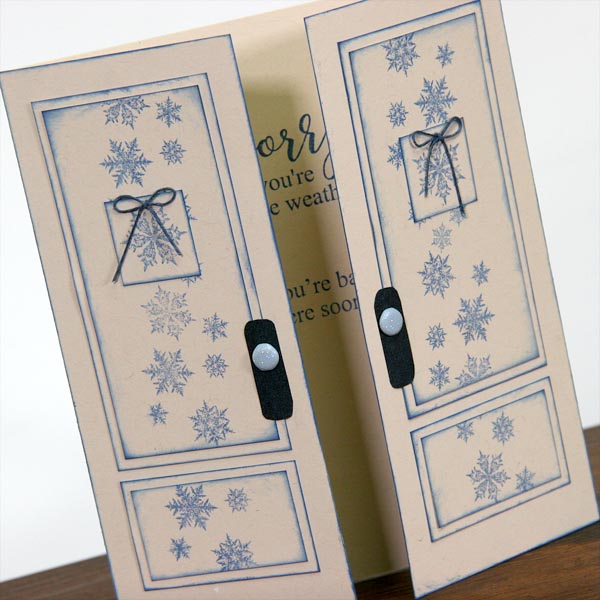
Trim a Sand card base to 7x12" and score horizontally at 3 and 9". Fold to create two card flaps. Trim two 2.25x4.5" and 2x4.25" upper nested door panels and two 2.25x1.375 and 2x1.125" lower nested door panels. Finally, add two 1x1" square window panels. Stamp snowflakes with Sapphire ink, ink edges, and adhere to the card flaps. Finish with door hands made from two .375x1.25" Blue panels attached with glitter brads.

CARD #2

Create an ombre background with a brayer and
Sapphire Ink. Stamp the second half of the sentiment onto the inside of the card.

CARD #3
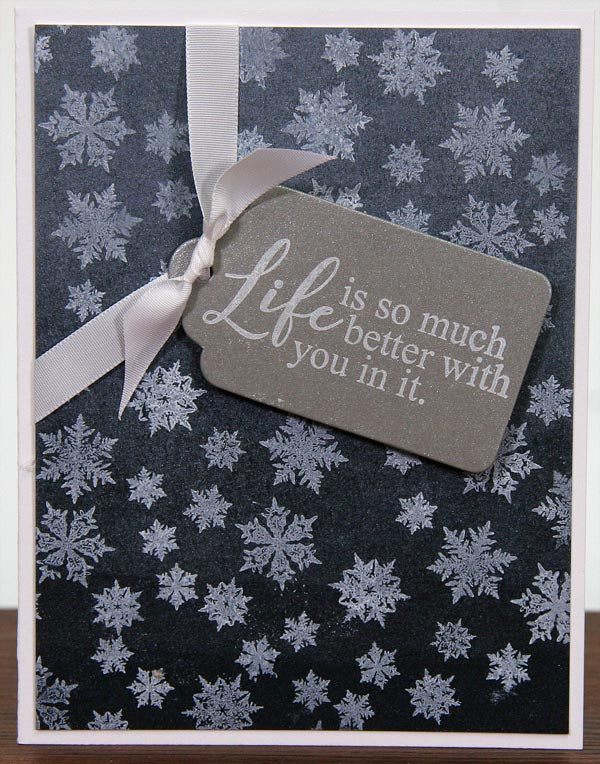
Create the background with a brayer and
White Pigment Ink. Stamp the sentiment onto a
silver tag and attach with white taffeta ribbon.
I hope these card ideas get you warmed up for a great session of stamping with
Shades of Winter!
Kay