Welcome to our monthly "pages" post featuring the latest collection - Shoji!
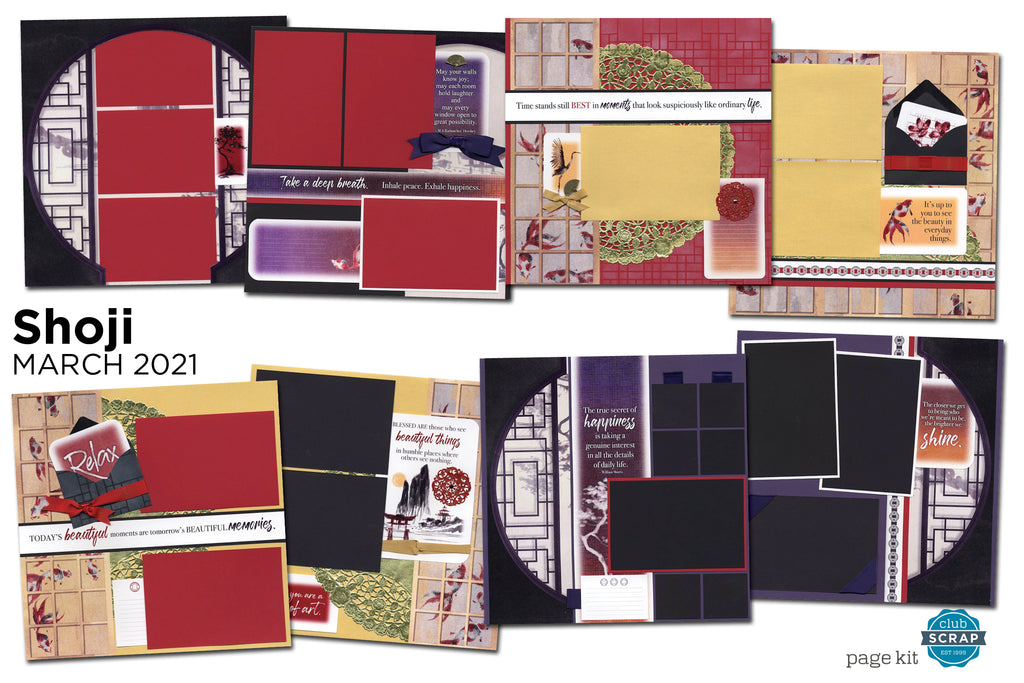
Check out the entire March collection in our unboxing video on the Club Scrap Facebook page. I'll unpack the page kit, card kit, stamps, and all of my completed Shoji projects!
Scroll on to learn a bit more about each set of two pages along with an assembly tip or two. (Keep in mind that you'll be "fully enlightened" if you join me for the video workshop included with every monthly page kit.)
Layouts 1 & 2
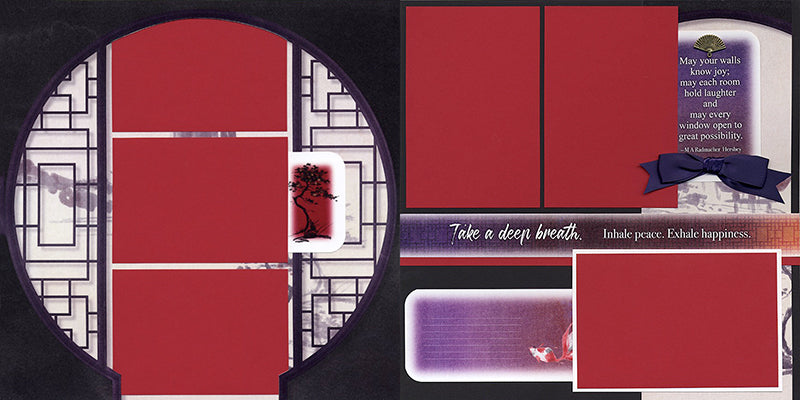
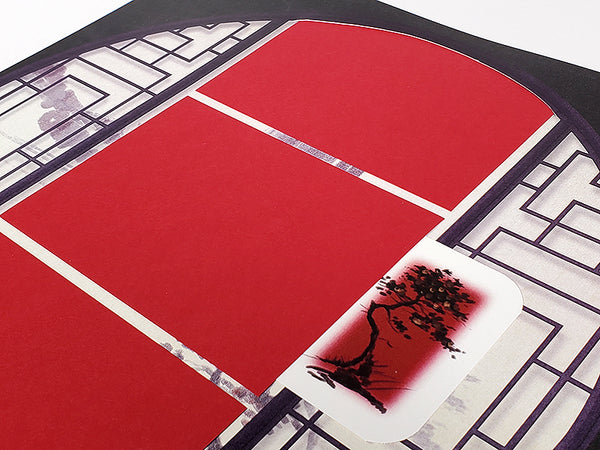
In an effort to maintain that beautiful round shape on the "scenic print," I used a craft knife to cut a slot at the top and bottom of the circle to accommodate the photo mats trimmed to fit the space. This optional step can really make a big difference!
If you're uneasy about using your craft knife, don't give up. Keep practicing and make sure you have a nice, sharp blade installed. (When using a "pen knife," it's also important to hold it like a pen rather than a "steak knife.")
Layouts 3 & 4

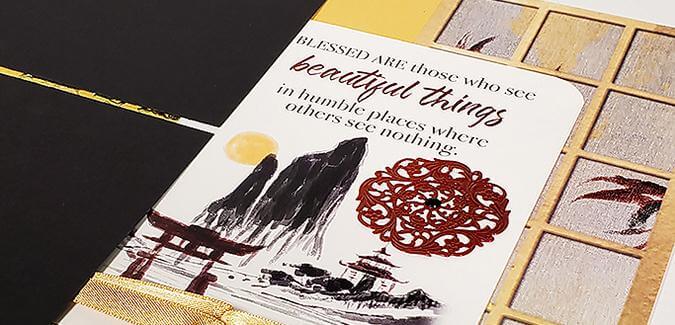
Check out that nifty metallic gold accent in the background! Trim the doily into a larger and smaller portion. Align the straight edge of the large portion along the edge of the 4x12" print on the left page. Complement the shape by adding the red medallion on top of the journaling prompt.

Layouts 5 & 6

Subtle additions of ribbon add a lot to these pages without adding bulk. Trim a 2" length of ribbon, fold in half to form a tab, and tape to the back of several elements.
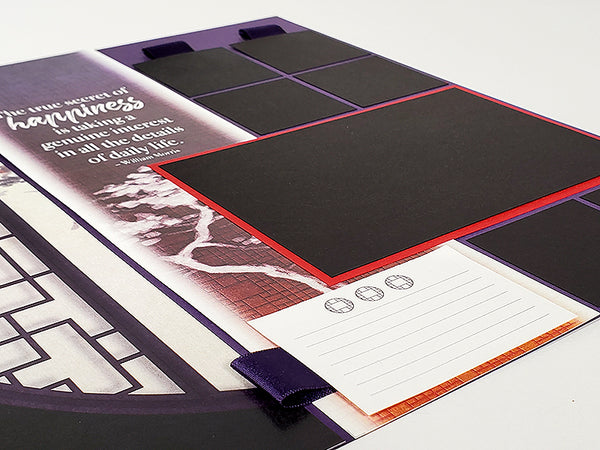
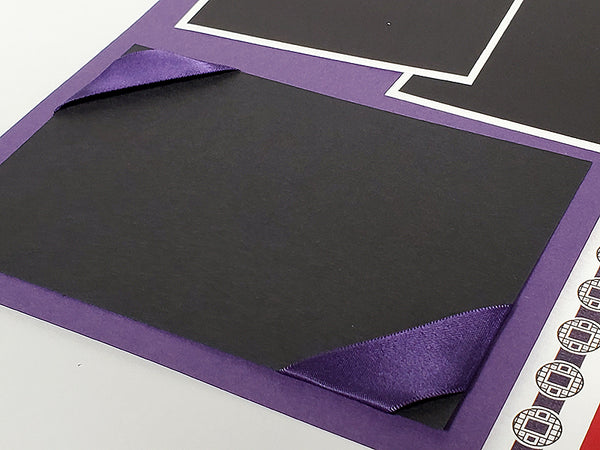
Wrap the upper left and lower right corners of the horizontal mat on the bottom of the right page, as well.
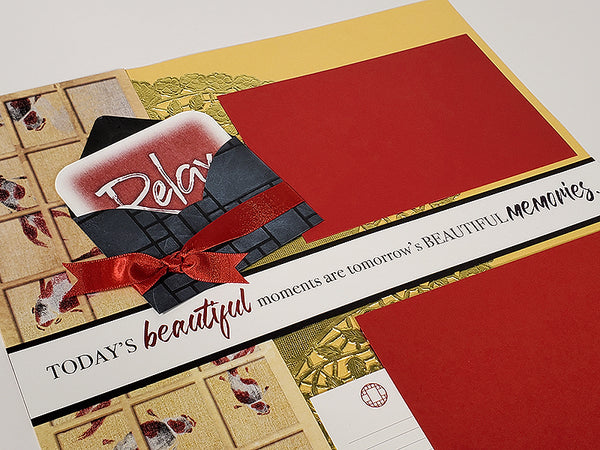
Layouts 7 & 8
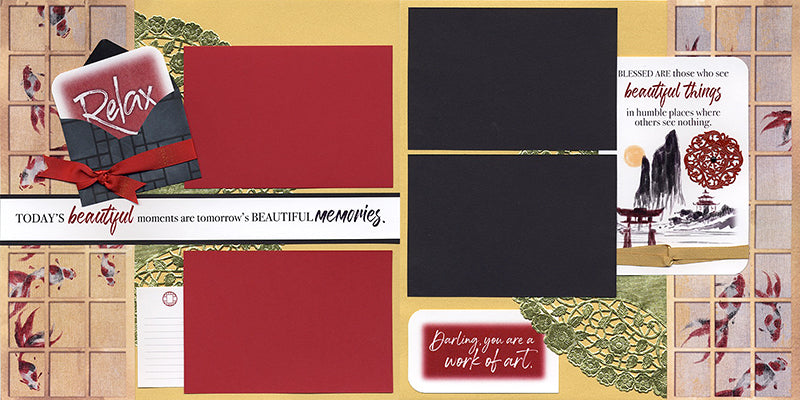
Stencil the black mini envelope with our White Pigment ink (now back in stock) and an ink applicator brush. Finally, wrap the envelope with the gorgeous red ombre satin ribbon and tie with a bow.
So little time, so many details to share! I can't wait to see how you choose to finish your Shoji pages. I hope you enjoy the creative process!
If you haven't taken the plunge into membership, join us today. We'd love to welcome you to the Club Scrap family!
Tricia

