
After last week's post about handmade gift ideas, I was on a roll. I couldn't resist visiting another project from the past--the Scrapbook in a Box.
1. Select five coordinating 12x12 Prints and/or Plains. Set aside two papers, one for the lid and one for the base of the box.
2. For the remaining three papers, trim one each to 11.75x11.75", 11.5x11.5", and 11.25x11.25". (These form the inside "pages" of your scrapbook box.)
3. Beginning with the box base (one 12x12 set aside Step #1), us a Scor-Pal to measure and score at 4". Rotate card stock 90 degrees and score at 4", continuing until all four sides are scored.
4. Fold on each score line and burnish with bone folder. The folds will create nine segments on your card stock. Use scissors to cut away the four outside corner segments, leaving a "+" shape behind.
5. Repeat Steps 3 and 4 for the remaining 11.75x11.75, 11.5x11.5 and 11.25x11.25 papers.

To form the inside pages of your scrapbook, layer the 4 "+" shaped pieces together. Adhere with ATG or Bookbinding Glue only at the center square.

To create the cover of your box, locate the center point of the final 12x12. Fold each CORNER, one at a time, toward the center point, until all 4 corners are folded.
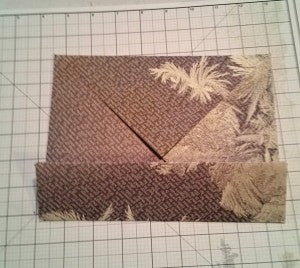
Once all four corners are folded to the center point, fold each long side just to the center point, crease with bone folder, and unfold. Repeat with all four sides.

On only two opposing sides, cut into side walls stopping at the first fold.

Unfold the two flaps created by this cut.

Fold in sides of box and wrap flaps back over to finish the lid. Glue flaps to center of box lid for stability.

To assemble, fold up all four sides of the scrapbook base, top with lid.

Decorate inside pages with mats, photos, rubber stamps or Cutaparts.

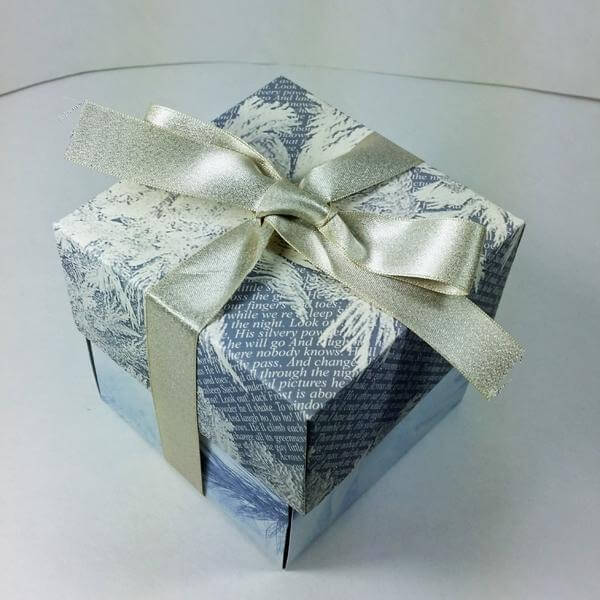
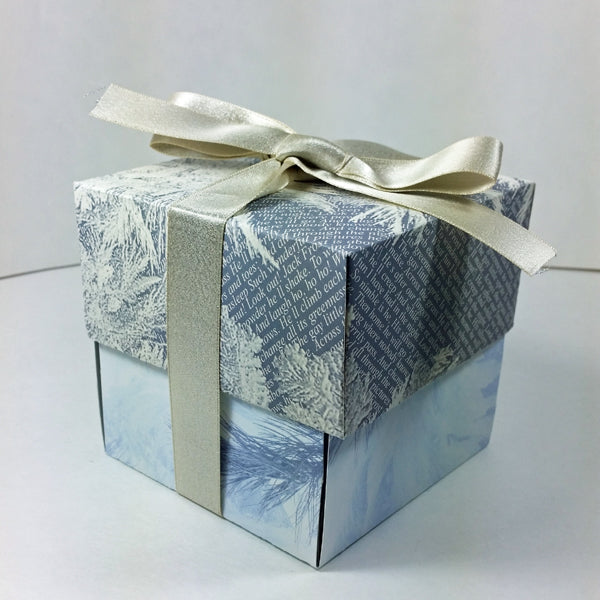
Top with a ribbon bow if desired. I plan to finish decorating the inside of my box over the next few weeks. (Shhh...it's a Christmas present!) Stop back December 26 to see the finished project.