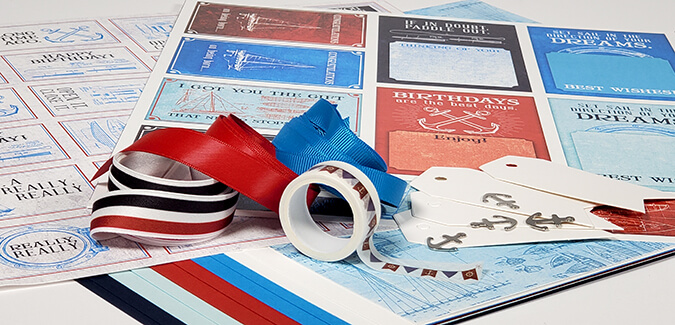
The Regatta stamps are classy and fun to use! One of my favorite days of the month is my "play day" with the new images. Read on for inspiration you can easily replicate with minimal supplies.
Regatta Stamps
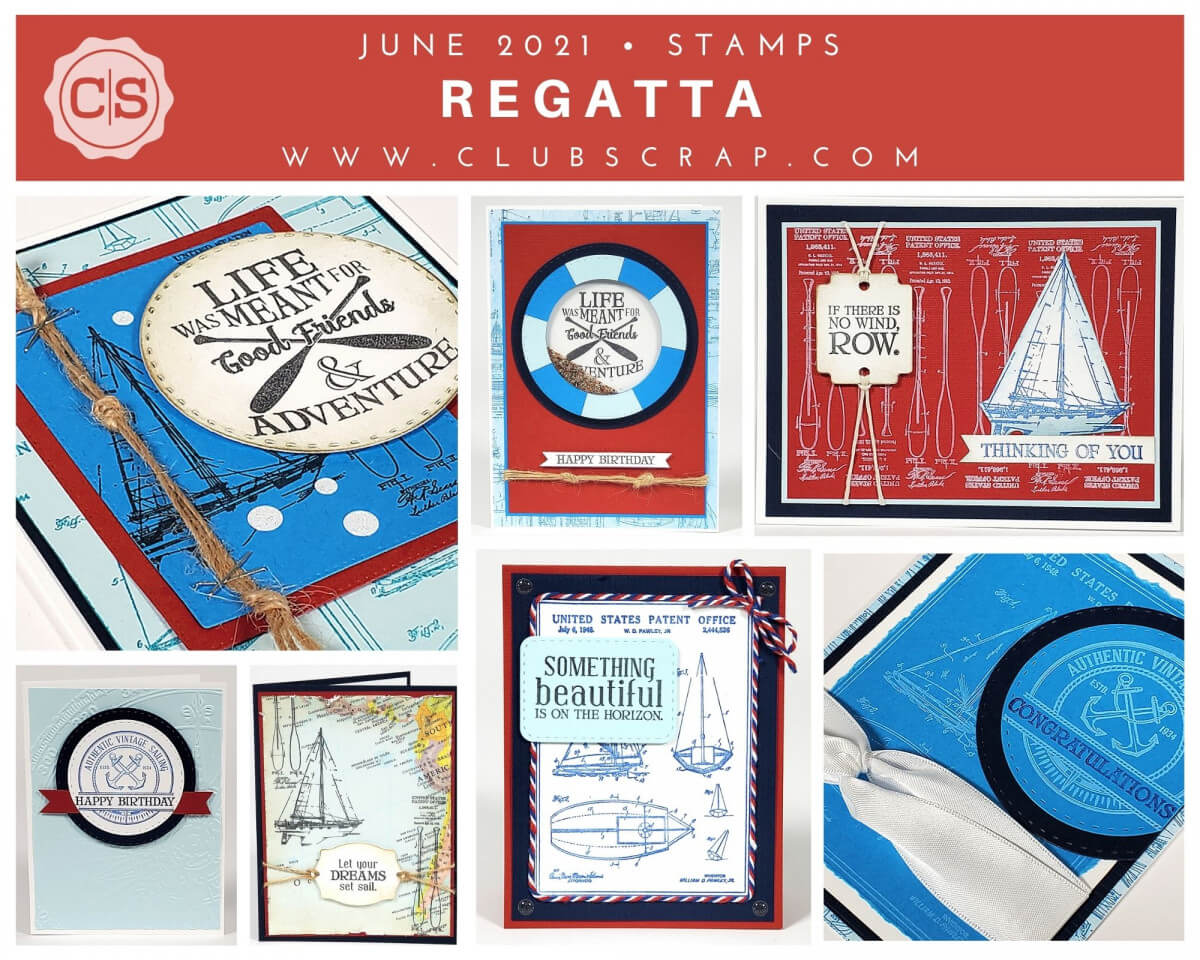
I was able to complete eight cards before running out of the time I'd allotted, and I'm very pleased with how they turned out!
Card 1

Stamp the collage image onto a white panel and trim along the outside frame. It's designed to follow the same proportions of a 4.25x5.5" card. Nest onto a Dk. Blue panel and Red folded card base. Next, dispense a thin line of CS® Bookbinding Glue around the perimeter of the stamped panel and add tri-colored twine. Tie a small bow of twine and add to the corner where the twine ends meet. Stamp a sentiment onto Lt. Blue and cut with a stitch-edged die, if available. Finish with an enamel dot in each corner.

Card 2

Stamp the collage image several times onto a Lt. Blue panel with Ocean ink, nest with a Dk. Blue panel and layer onto a 4.25x5.5" White folded card base. Stamp the sailboat and ore images onto a Med. Blue panel and die cut or trim; nest with a Red panel. Tie three knots into three pieces of thin jute twine (from my stash), staple onto the nested panels, and layer onto the card. Finally, stamp and die cut the sentiment from White paper, ink edges, and add to the card with foam adhesive circles. Sprinkle with a few white enamel dots.

Card 3

Tear a map page from an old atlas (mine was published in 1964). Stamp the ore and sailboat images onto the map, tear away/distress the outside edges of the panel, and layer onto a Red mat. Stamp the sentiment onto a White panel and trim with a tag-shaped die, if available. Thread jute twine onto the sides of the tag (or punch holes), and secure the twine ends to the back of the panel with tape. Nest onto a 4.25x6.5 Dk. Blue folded card base.

Card 4

Our white pigment ink is wonderfully opaque! Stamp the oar image six times across a Red panel, alternating the direction each time. Nest onto a Lt. Blue panel. Stamp the "row" sentiment onto a White panel with India Black ink, and die cut into a tag shape (or crop and punch holes.) Add waxed linen to each end and wrap around to the back of the panel. Stamp the sailboat and "thinking of you" sentiments onto White paper with Sapphire ink. Nest the art onto a Dk. Blue panel and a 4.25x5.5" White folded card base.

Card 5

If you happen to have a few nesting circular cutting dies, you're in luck! To create the shaker card, stamp the "adventure" sentiment and die cut into a White circle. Next, cut a pair of open circles from Med. Blue and Dk. Blue. Cut the Lt. Blue circle into sections and nest onto the Med. Blue circle to create alternating colors. Add a piece of transparency film to the back of the nested circle. Finally, cut a larger circle from Dk. Blue. Nest the sentiment onto the Dk. Blue circle and line the perimeter with foam adhesive. Fill the inside with micro beads and top with the transparency/circle piece to trap the beads inside. Nest onto Red and Med. Blue panels and wrap with knotted jute. Center onto a Card Kit Print panel and a 5x7" White folded card base. Stamp "happy birthday" onto a small White strip, and cut a "v" into each end before adding to the card with foam adhesive.

Card 6

Stamp the round image onto a White panel with Sapphire ink. Select and stamp your favorite sentiment from the sheet designed to fit within the opening on the image with India Black ink. Cut with a circle die, and trim a larger circle from Dk. Blue. Sandwich a Red banner between the two circles and nest onto a Lt. Blue panel embossed with a texture folder. Layer onto a 4.25x5.5" White folded card base.

Card 7

Stamp the large boat collage image onto a Med. Blue panel with white pigment ink, tear away the edges, and layer onto a White panel. Wrap with white satin ribbon in a double looped bow. Nest onto a Dk. Blue panel and a 4.25x5.5" Card Kit Print folded card base. Stamp the circular image onto a Med. Blue circle shape with white ink, and add the sentiment with Sapphire ink. Layer onto a Dk. Blue circle and trim away the right edges of the circles; layer onto the card, flush with the right edge of the Dk. Blue panel.

Card 8

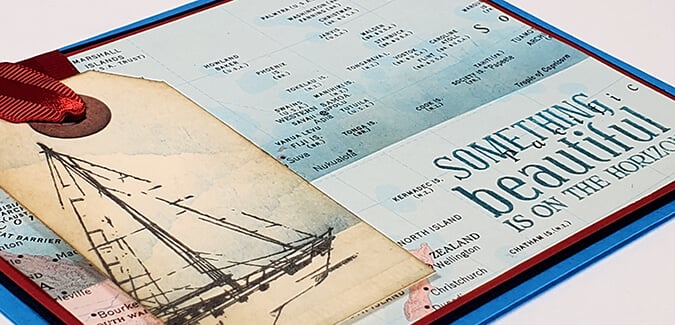
This is the part of my blog when I think to my self: "Tricia . . . so many cards. Really." But this one is a favorite! Tear a sheet from an atlas and trim into a panel. Mask off an area across the bottom of the panel with scrap paper and apply Sapphire ink to create a horizon. Stamp the sentiment in the lower right corner with Sapphire ink, and nest onto Red and Dk. Blue panels. Use a mask to create a horizon on a small manila tag. Create a torn edge on the mask paper and gently apply Sapphire ink to the mask to create clouds. Stamp the sailboat image onto the tag with India Black ink. Add red ribbon to the top of tag, wrap ends around to the back, and adhere the tag to the panel with foam adhesive circles. Nest the art onto a 4.25x5.5" Med. Blue folded card base.

Make sure you have your very own sheet of Regatta stamps on hand, and plan a play date in the near future. Post your card creations on our private Facebook Chat Group to share your inspiration with us!
Happy stamping!
Tricia

White Pigment Ink Pad
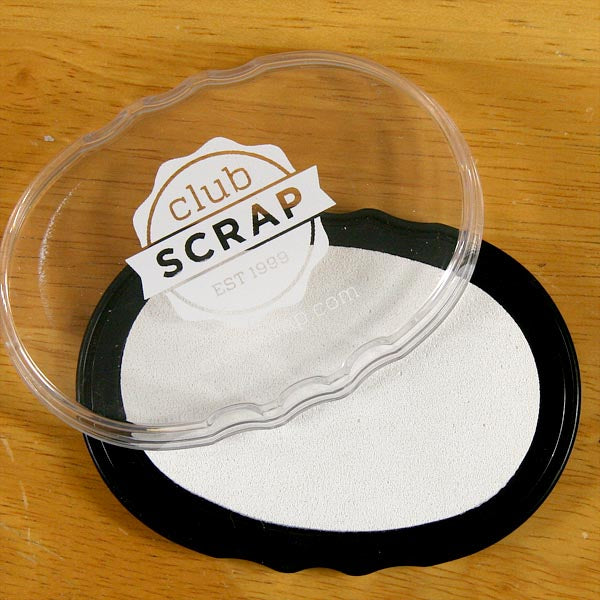
$7.20
Club Scrap's pigment craft ink offers an exceptional formula, providing for multi-surface versatility as well as remarkable detail when embossing. The bright white ink loaded into this nice 'n juicy pad will last a long time. Re-inkers also sold separately.… Read More
CS Hybrid Ink Pads
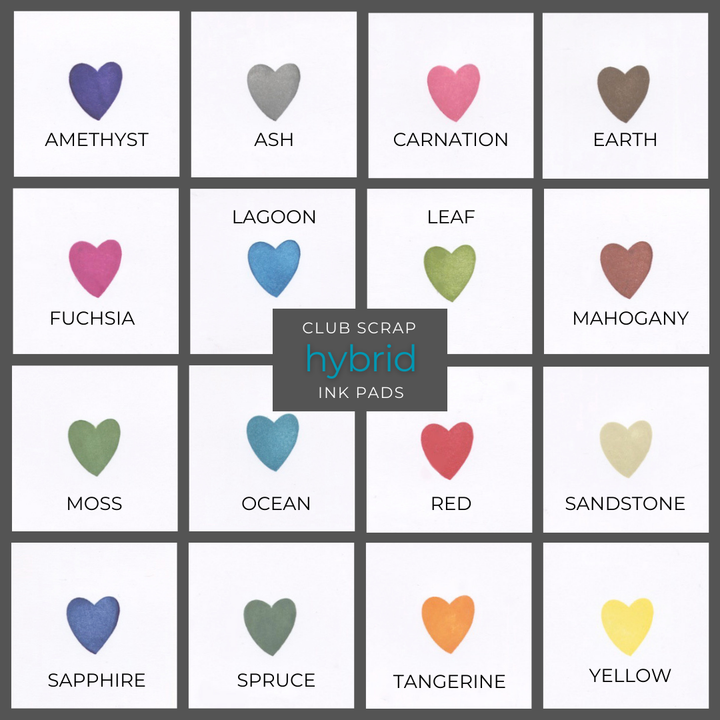
$6.35
Exclusively Club Scrap®, this hybrid craft ink combines the most exceptional ingredients of both pigments and dyes for a fine, crisp, fast-drying image! Don't forget to stock up on the coordinating re-inkers. Each ink pad sold separately. Please select the… Read More
Foam Adhesive Circles
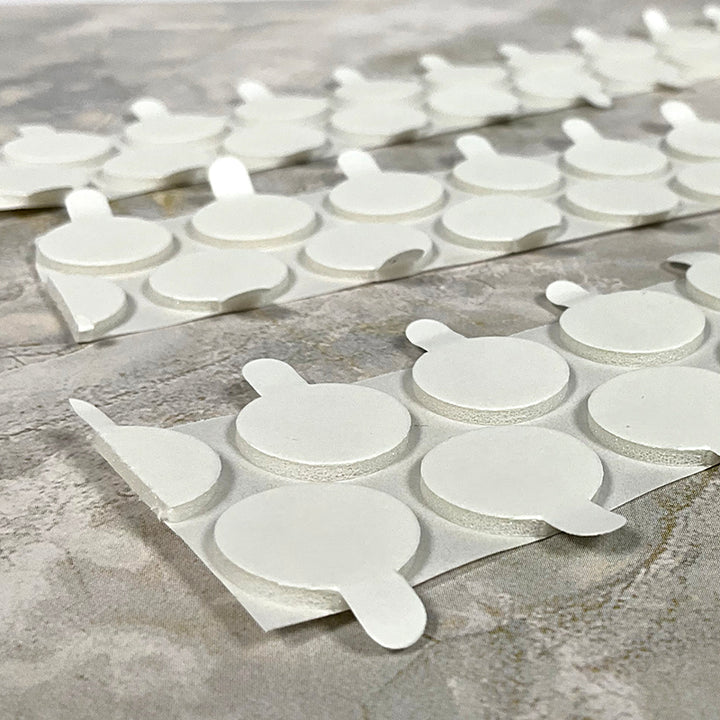
$3.30
Self-adhesive foam rounds for adding dimension to your projects. Each circle measures approximately 5/8" diameter. Package of 60.… Read More
