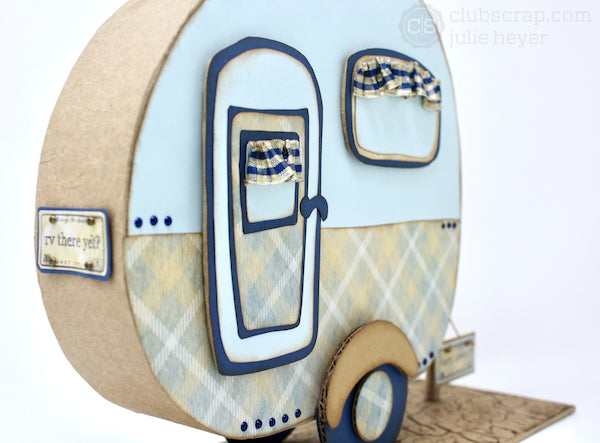
Create a pizza box camper made with supplies from the Happy Camper collection. You will have a blast creating this project!

Assembly Steps
Pizza Box Preparation
Trim away the sides of a pizza box and place it open and flat on a work surface.


Cut a 2" wide strip of the pizza box material with the grain direction running short. Note: The length of this strip will depend on the diameter of the camper. Trim the strip long enough to wrap around the circumference plus one inch.


Loosen the fibers of the cardboard between two fingers as demonstrated above. The grain direction of the cardboard allows for the piece to wrap into a circular shape.


Crop, enlarge, and reduce the transparency of the camper image from the Hybrid collection with a photo editing application. Print the image onto plain white paper to create a template.


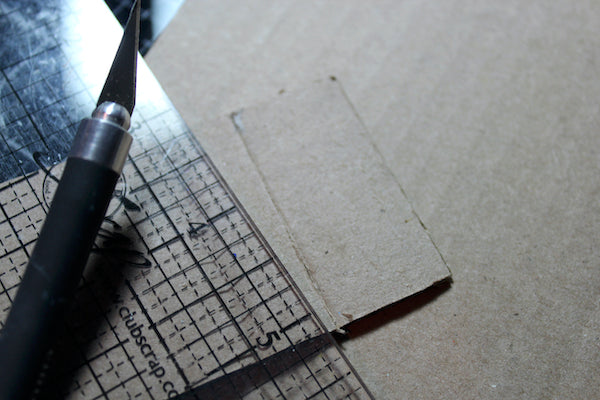
Trim the image with scissors and trace two camper shapes onto the cardboard.


Trace and cut two sets of tires, fenders, and hubcaps.


Trim one door and one window shape from the cardboard.


Create an angled strip and laminate three pieces together with Bookbinding Glue to form the top of the trailer hitch.


Roll a piece of cardboard into a tube shape to form the base of the trailer hitch. Wrap it tightly and adhere the ends together with glue.


Camper Assembly
Lay one prepared camper wall flat on a work surface. Wrap the perimeter wall around the piece and mark where the overlap occurs with a pencil.

Make a cut through the top layer of cardboard with a craft knife at the marked location.
Remove the section of corrugated fluting to eliminate bulk.

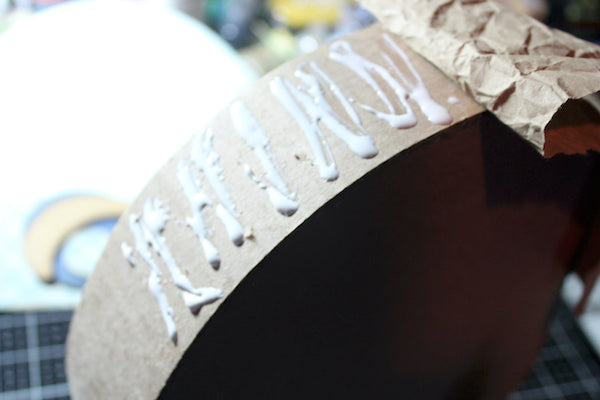
Apply Bookbinding Glue with a Needle-tipped Applicator to the tab and connect the two ends of the perimeter wall.

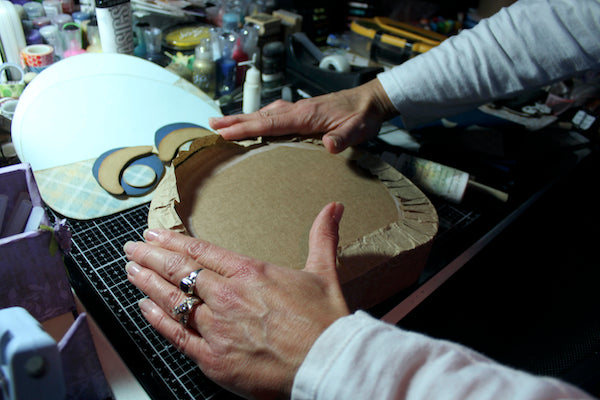
Reposition the perimeter wall around one side of the camper. Run a bead of hot glue along the inside of the camper walls. Hold in place to ensure a firm seal.

Run a bead of hot glue onto the bottom edge of the perimeter wall. Lay the second side wall into the glue and allow a bond to form. Continue to add a more glue, and slide the remaining portion of the side wall into position.

Wrap the perimeter wall of the camper with a 4" strip of crumpled kraft packing paper.

Brush bookbinding glue onto the perimeter wall in sections. Center the paper over the perimeter wall.

Apply glue to the side wall.

Wrap the packing paper and adhere to the side wall. Repeat the process for the second wall.

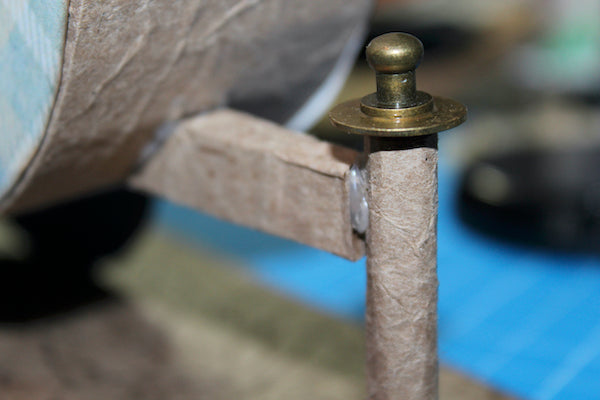
Wrap the hitch post pieces with kraft packing paper and bookbinding glue. Attach a hitch ball and washer to the top of the wrapped tube with Bookbinding Glue.
Camper Embellishments
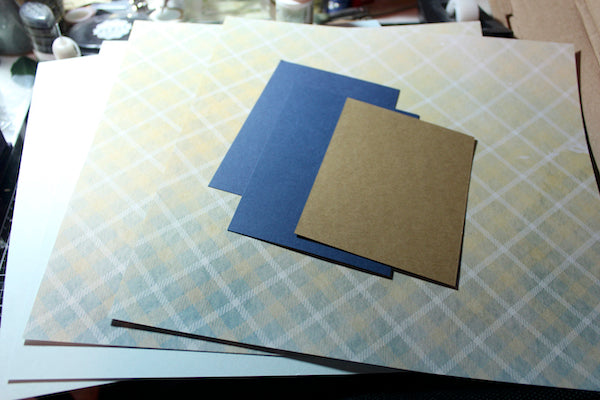
Gather papers from the Happy Camper Page Kit and print the plaid background from the Hybrid collection onto two sheets of white paper.
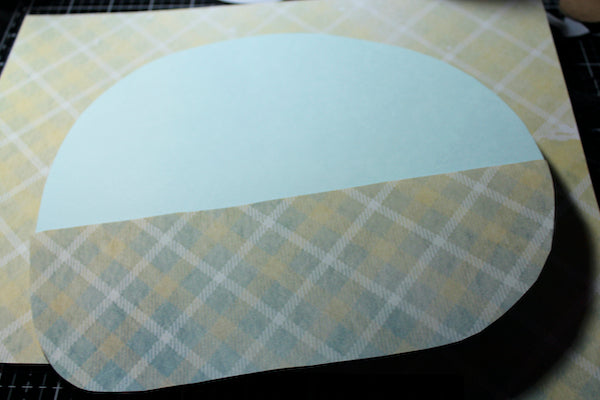
Trace two camper shapes onto the Light Blue papers. Cover the bottom portion of both side walls with the plaid prints. Adhere the decorative papers to the camper with bookbinding glue.
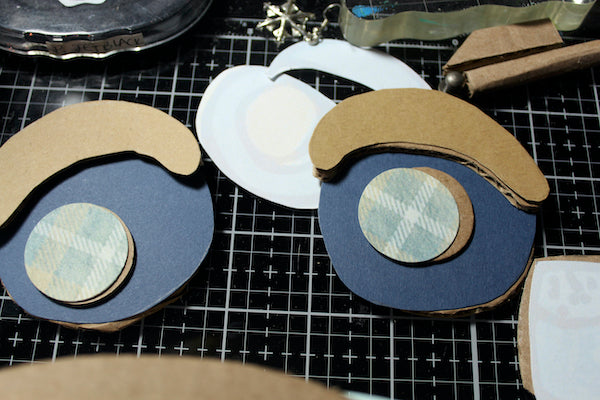
Trace the fenders, tires, and hubcaps onto the papers. Trim with scissors and adhere to the corresponding cardboard shapes with bookbinding glue.
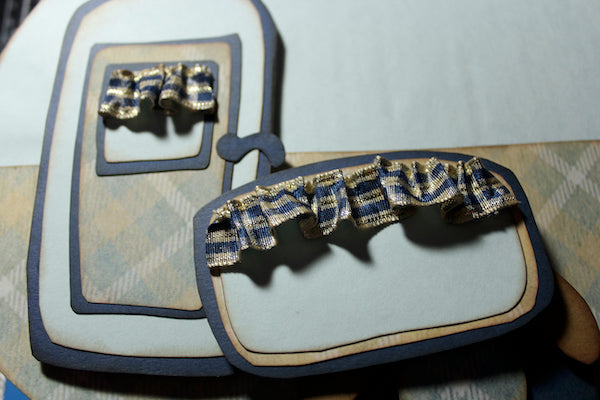
Cut two pieces of plaid ribbon to make curtains for the windows. Fold over each of the raw ends and glue down to prevent fraying.

Make a running stitch with a needle and thread along one edge of the ribbon. Pull one end of the thread to create a ruffled effect to match the width of each window.

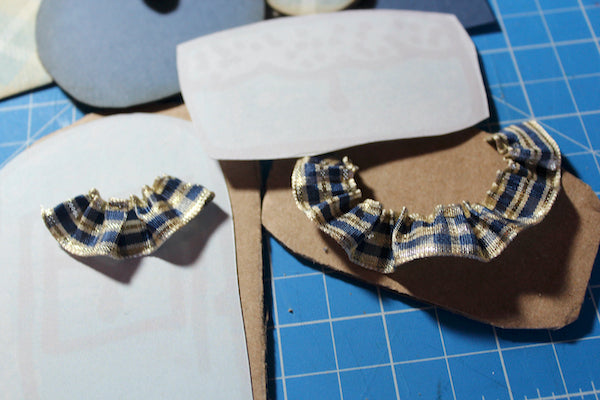
Adhere the curtains to the windows with hot glue.
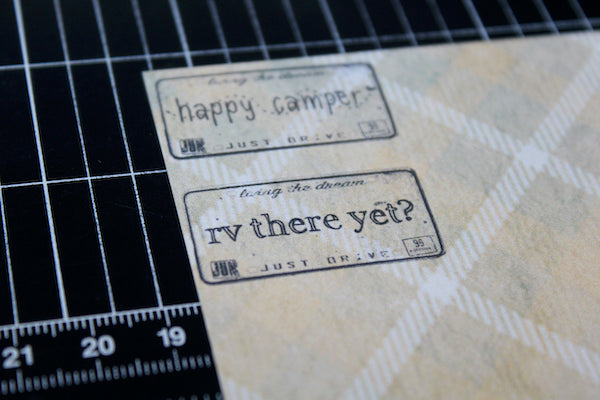
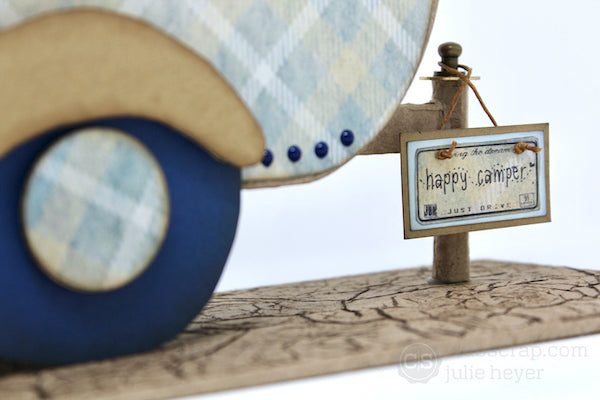
Create vanity plates with artwork from the Creative License and Happy Camper Hybrid kits. Layer the two images in a photo editing application and print onto the plaid hybrid paper.
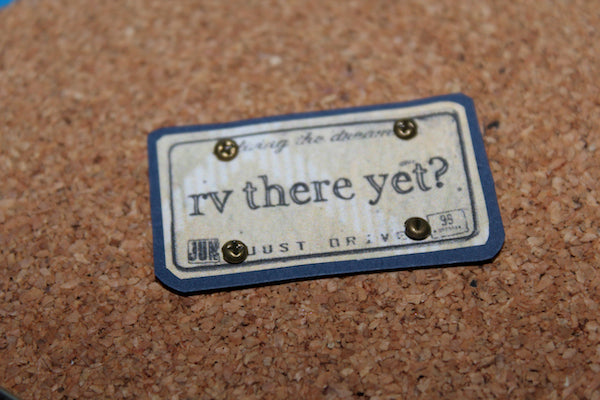
Fussy cut and layer onto Dark Blue paper from the collection. Add tiny screw brads to finish the plate.
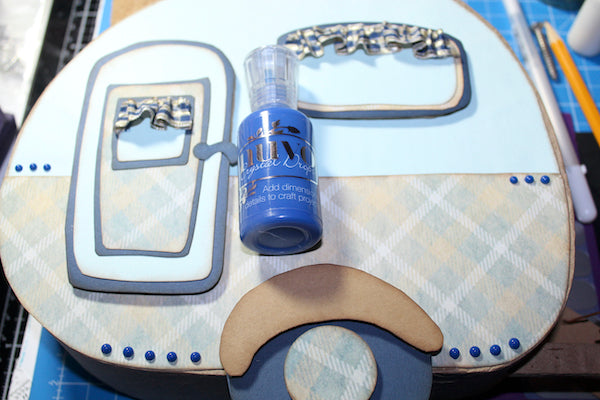
Add Nuvo drop dots to mimic the look of rivets of the front side wall.
Wrap a book board rectangle with kraft packing paper and Bookbinding Glue. Rub the top of the board with Earth ink to accentuate the crumpled texture.

Adhere the camper hitch post to the board with hot glue.

Finished Pizza Box Camper
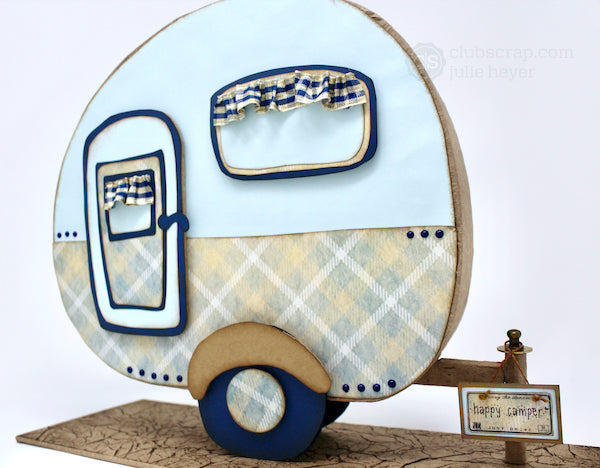
The little sign hanging from the hitching post added the finishing touch!
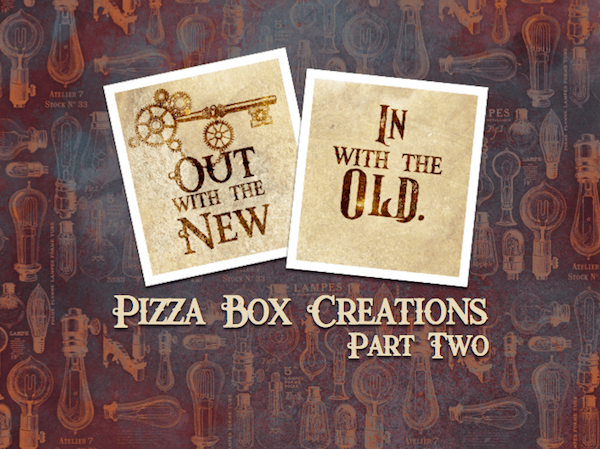
Visit these blog posts for more pizza box inspiration.
Pizza Box Creations One
Pizza Box Creations Two
What do you think? Isn't this a tow-tally fun project? I hope you give it a try and see even more creative potential in your monthly pizza box!
Julie