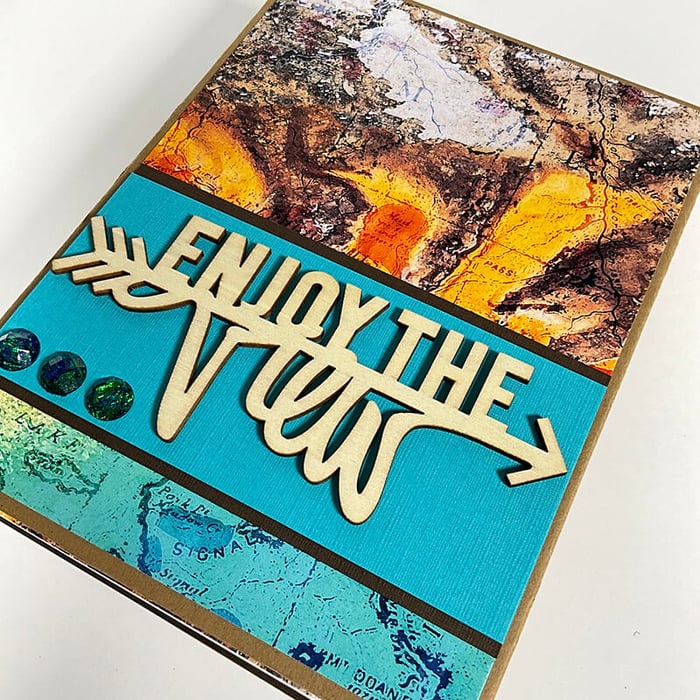
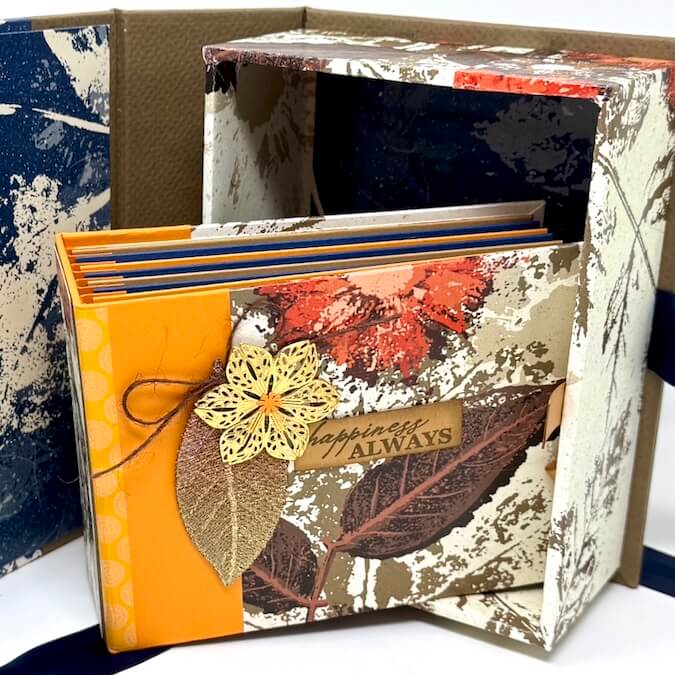
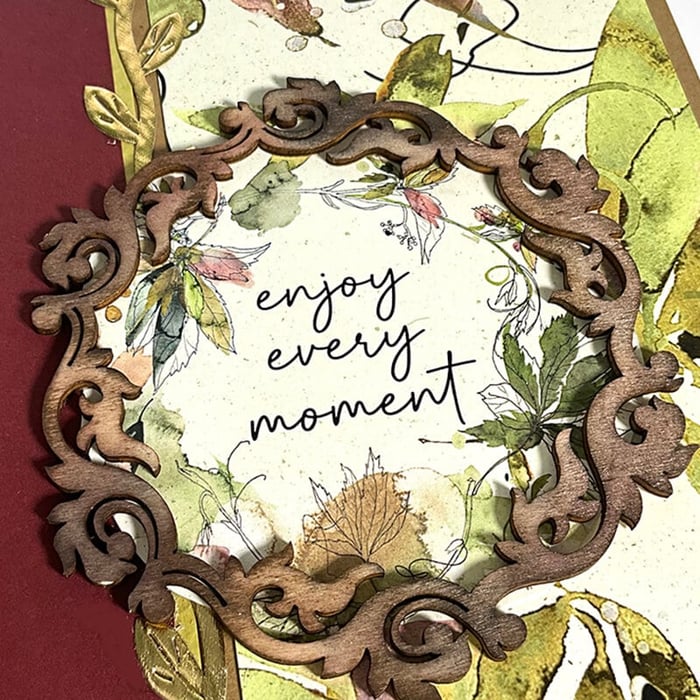
I recently participated in Tricia's virtual workshop on the OOAK Virtual Event group on Facebook. During the presentation, we learned how to make an adorable Blue Christmas Photo Folio - a mini scrapbook that doubles as a Christmas ornament!
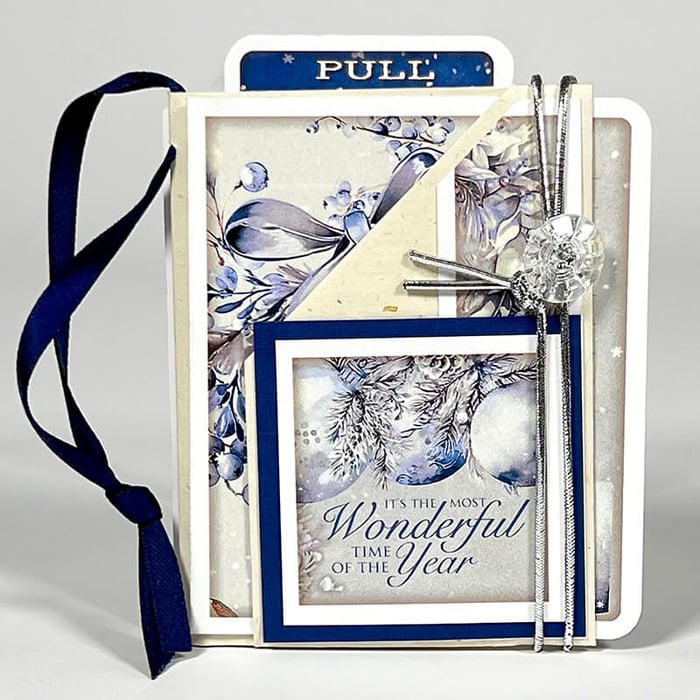
After constructing the project alongside Tricia, I realized the incredible potential of this sweet keepsake and decided to try my hand at making more with papers and cutaparts from my favorite past kits.
Photo Folio - Two Ways
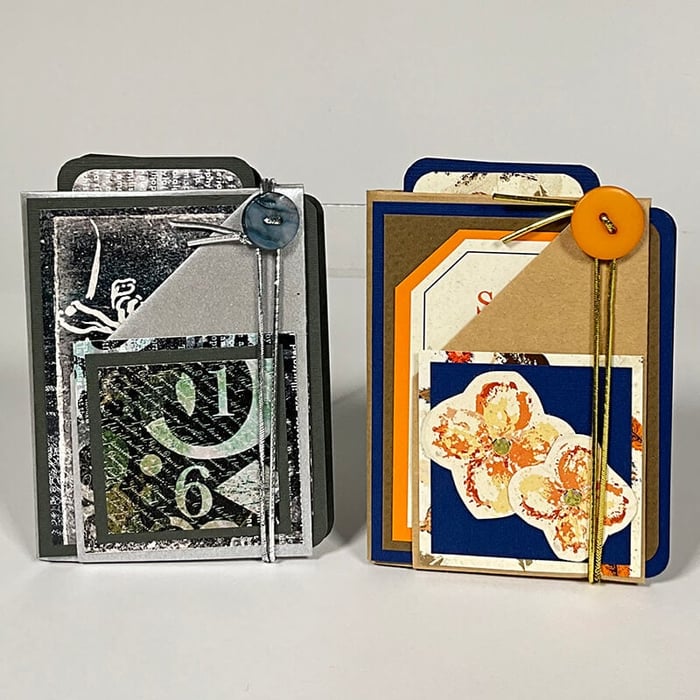
My first suggestion is to make sure you watch the online workshop's companion video. This is a pretty straightforward project, but the origami-folded folio can trip some folks up. Following Tricia's step-by-step tutorial makes the process totally achievable. Prepare to be impressed with yourself once the project is complete!
Abundance Photo Folio
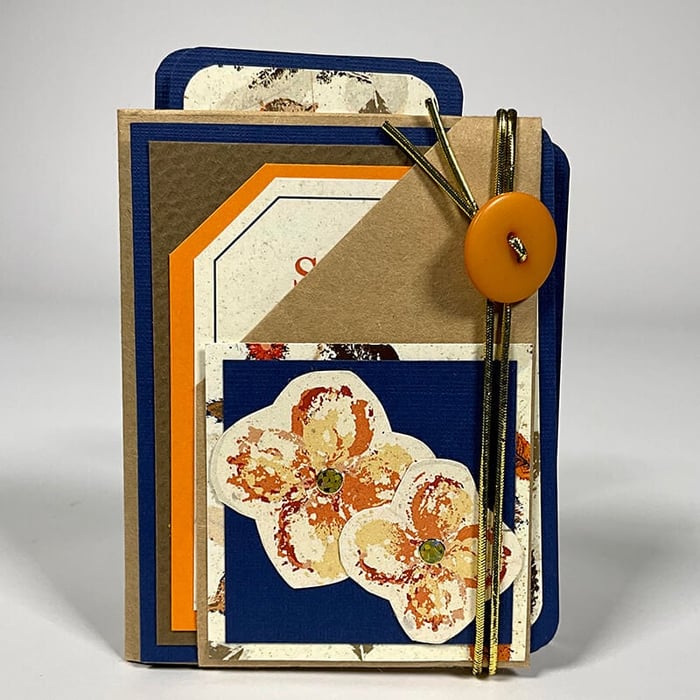
To recreate this project with the Abundance collection, gather the following:
Card Kit Print = Paper A
12x12 Dk. Blue Plain = Cutapart
Abundance Page Cutaparts
12x12 Kraft-colored Paper or small grocery bag (trimmed to 8.25x11.75")
16" Silver Elastic Cord
Orange 2-hole Button (from stash)
Sort and trim your papers according to the sketches and instructions. Follow the diagrams to score and fold the 8.25x11.75" paper origami-style. Assemble and decorate each insert; add to the folio.
Add coordinating cutaparts to embellish the finished project.
Are you ready for a closer look?
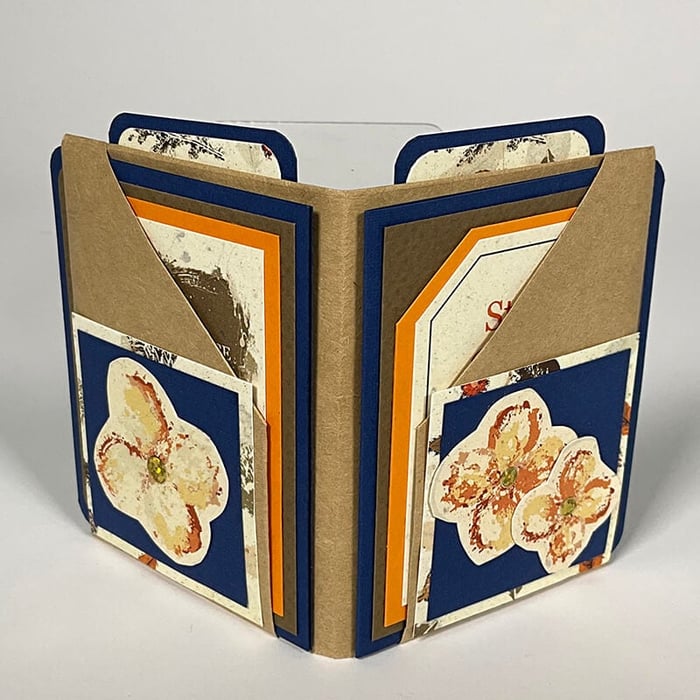
For this version, I dismantled a bottle-sized kraft bag from the grocery store, smoothed it with a craft iron, and trimmed a section to measure 8.25x11.75" to create the origami folio.
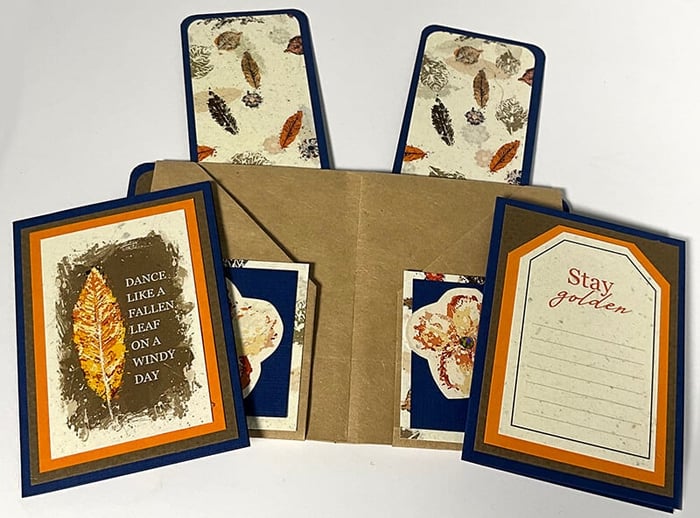
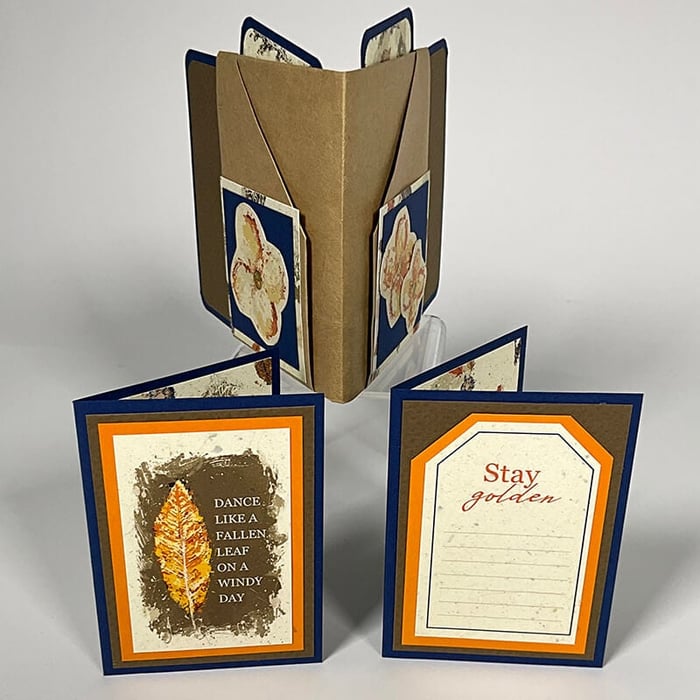
Trim Page Cutaparts to fit the folio inserts. Don't forget to leave blank space for photos!
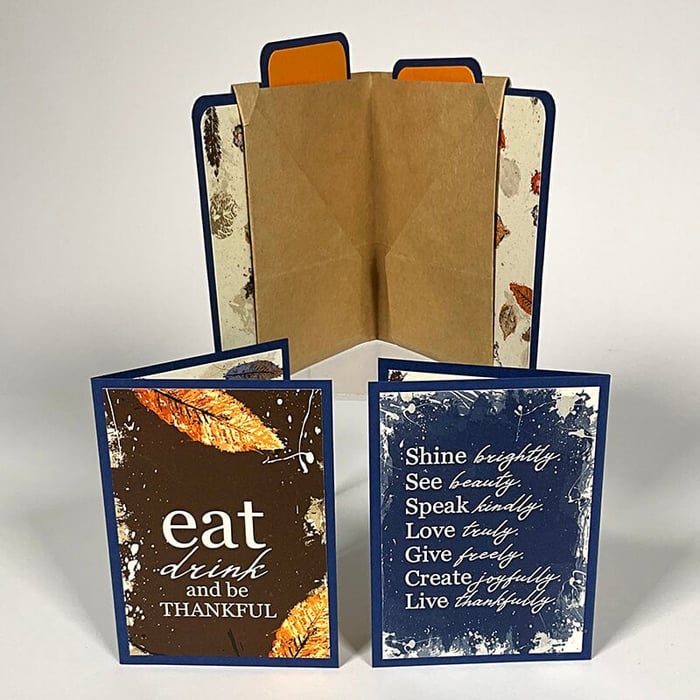
Kit No. 301 Version
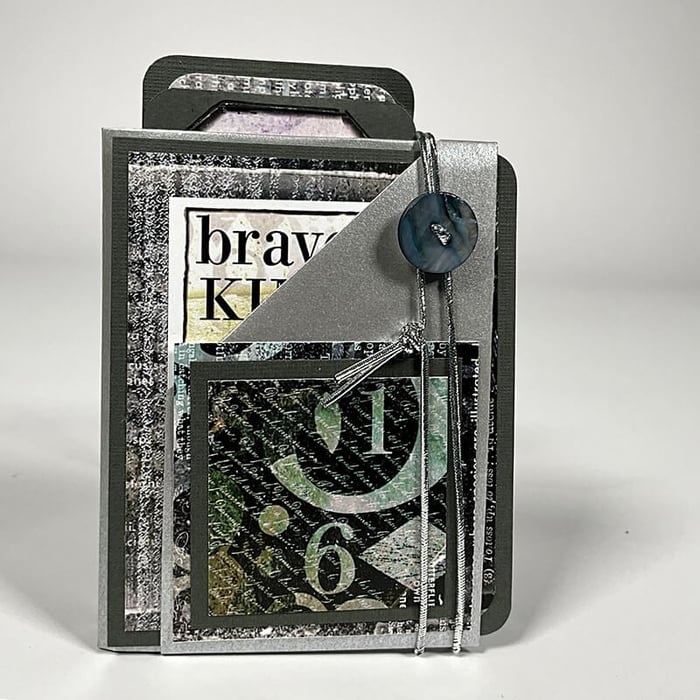
To recreate this project with the Kit No. 301 collection, gather the following supplies and tools:
Photo Folio Instructions Download
Numbers Print = Paper A
12x12 Gray Plain = Cutapart
12x12 Silver Text Weight (trimmed to 8.25x11.75")
Kit No. 301 Page Cutaparts
16" Silver Elastic Cord
Blue 2-hole Button (from stash)
12” Paper Trimmer
3x14" Grid Ruler
Scor Pal 1/8s
1/8" Hole Punch or Crop-A-Dile
Bone Folder
Corner Chomper or Corner Rounder Punch
Scissors
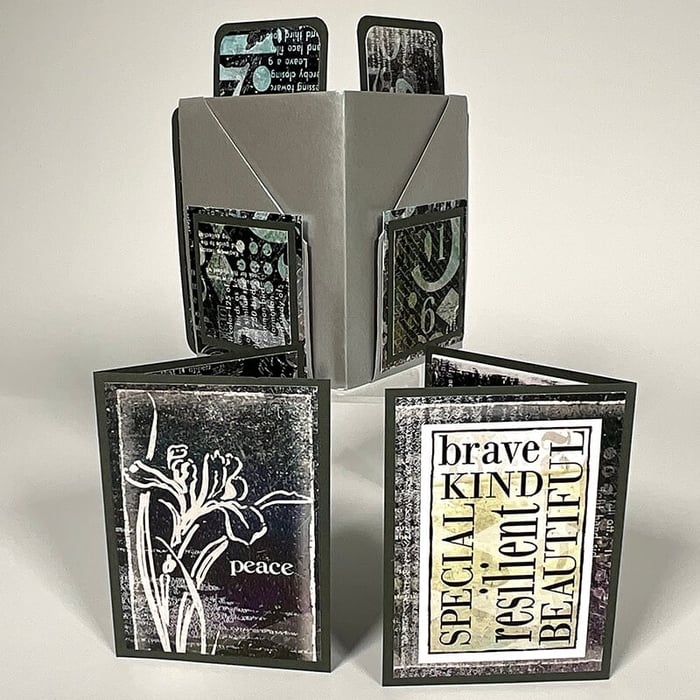
Individual numbers from the Numbers Die Cut nest perfectly onto the fold-outs. Since this folio is going to be an ornament on a Christmas tree, I used the numbers "2" and "5".
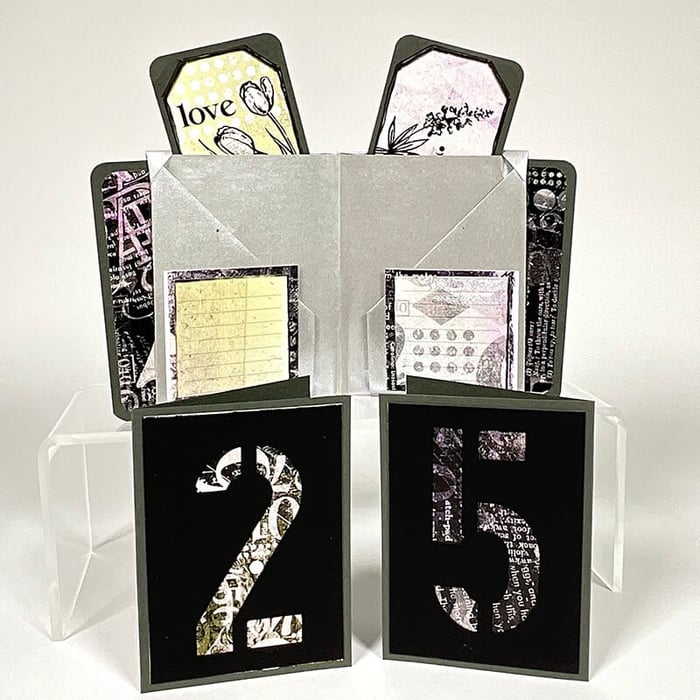
Join Tricia for a visual tour of each version in the brief video below:
Transform your favorite CS® papers and cutaparts into an adorable handmade gift. Just imagine possibilities - the ability to customize each folio to the personality of the recipient or to commemorate holiday memories.
Photo Folio Online Class
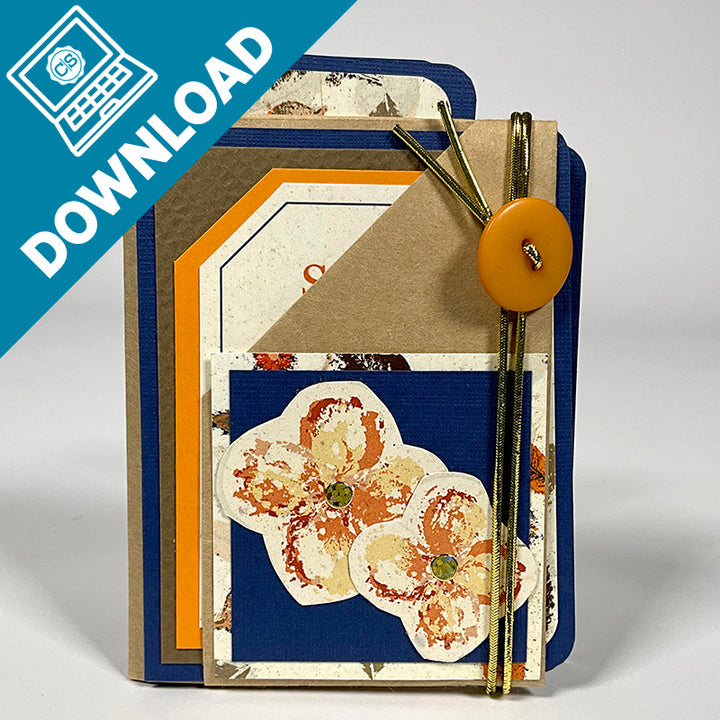
$11.05
THIS IS A DIGITAL PRODUCT SENT VIA EMAIL Create this darling mini photo folio with papers from your stash. Learn how to carefully fold a sheet of text weight paper into an origami-inspired folio containing eight pockets. Trim 12x12 paper… Read More


