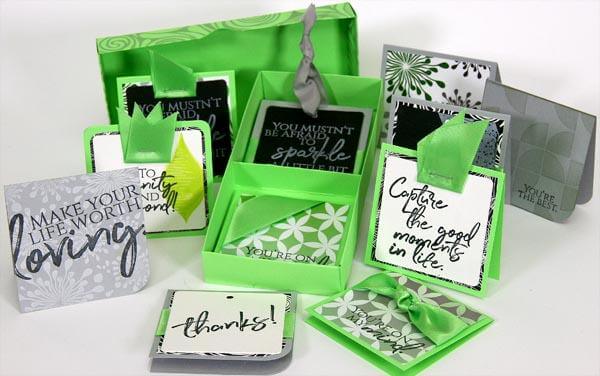
June's Greetings to Go Guest Artist is Ann Hunter, aka: crzymom on the Club Scrap forum. Join me for a closer look at her lovely cards.

SET A: 4.25 x 5.5" GREEN POP-UP CARDS
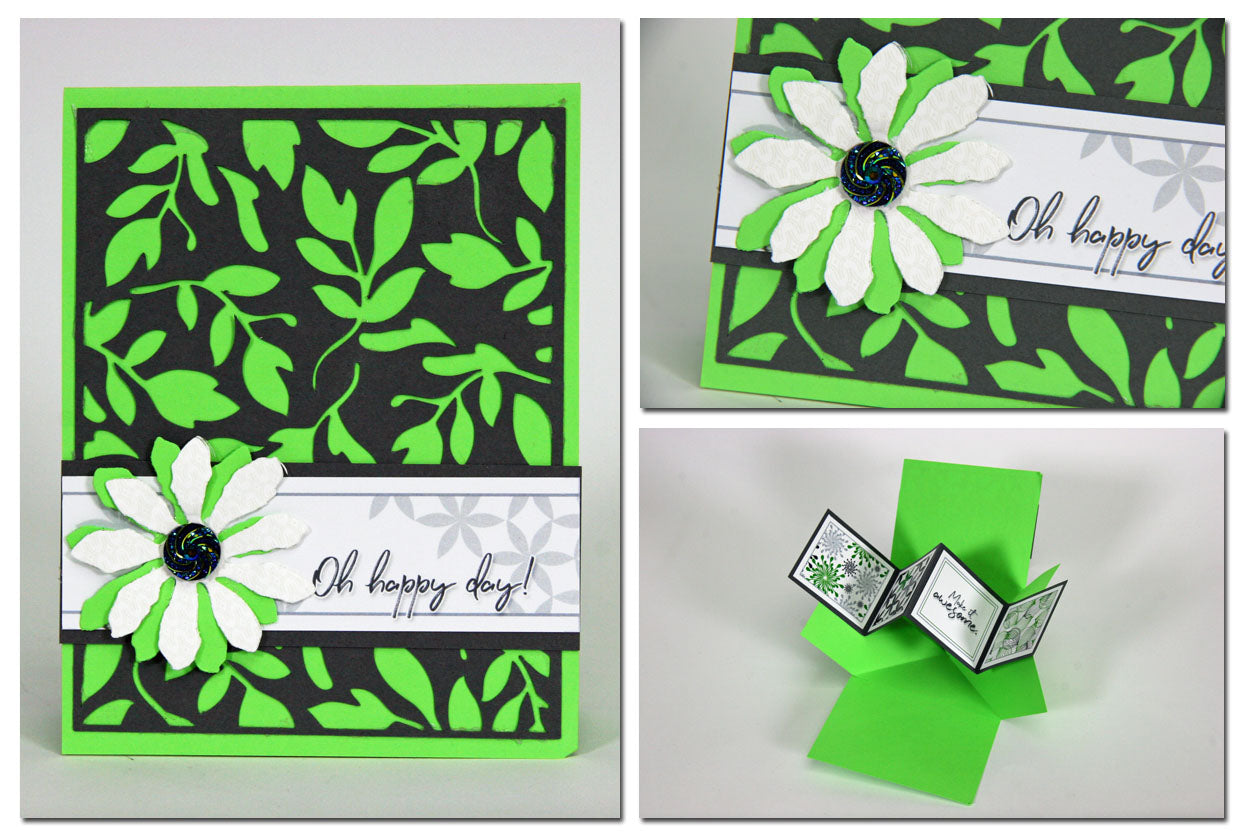
Decorating these pop-up cards is as much about making the inside as special as the outside! Run a white panel through an embossing folder. Ink raised areas to highlight.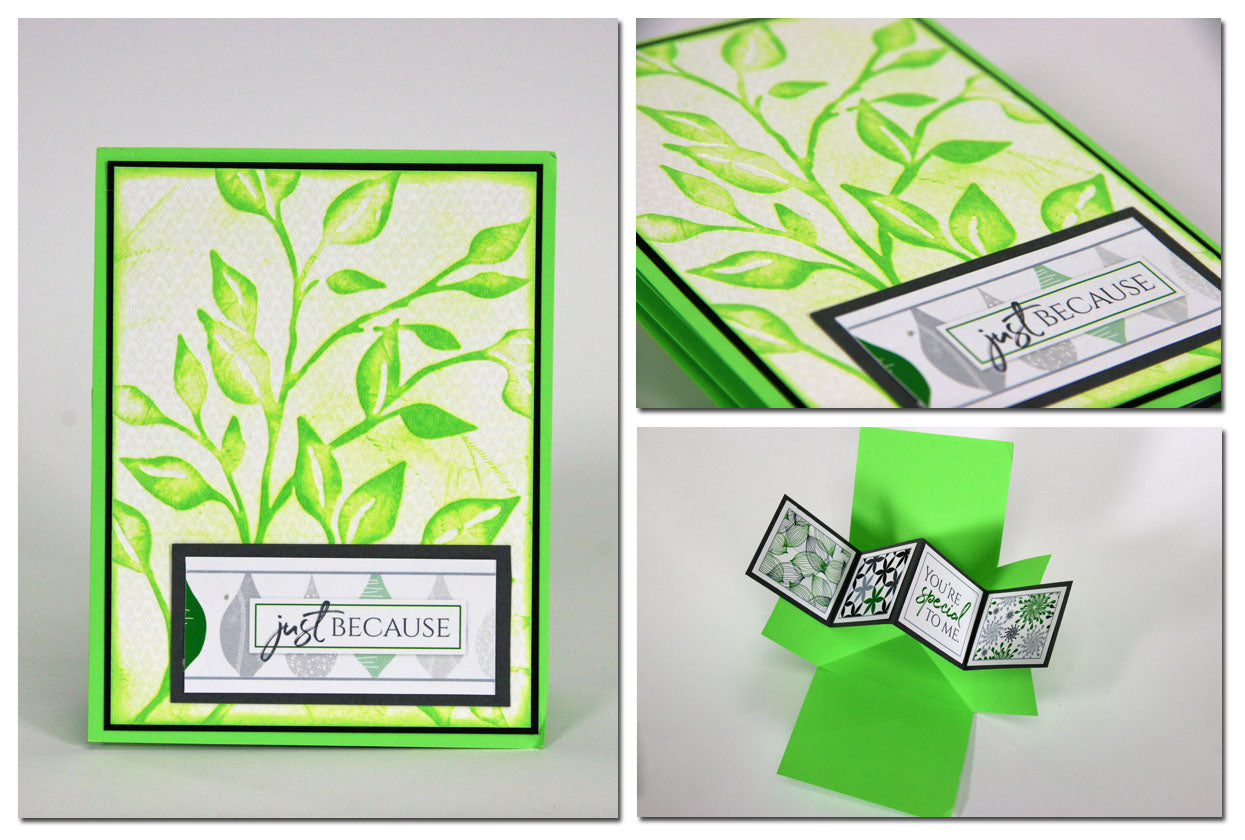 Die cut black panel. Use flower punch to create dimensional flower, add resin swirl to center using Bookbinding Glue and a needle tip applicator.
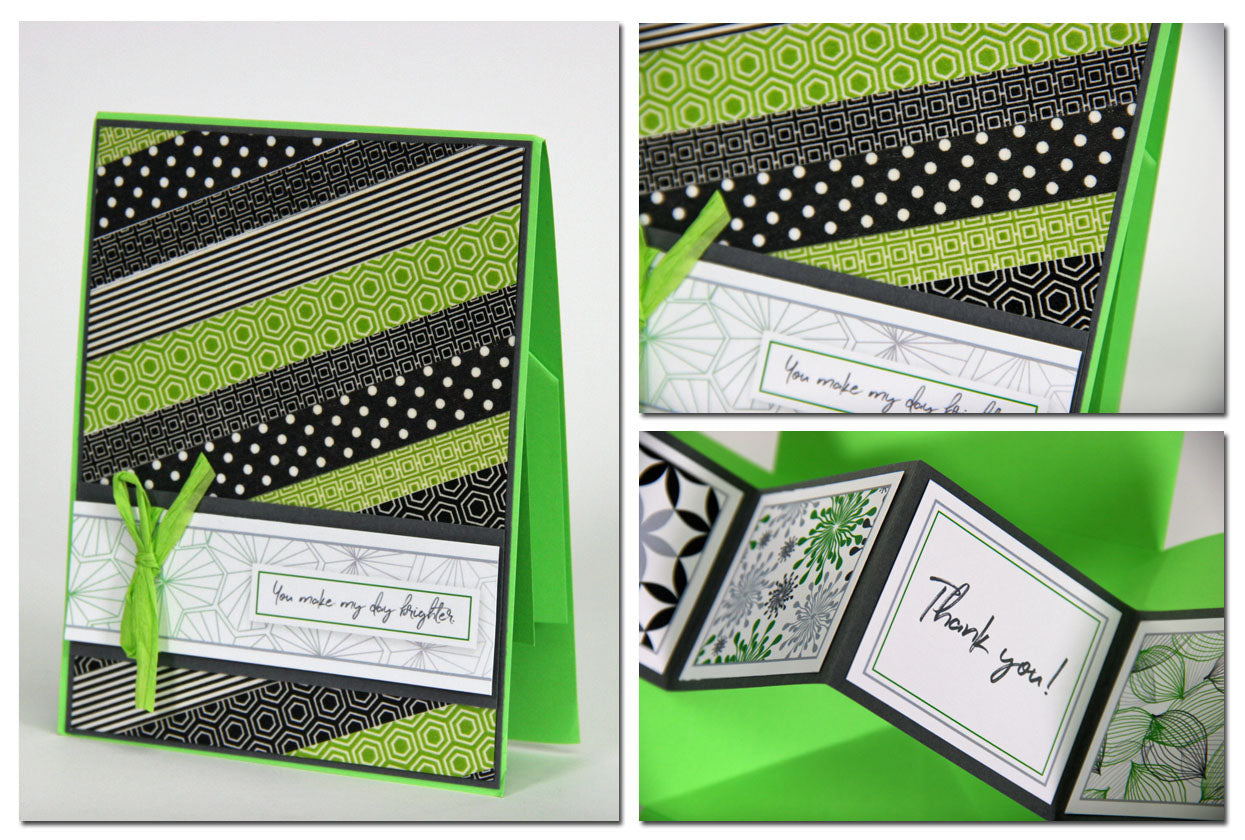
  Adhere assorted washi tape designs onto a panel on the diagonal. Trim to desired size, mat with black.
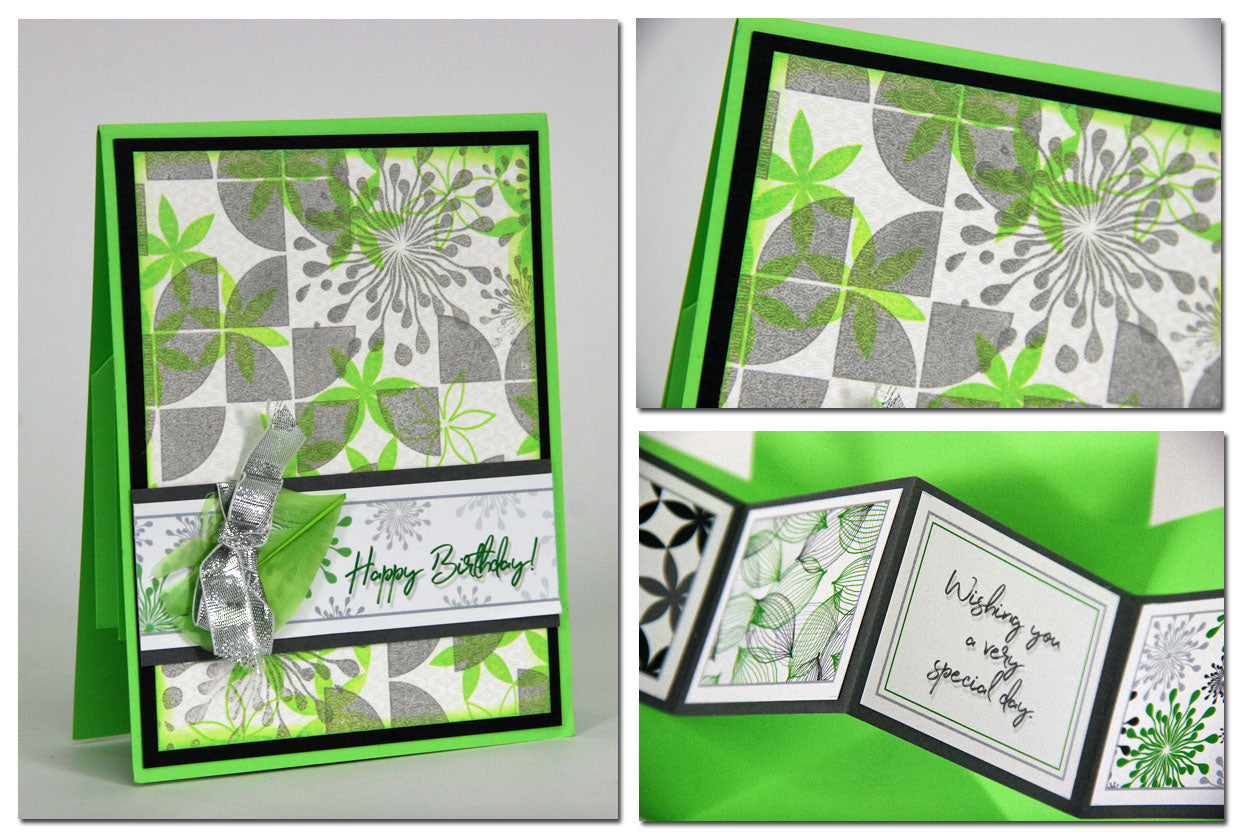
  Stamp white panel with multiple images in Peridot and Ash ink to create a fun background.
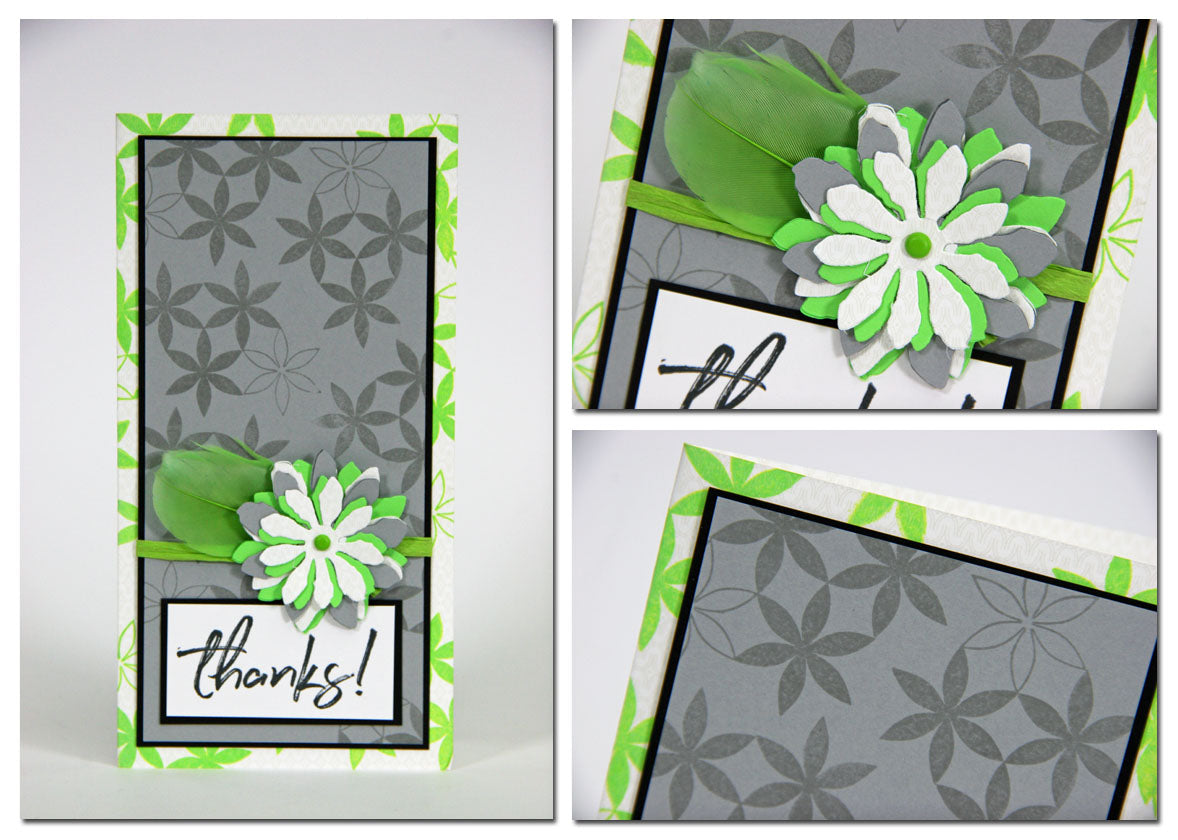
SET B: 3.75 x 7.25” GRAY PATTERN CARDS
Use a striped embossing folder on black panel for added texture. 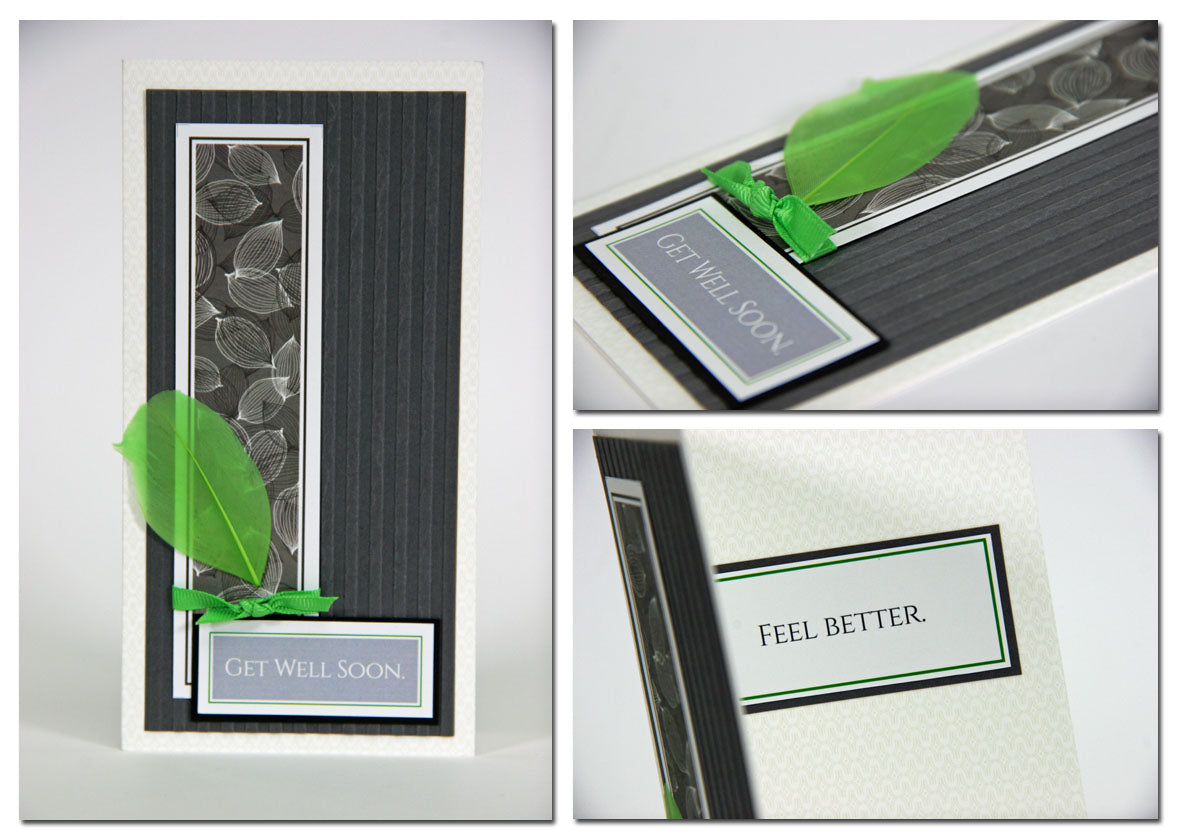 Stamp flower image (Art Nouveau) onto the gray pattern card base in Peridot ink; the gray panel in Ash. Use a punch to create the layered flower embellishment. Attach with green mini brad.
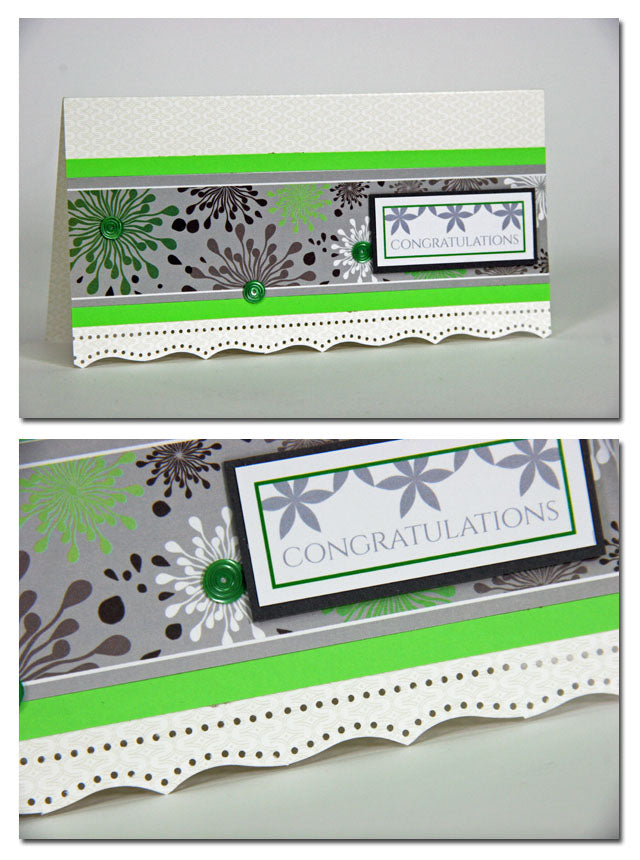
  Use a border punch to add interest to the bottom edge of the card. Add sequins (Refresh) to the center of several images on the cutapart.
Use a border punch along both long edges of black panel for a unique look. 
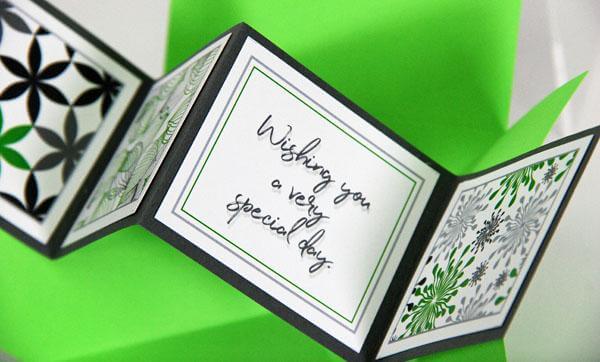
SET C: 4.5 x 6.25” WHITE Z-FOLD CARDS
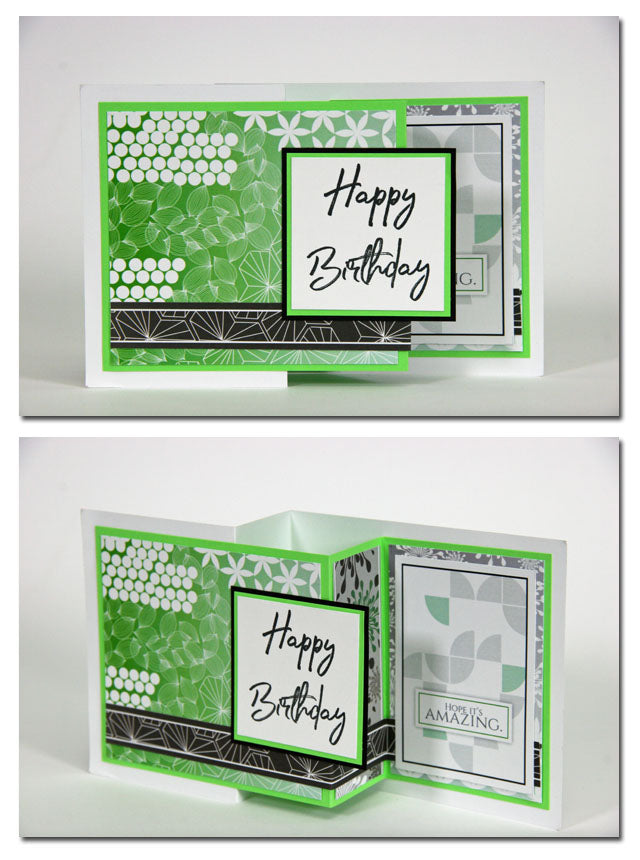
Add a pop of color by stamping leaf image (Jumbo UM) in Peridot, Leaf, and Fuchsia inks. Trim and adhere with foam tape for dimension. 
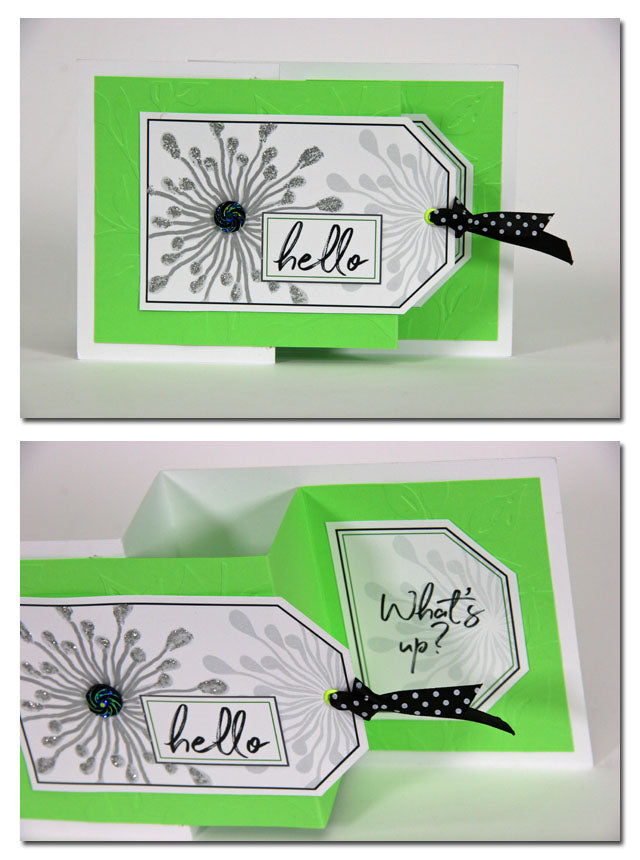
Stamp pattern in Ash to create a background (Jumbo UM) on the white card base. Use Peridot ink to stamp circles (Art Nouveau) onto green panel. Add mini rhinestones (Woven Strands) to center of artwork on cutapart. 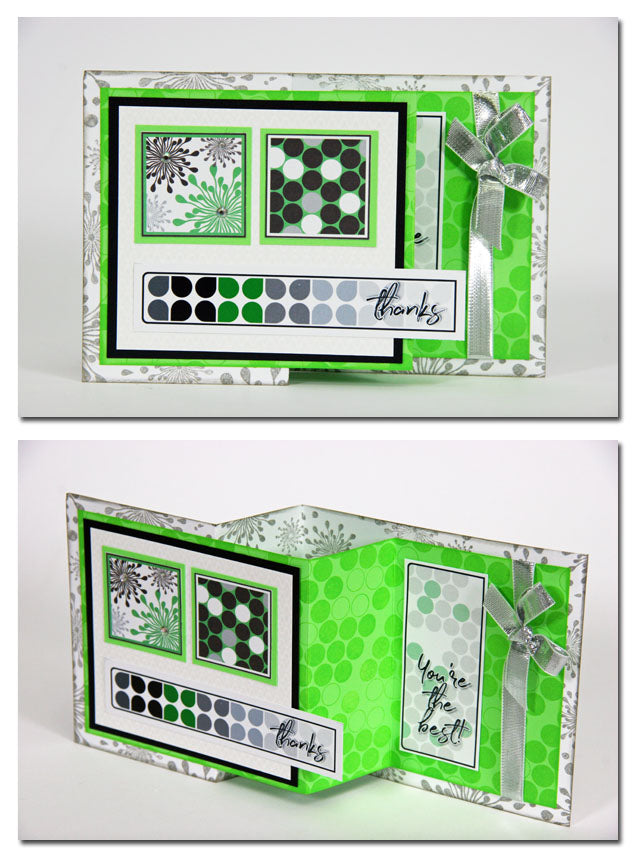
I hope you enjoyed exploring Ann's awesome cards with me. If you'd like to see more of her work, be sure to visit her blog, Crzymom's Tidbits.
********************
Don’t you just love how versatile Club Scrap’s Greetings to Go packs can be? Make twelve quick ‘n simple cards using Tricia’s instructions, or take those twelve cards to the “next level” with the addition of stamping and other techniques like our Guest Artists do each month. The choice is yours!
