
No matter where life's journeys have taken you, this collection will be a great home for your experiences!
NAVIGATION DELUXE KIT
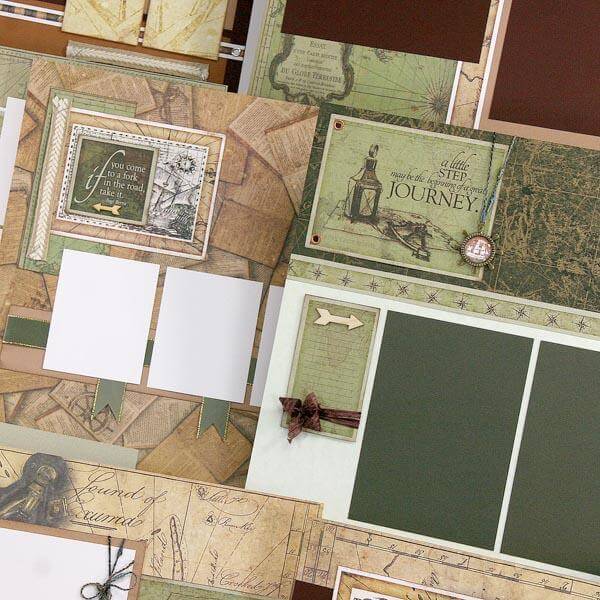
LAYOUTS 1 & 2

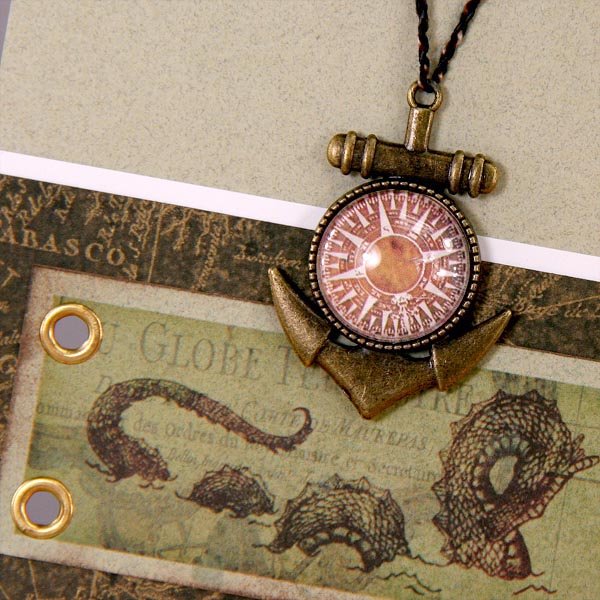
The Bronze Frames and Glass Domes come with a circular open area. Jacqueline cleverly designed a set of cutaparts sized to fit within the opening. You can choose from four different images. Simply trim with a scissors, adhere to the frame, and add the glass dome with CS bookbinding glue.

LAYOUTS 3 & 4

Are you tired of making three-part bows? I'm not! They're just so classy and perfect. If you haven't made one yet, check out my little video.

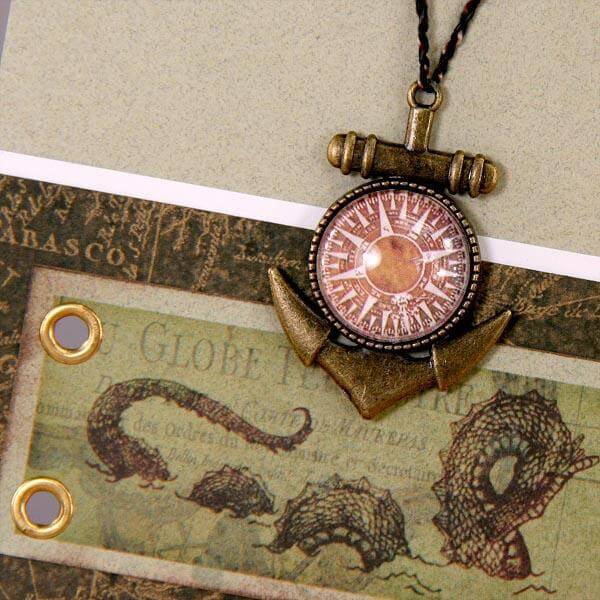
And here's another Bronze Frame/Glass Dome/White Cutapart page accent. We also included an assortment of Metallic Eyelets to add that finishing touch.
LAYOUTS 5 & 6

This layout is accented with a bonus sheet of Faux Leather Paper. Grab a few extra pieces to use as covers for handmade books or anywhere you think leather would look nifty.

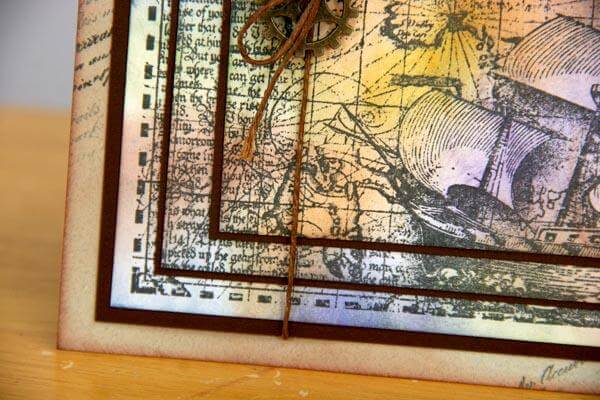
We also matched up our third Bronze Frame with a small tie of braided jute ribbon. What a nice, rustic touch!

LAYOUTS 7 & 8

The adorable Wood Veneer Arrows tell you where the "x" marks the spot! Each kit includes a generous assortment of arrows.

LAYOUTS 9 & 10

This is a "mini collage" of assorted items including the metallic-edged satin ribbon, wood arrow, faux leather paper, and a cutapart. Every little piece gets used!

LAYOUTS 11 & 12

The 12x12 Green Fiber print features pages of an open book. I trimmed the book image from the paper and layered it on the right edge of page 12. The rest of the sheet is used on Layout 13.

Build another mini collage page title by layering paper, cutaparts, fiber and embellishments. Attach the thick fiber with a pair of criss-crossed staples at each end.

LAYOUTS 13 & 14

Sometimes Jacqueline just throws something funny onto the cutaparts. Luckily, we were able to include this silly expression on the UM Borders & Backgrounds stamps!
NAVIGATION GREETINGS TO GO
SET A
The Green panel on these cards is attached to the Rust panel beneath with a 1" scored flap. The Rust panel is then adhered to the White card base, making it a two-flapper. You'll have plenty of space to write messages on these cards! (Plus, we've included images to attach to the Rust panels.)

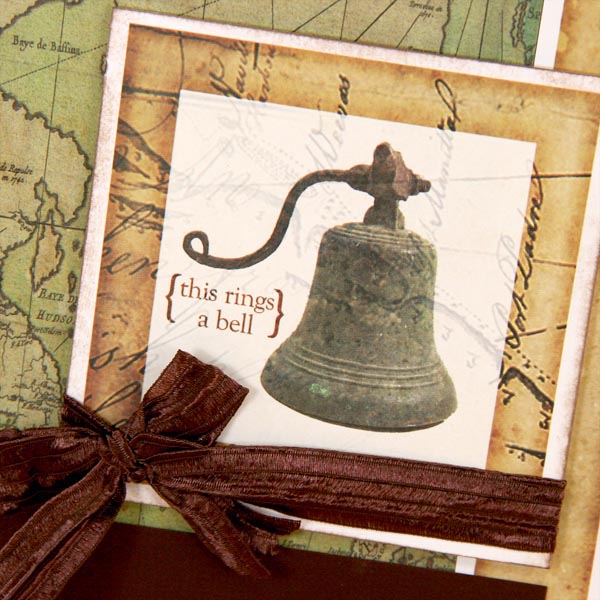
Trim lengths of velvet ribbon and tape to the back of a cutapart. Attach the cutapart with foam adhesive to make room for the ribbon.

SET B

Trim the oval cutapart shapes with a scissors and ink edges to hide any trimming flaws. Cut the ovals in half and hide the gap between the two halves with a cutapart.

The Silver Compass Charms included in the set have a loop on each end. Thread twine through the loops and tape the ends around to the back of the panel.

SET C

This card style reminds me of a mini composition book or journal. Plus, we've designed an "innie" for almost every card. Isn't that awesome?


Thank you for scrolling the distance with me. Enjoy your new collection!
Tricia