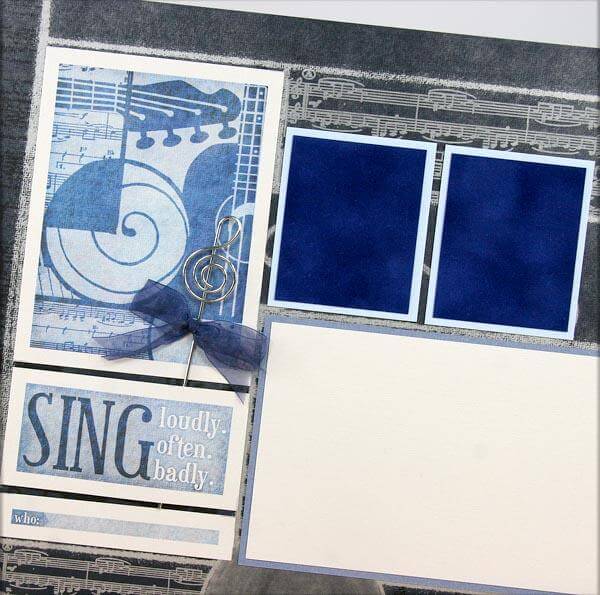
My daughter is in need of a new notebook for piano lesson assignments. The Blues Lite Kit is perfect for such a need. Here is her new 7x8.5" piano lesson notebook!

Other then fitting into Marilee's piano bag, there was no real size requirement, so I used a matching pair of boards that happened to be in the Pizza Box of Book Board.
Music Book Tutorial
1. Use Grid Ruler to mark three evenly-spaced holes on the left edge of each cover.

2. Punch holes with the 3/16" setting on a Crop-A-Dile.

3. Spread Book Binding Glue onto the book board covers and center onto a 9x10.5" White Print from the Lite collection.

4. Transfer the location of the punched holes on the book board cover through the cover wrap with a paper piercing tool. Push excess paper into the hole with a pencil.

5. Miter corners on the outside cover wrap to create flaps. Wrap flaps around the board and adhere.

6. Center a 6.75x8.25" paper on the inside of each board.

7. Punch and transfer holes to the inside cover wraps.

8. Trim copy paper to 6.75x8.25" for the inside pages, and decorate with rubber stamped images.

9. Place the outside cover onto an inside page and mark the location of the punched holes.

10. Punch holes through all inside pages.

11. Assemble covers and inside pages with 1" binding rings.


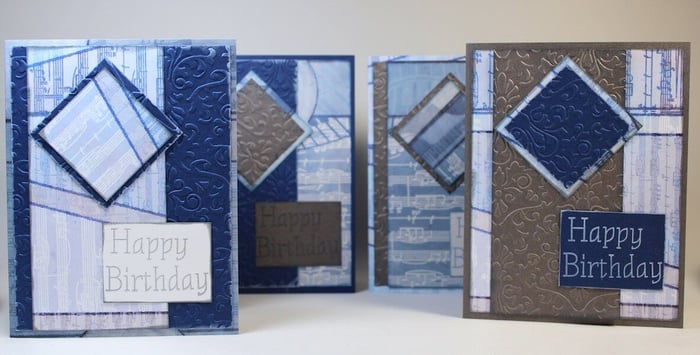
12. Apply inks to the White Cutaparts with CS Ink Applicators. Add glitter glue and allow to dry completely.


13. Adhere cutaparts to the front cover and finish with Chevron Blue Washi Tape.


I hope you find as many great uses for The Blues Lite Kit as I do! If you are not a Lite Kit member and would like more information, please click HERE.
Enjoy!
Kay