
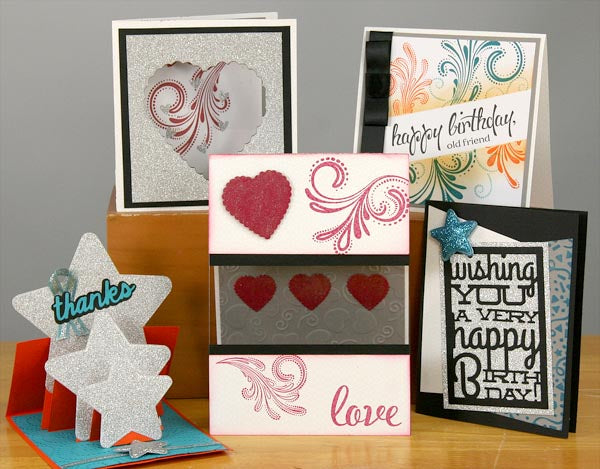
The January Greetings to Go Guest Artist is Jennifer Rodgers, aka scrappinjen on the forum. Take it away, Jen!
Although I was honored to be asked to work with the Celebrate Greetings to Go, I must admit that I was somewhat daunted by the awesome responsibility of taking the already fabulous cards and making something completely different. If I have gone over the top, it is only because I tried so hard to meet the challenge! I hope you'll indulge me as I wanted to create some Valentine's Day and New Year's-themed cards (for 2017) with the Celebrate theme.
SET A: 3¾x7¼” WHITE CARDS
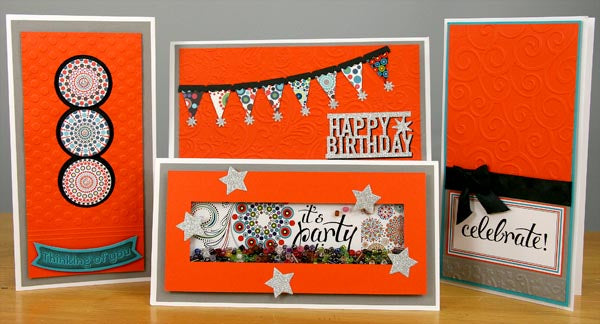
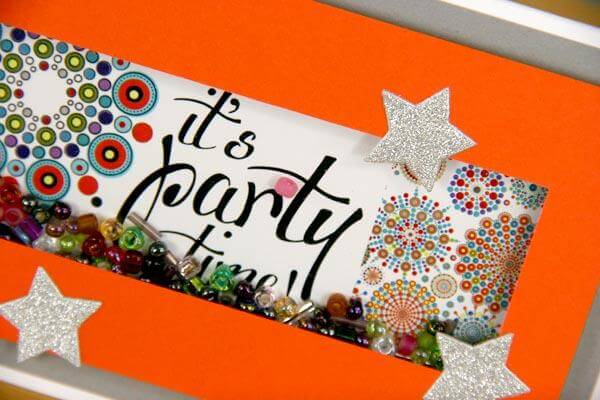
Before I even saw the materials, I knew I wanted to make a shaker card. My original plan was to make one with a 5x7” Gray Pattern card, but I just couldn't work that out in my head. I did it with this set instead.
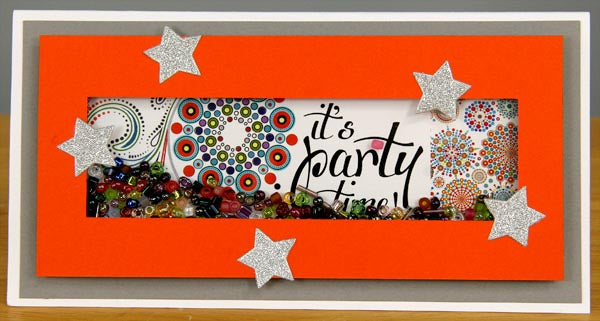
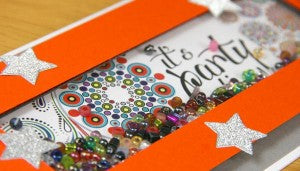
I don't think I've ever made a shaker card before, but I really like the way it turned out. I used the plastic film provided, and added beads from my jar 'o beads. (I'm not a "bead person" so all my beads from past kits are in one jar, if you can believe that.)
I made full use of my vast collection of embossing folders for this project.

I used dies and punches to make the shapes on the front panels.
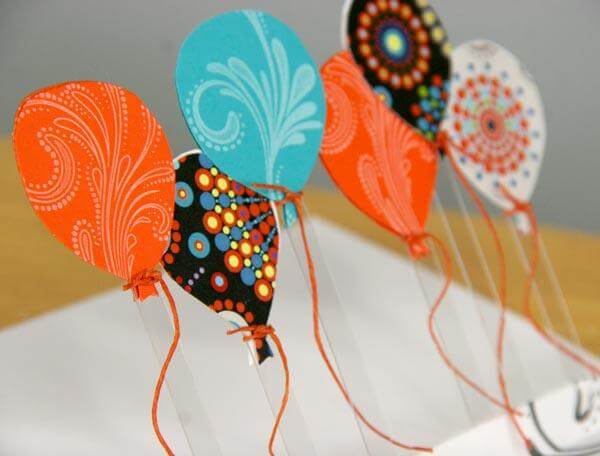
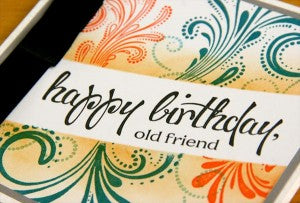
This kit is perfect paired with a colorful banner.

SET B: 5x7” GRAY PATTERN CARDS
I really went off the reservation on this set, primarily because I accidentally cut one of the card bases without realizing I needed to keep it intact. Oops! I only made one card like Tricia's. I really liked the style of the card, but I couldn't come up with any ideas to utilize the design differently.

Since I wanted to make a few Valentines with this kit, I used dies and embossing folders to create heart-themed cards. The hearts are die cut Berry card stock (from my stash of POPs) topped with a bit of Wink of Stella for some sparkle.
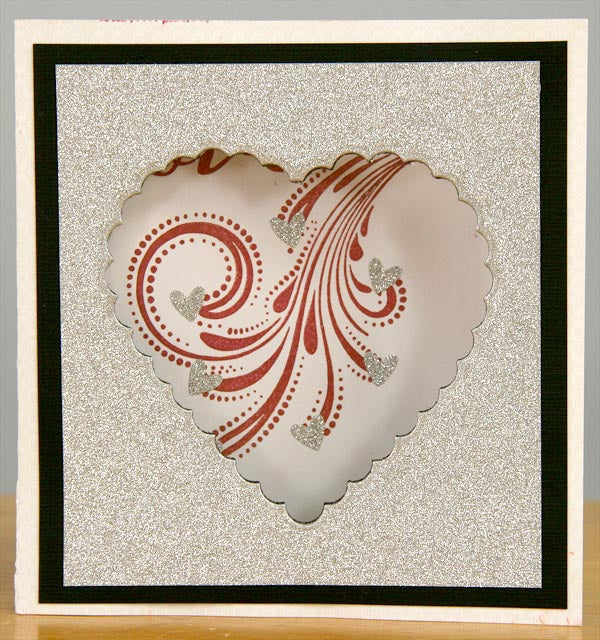
That silver glitter paper would steal anyone's heart!
For the card below, I used a technique I learned several years ago: Masking off a center strip to get the look of dimension without actual layers.
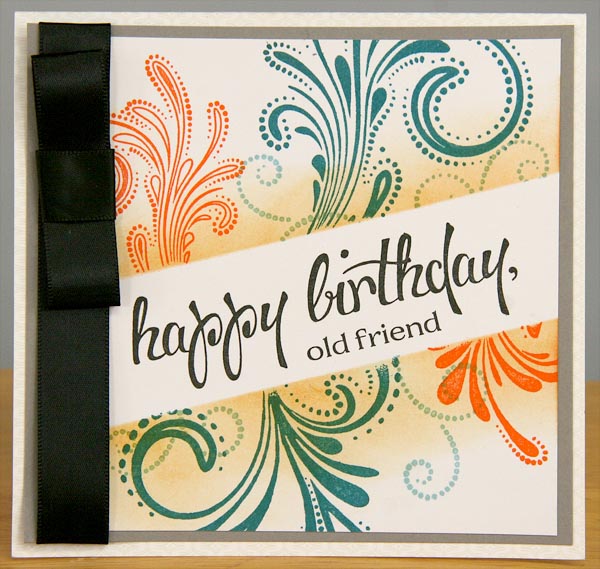
With the mask in place, I applied ink with a blending tool and stamped images in different inks. It's stunning when the mask is pulled away!
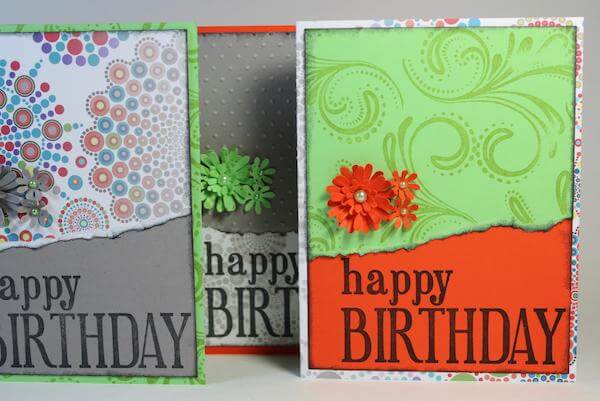
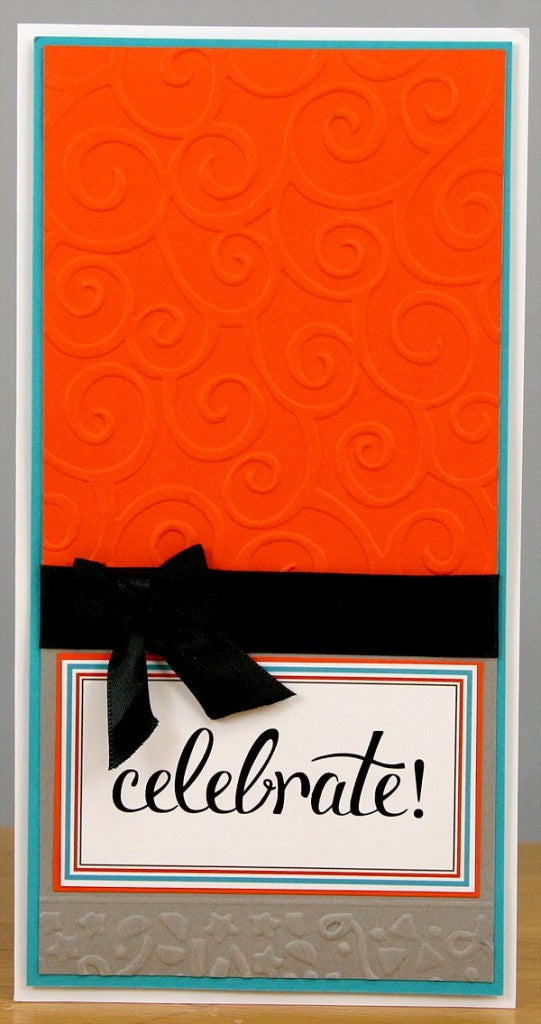
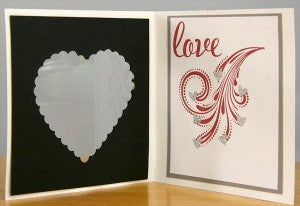
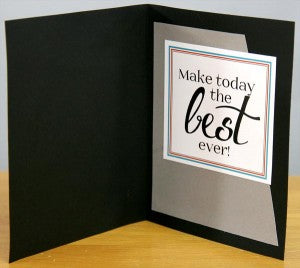
This last card involves just a scrap of the gray print, the gorgeous silver paper, an inked embossing folder, wonky rectangles and a cool birthday die.

And a simple Cutapart greeting for the inside.
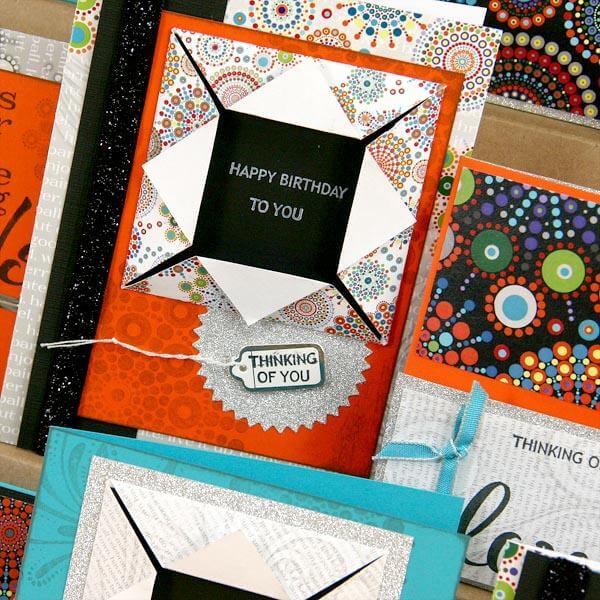
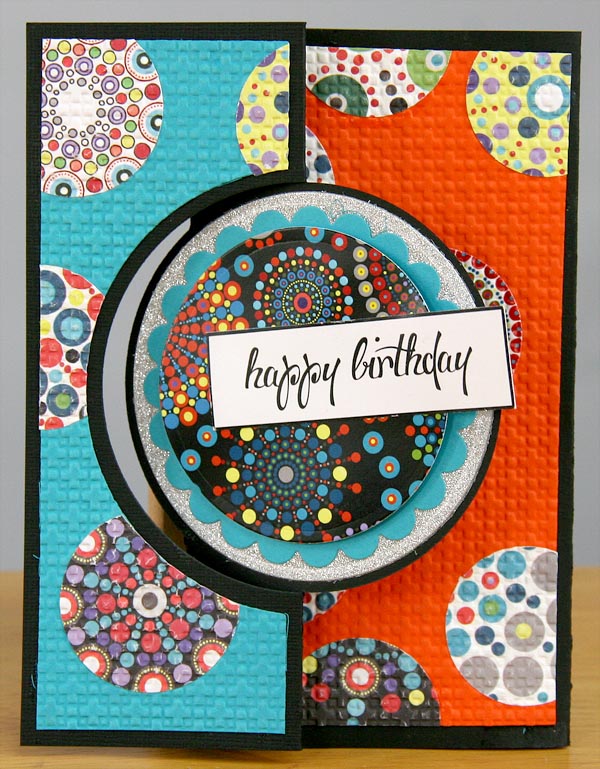
SET C: 4¼x5½” BLACK CARDS
I found a Decorative Corner Card on Splitcoast Stampers and had to give it a try.
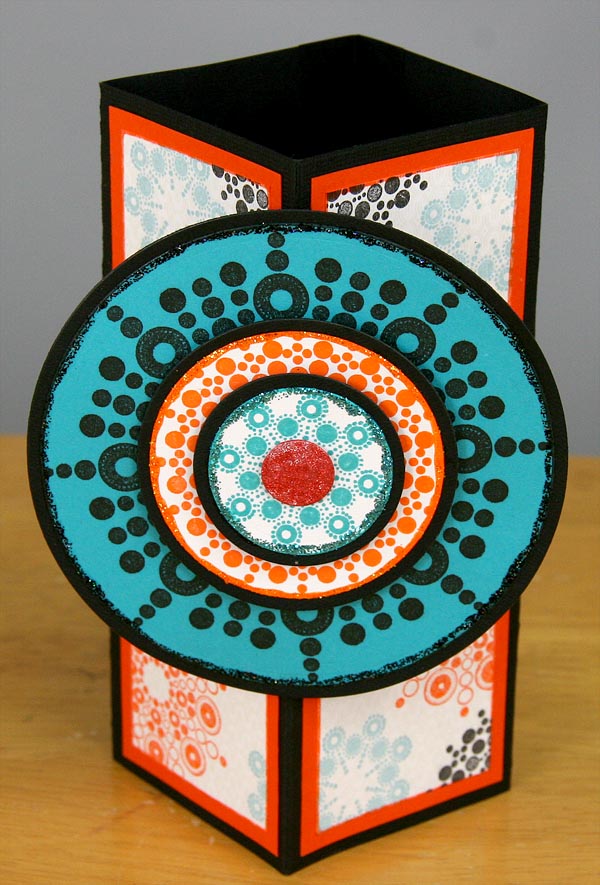
The circular designs of the stamps made a perfect embellishment. I colored the silver glitter center circle with marker to make it tangerine.
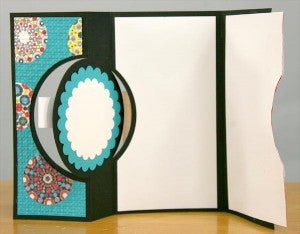
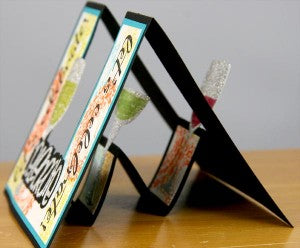
This is such a fun fold!
The swing card panels were created by circle punching designs from the Greetings to Go Cutaparts, adhering them to the panels and running them through an embossing folder. (I told you I'm an addict!)
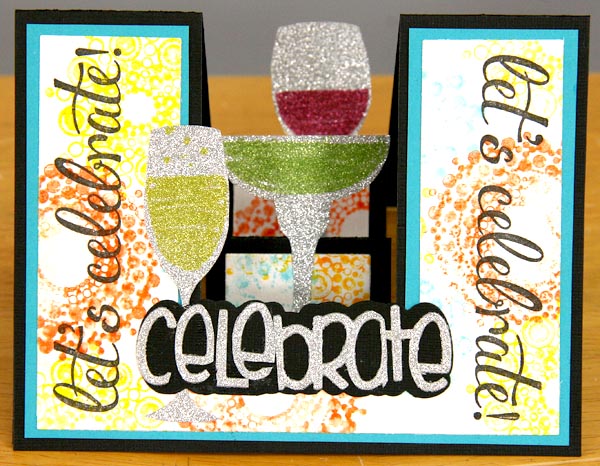
For the center step card, I traced the glasses from the Cantina Party Time Stencil, used markers to fill in the "drinks". Another great New Year's card!
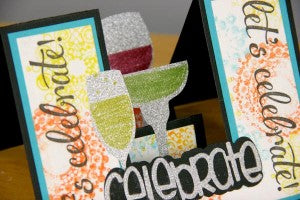
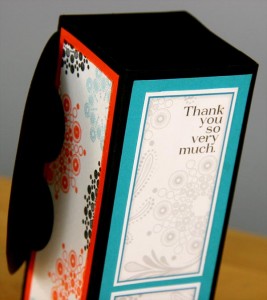
The White card panel features Gelato-stamped images.
The card base was made with a die, but there are many similar templates that can be found on the web.
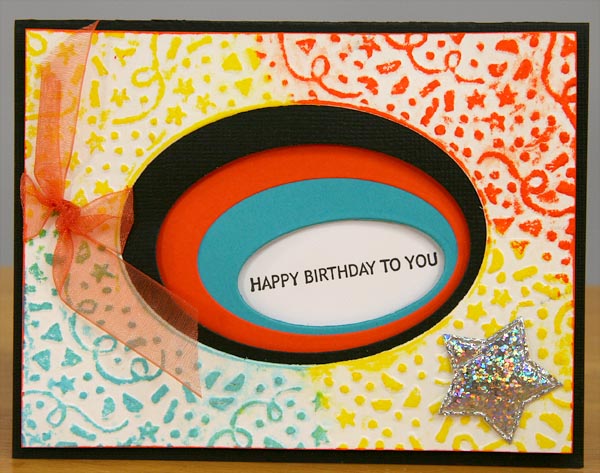
The oval card features layered concentric ovals die cut from different papers.
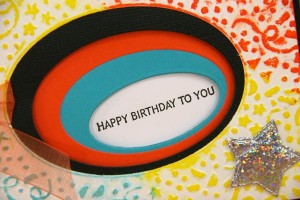
Foam tape separates the layers with a tiny greeting at the bottom. An embossing folder was used on the White Panel. Gelatos were applied to the raised areas.
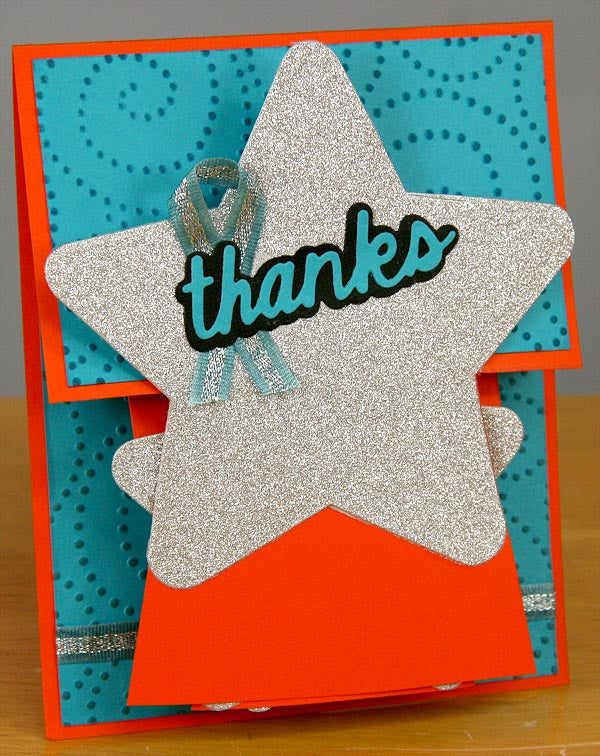
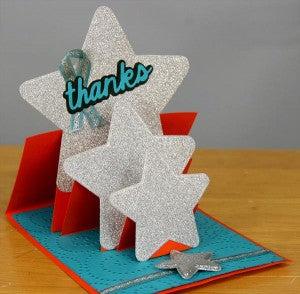
My star easel card was made using a template. As soon as I saw that unbelievably beautiful glitter paper, I knew I had to showcase it on one of the cards.
So there you have it--a baker's dozen of cards, thanks to the "bonus" card that resulted from my happy accident. I sincerely hope you find something here to inspire your own card making. I always say: I don't have an original thought . . . it's all just bits and pieces I've gathered from other wonderful card makers out there.