One of the goodies included in January's Confetti collection are 6x12" sheets of gorgeous Rinea foil. This unique product is constructed from two pieces of thin foil with paper sandwiched in the middle. Available in two color combinations, Pink/Gold and Aqua/Gold, it embosses, tears, folds, curls and die cuts beautifully. Let's explore each of these techniques in more detail.
Dry Embossing
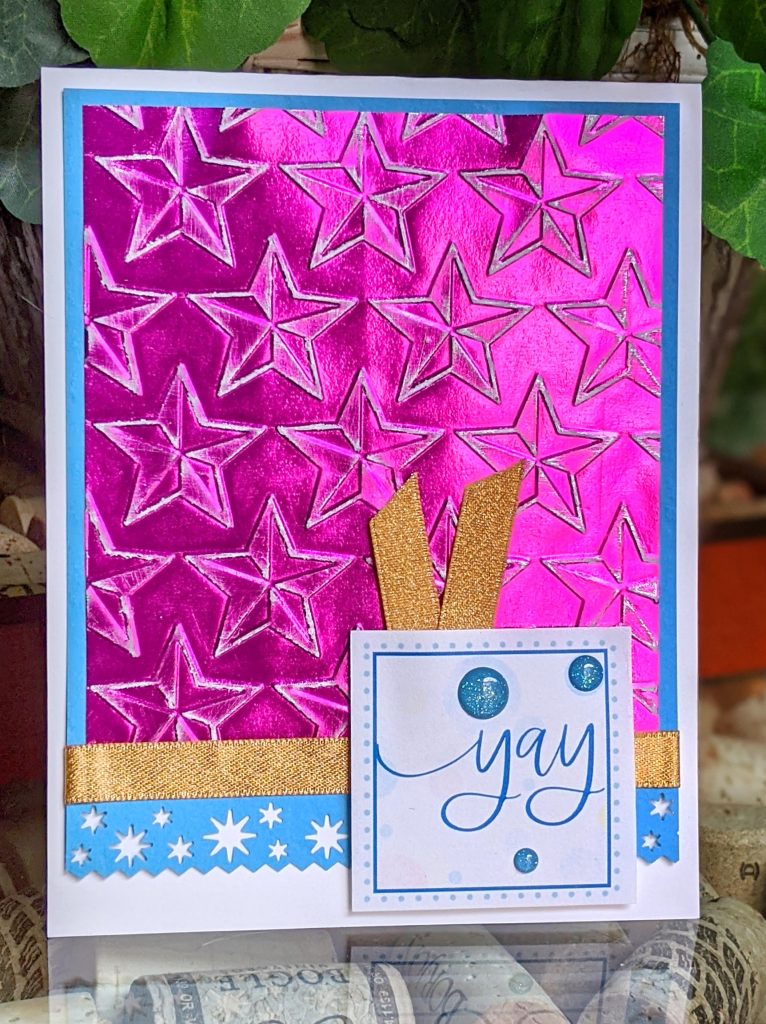
Place a foil panel into an embossing folder and run through a die cutting/embossing machine. Lightly sand the raised areas to reveal the paper underneath.

Curling
Trim 1/4" wide strips of Rinea Foil. Wrap around a pencil and remove. Adhere using CS Bookbinding Glue.

Die Cutting
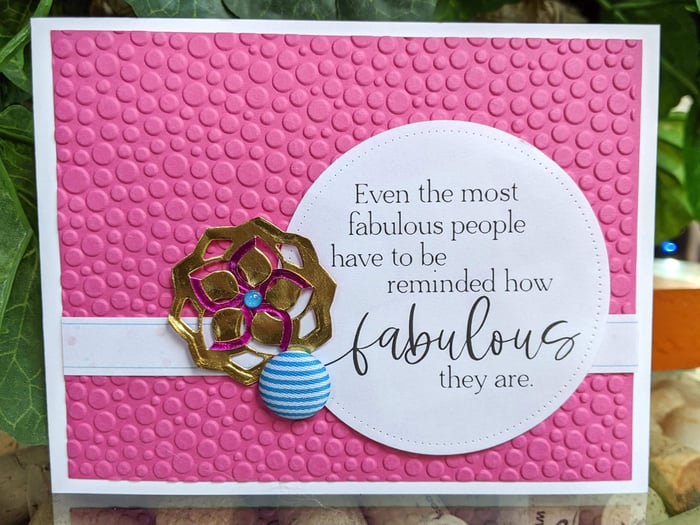
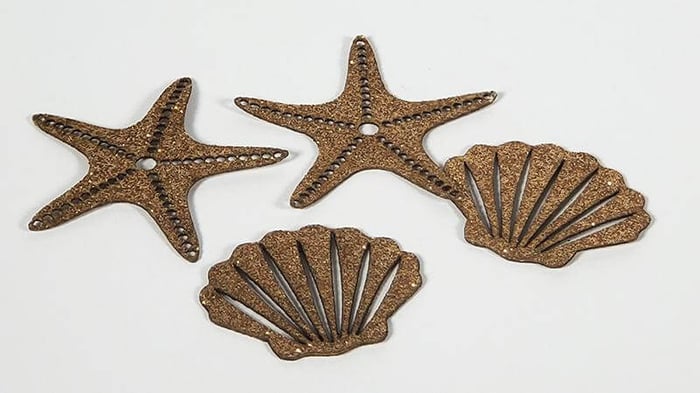
The double-sided nature of the foil works beautifully with dies, offering multiple color options.

Cutting and folding dies (like the Spellbinders die below), allow both the gold and pink sides of the foil to really shine.


Stamping
Don't you just love happy accidents? I began by stamping a sentiment on a foil panel with black hybrid ink. After adding embossing powder, I wasn't sure the foil would handle heat well, so I wiped away the EP.

I was pleasantly surprised to find the color came off where the ink was applied, revealing a pretty silver color underneath! Tearing the foil adds texture and interest.

There are so many fun and crafty ways to use these fabulous foil papers. I hope you'll give these ideas a try. And if you do, be sure to share your creations on the Club Scrap Chat Facebook group. We'd love to see your work!
