It's easy to transform your paper stash into finished scrapbook pages and cards - if you have the right tools! Each Club Scrap's page and card making formula is so much more than a sketch, each provides trimming and assembly instructions to create a two-page spread or a batch of greeting cards.
This Christmas, Club Scrap gifted fans a page formula and a card making formula, absolutely free. (You can find the links on the original blog post.) I couldn't wait to give them a try!
Page Freebie
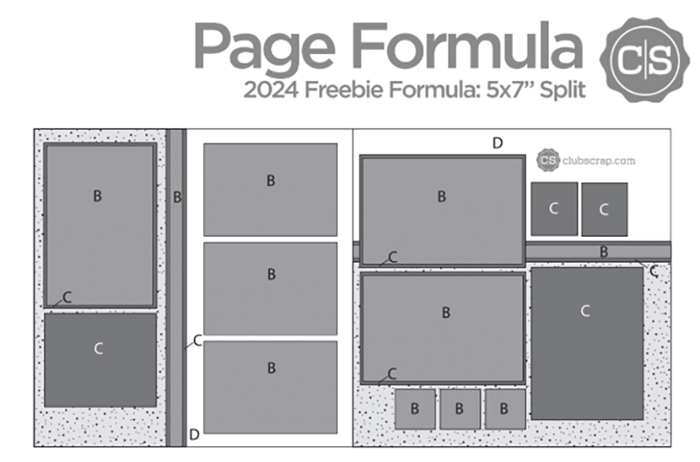
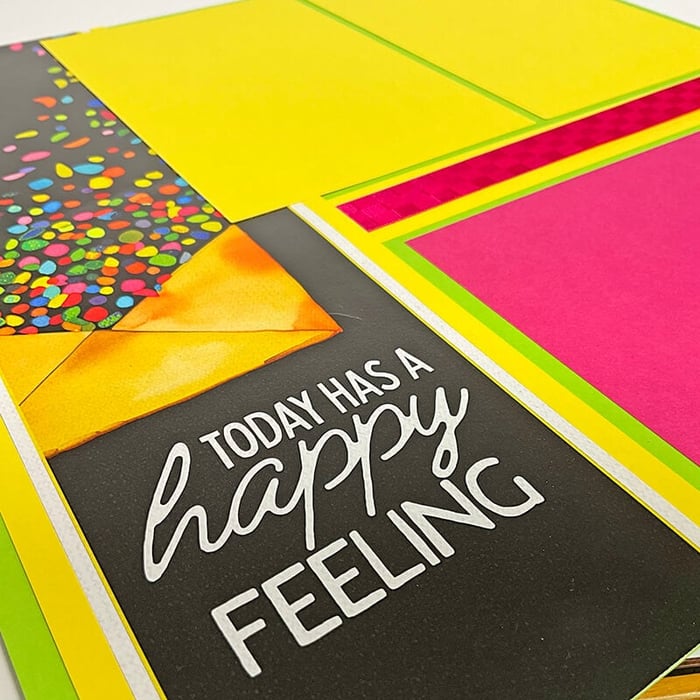
To replicate my layout, gather Harbor Town Green, Red, Seagull Print and two Blue (Paper D) form the base of the layout. Follow the trimming and sorting instructions and dry fit the pieces as shown in the sketch.
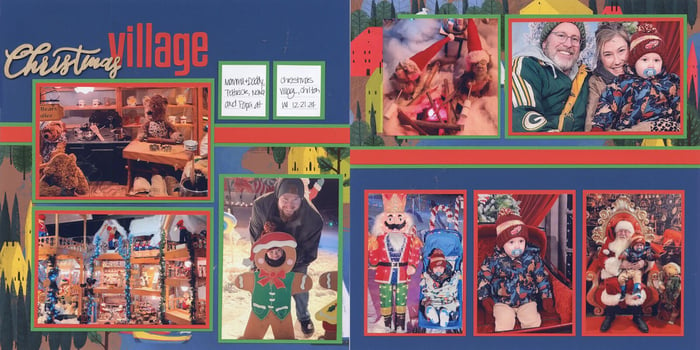
Or not, LOL.
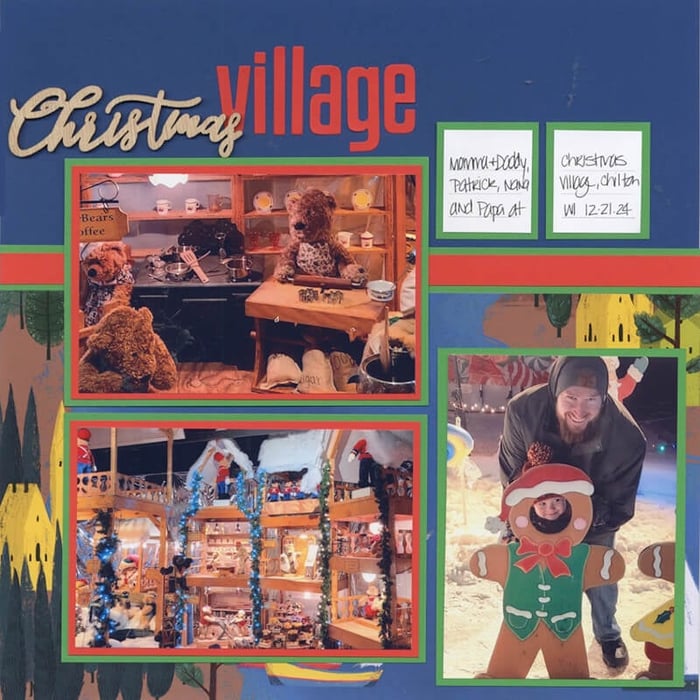
As usual, I made changes to make the layout my own. The left page becomes the right, and due to the nature of the artwork on the Seagull Print, I chose to rotate the page 90 degrees so the triple mats are vertical. Instead of adding the three Red squares as shown, I cut them with alpha dies to create the page title. (The "Christmas" woodcut is from my stash.)
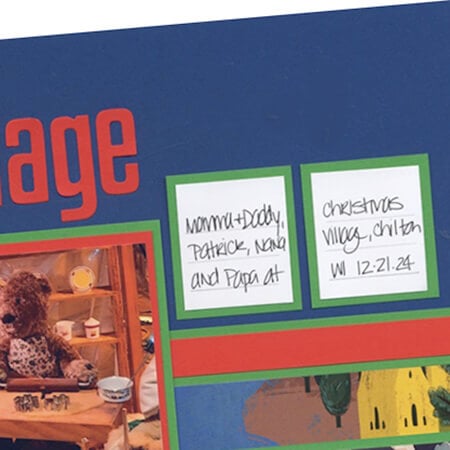
To create a place for journaling, trim white scraps to nest onto the Green rectangle mats and lightly draw pencil lines using a grid ruler as a guide.
Card Freebie
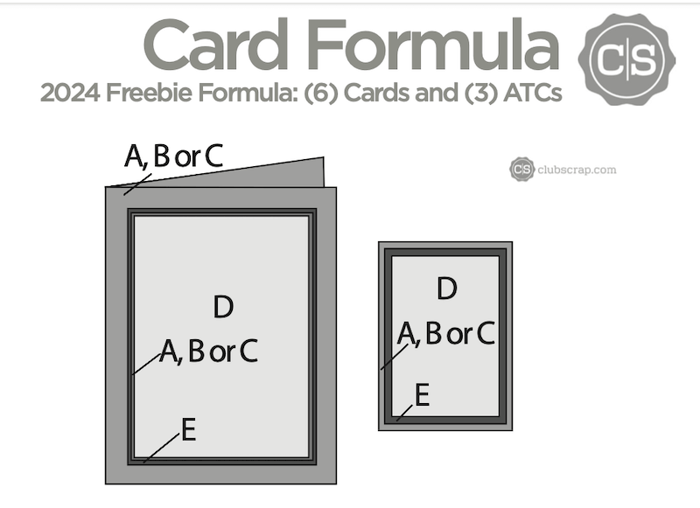
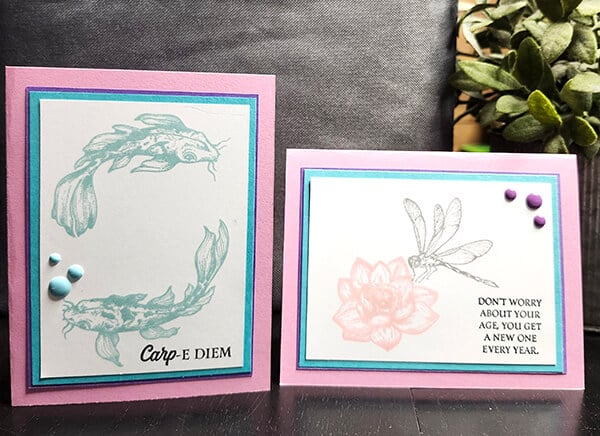
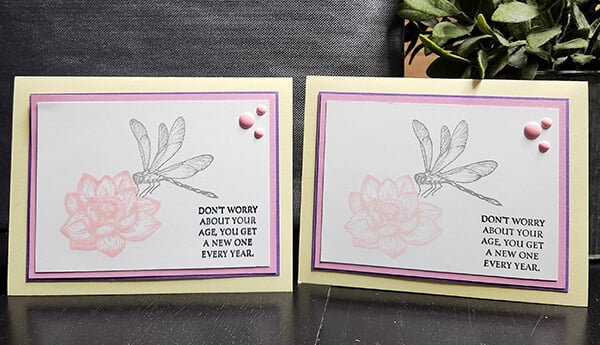
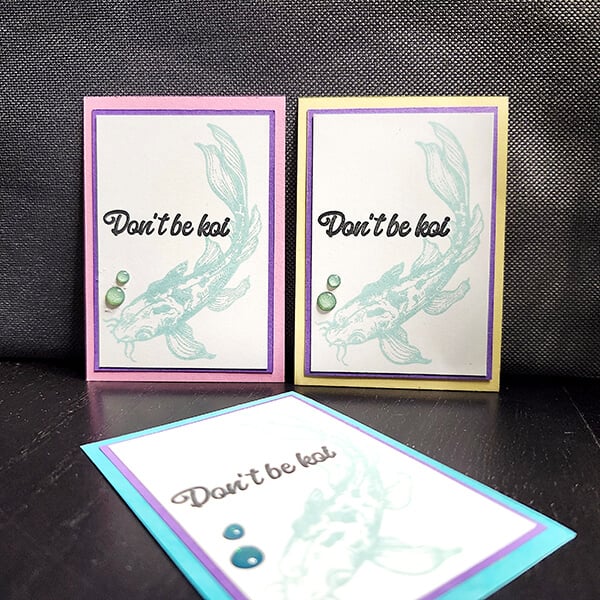
To recreate my cards, gather stamps and papers from the Lotus collection: Aqua, Pink and Yellow. In lieu of Black, I found a coordinating Purple in my stash. Once the trimming and sorting are complete, assemble the card structures and Artist Trading Card blanks as shown.
Reserve the White panels for stamping. Add images with CS Hybrid Inks (Lt. Pink, Lt. Blue, Ash) and sentiments with India Ink; nest onto the card and ATC panels. (Enamel dots are from a variety of past Club Scrap kits.)
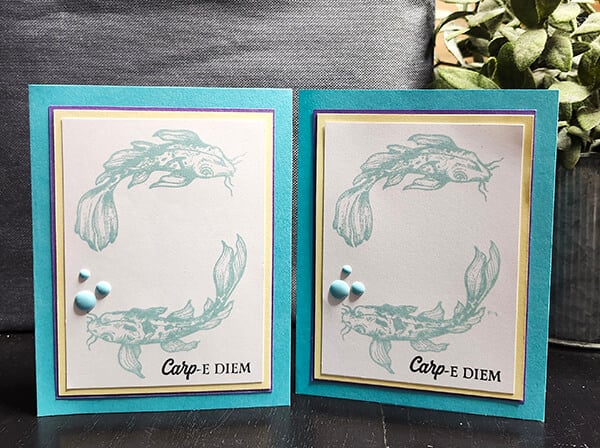
ATCs
Now that you're hooked, visit our online store to browse the huge selection of page formulas and card making formulas currently available. You'll conquer that stack of paper in no time!
