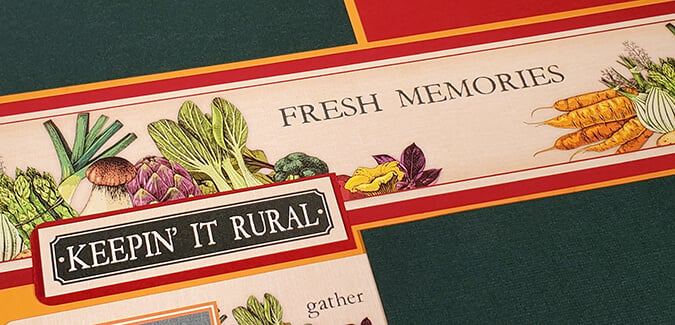
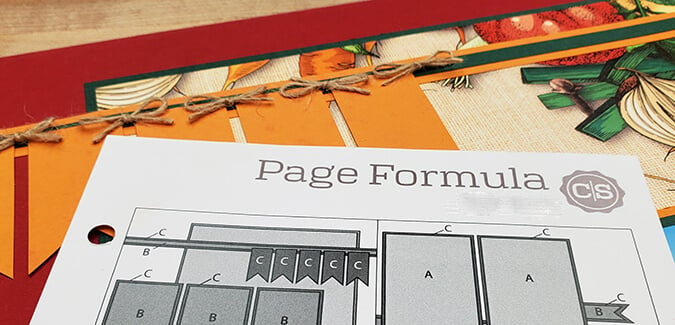
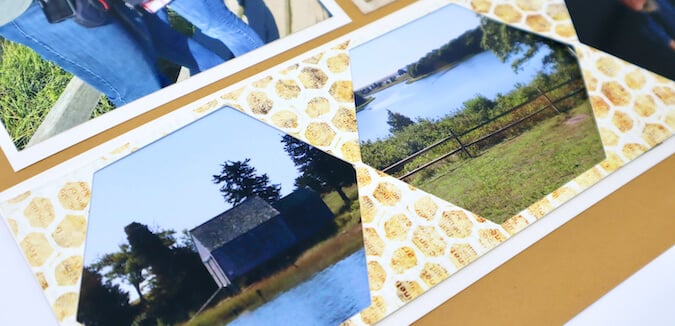
The day has come to take a closer look at the Farmstand pages! If you prefer to watch/hear vs. read all about it, take a moment to check out the kit preview video!
Farmstand Pages
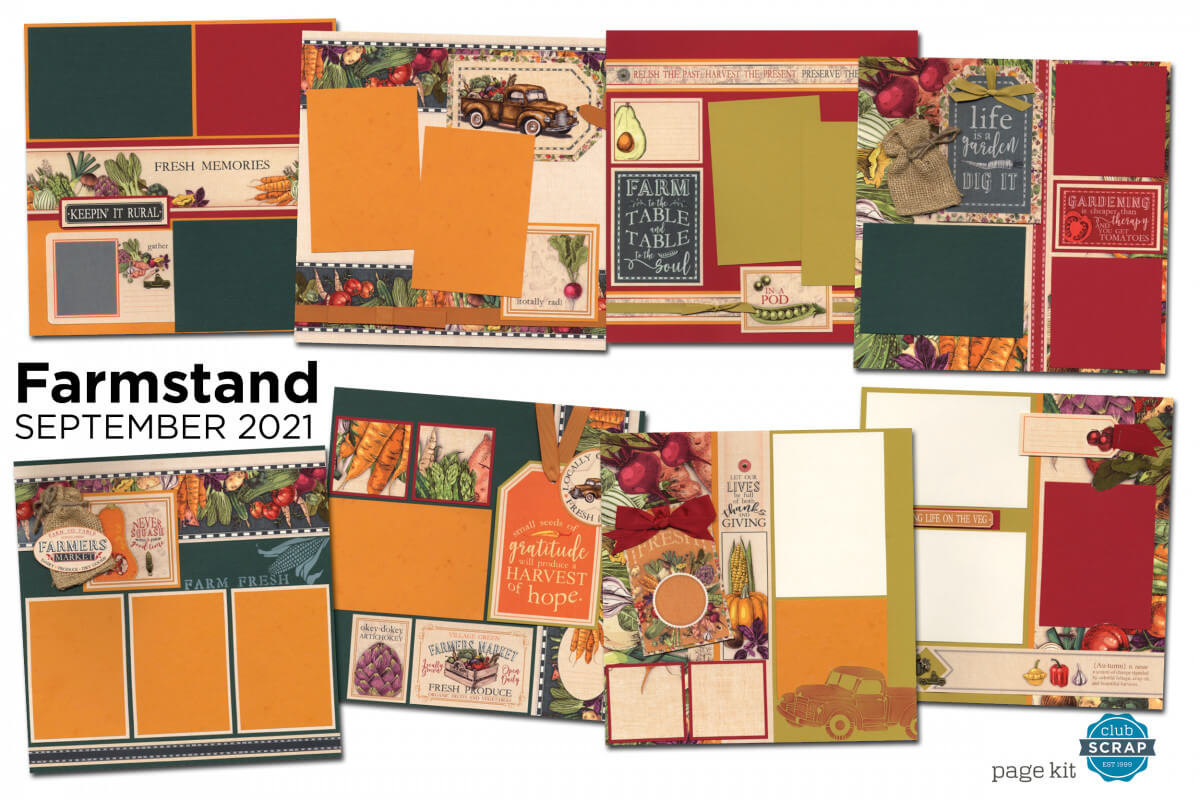
Read on for a closer look at each double page spread in store if you follow our assembly instructions.
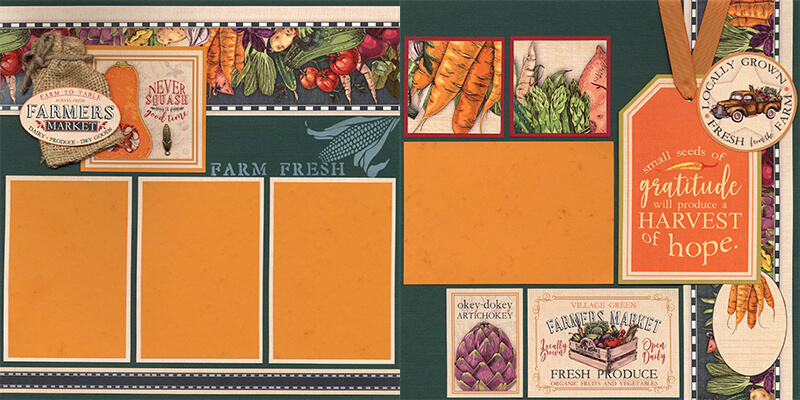
Layouts 1 & 2
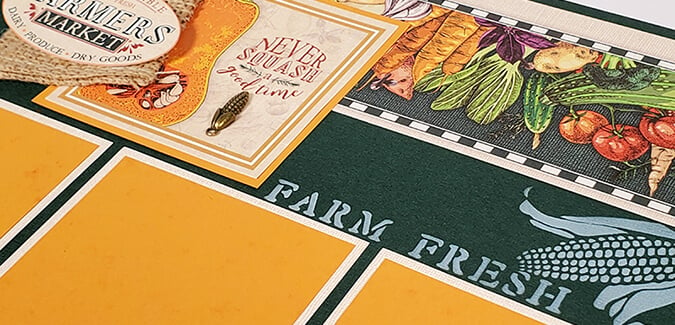
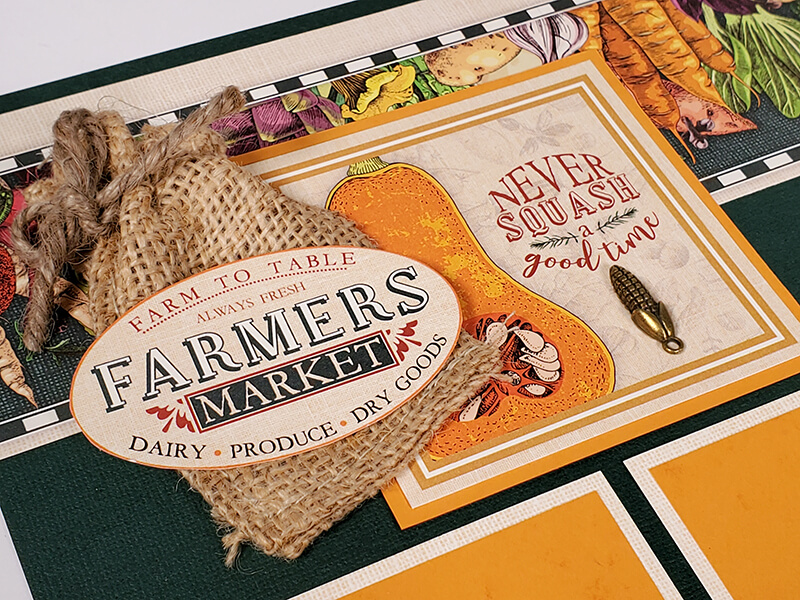
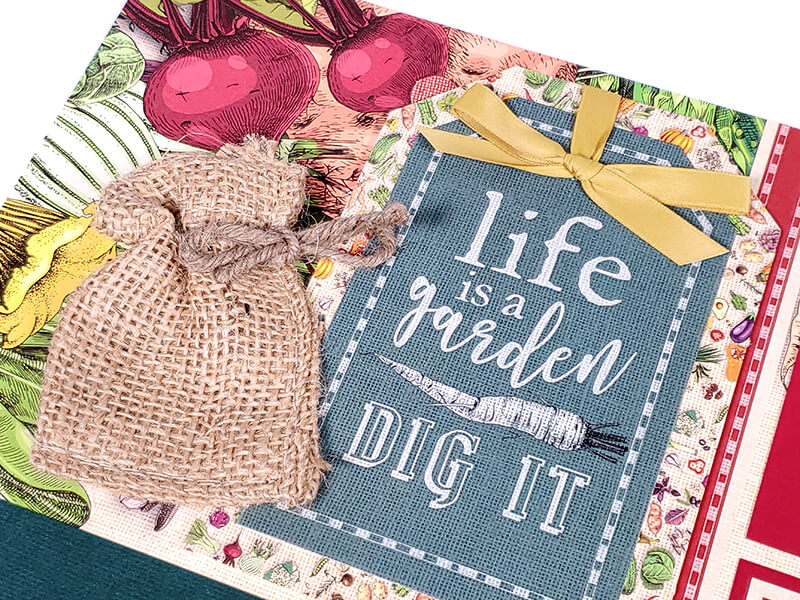
These adorable mini burlap bags cinch with jute cord and make such a sweet embellishment! Top with a hand-cut oval cutapart and layer next to the "squash" sentiment for a quick 'n easy page topper.
Layouts 3 & 4
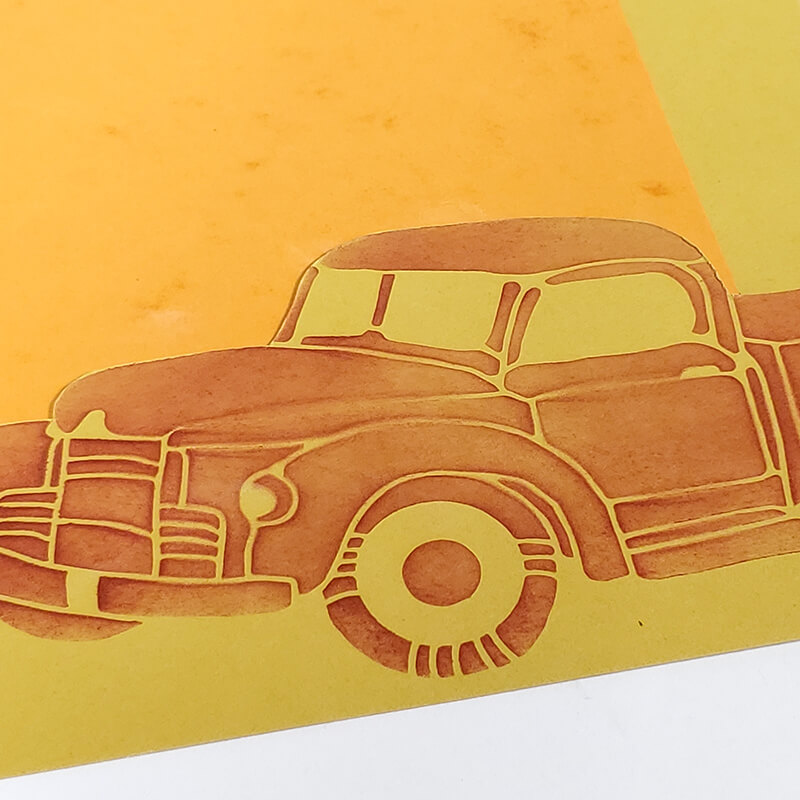
When using the stencil on the assembly pages, I try to keep it quick 'n easy. The world is your oyster in this situation. Use it with all your favorite art mediums or simply apply our Red ink onto the stencil to add the pick-up truck to the bottom of layout three. To keep the truck in the foreground, use a craft knife to cut along the top edge and tuck the photo mat behind it.
Layouts 5 & 6

There is a 12x12 sheet of printed die cut tags included in your box, and they are all sized to nest together in various combinations. Here, layer the truck into onto the larger tag, thread orange grosgrain ribbon through the punched hole, and wrap the ribbon tails around to the back of the layout.

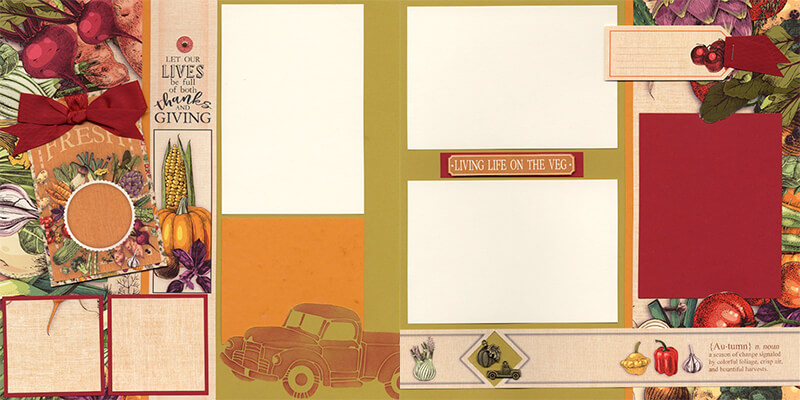
Layouts 7 & 8
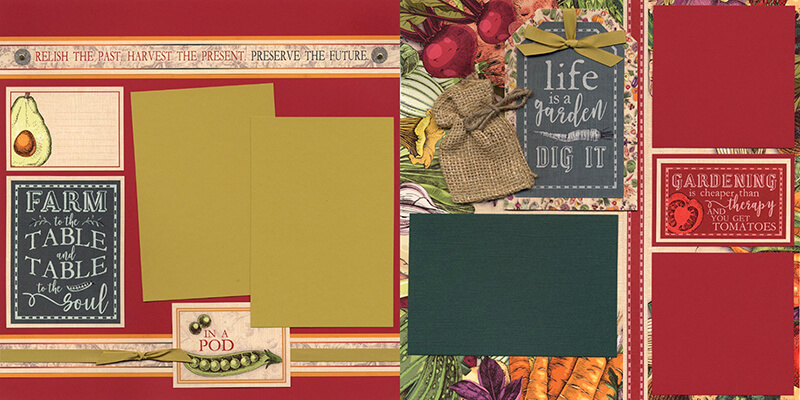
On this nested die cut pairing, try my simple trick for making it look like you're an expert in the knot/bow making business. First, cut a small piece of ribbon, thread it through the hole, and tape the ends on the back. Next, tie a small basic bow and add it to the top of the tag with a glue line. That's all there is to it!
While I try to create pages that can easily be re-created, my mind is still brimming with more "involved" layout ideas for this collection! I may not be able to execute all of my ideas, but if you have time to kick it up a notch, please share the outcome on our private Facebook Chat Group. I love to cheer you on!
I really hope you dig the Farmstand kit. And come back tomorrow for a quick preview of all the greetings you can make with our card kit!
Tricia

