
I'm super excited Jacqueline created a Falling Leaves Collage cut file from the same artwork used for the masking stencil.

After downloading the SVG file, open it using the machine’s software. I re-sized the image to 5.5″ so it would fit onto a card. (Due to the delicate nature of the design, I don't recommend going smaller than 5.5 inches.) The image is almost square, so I trimmed it in half to decorate two separate card panels.
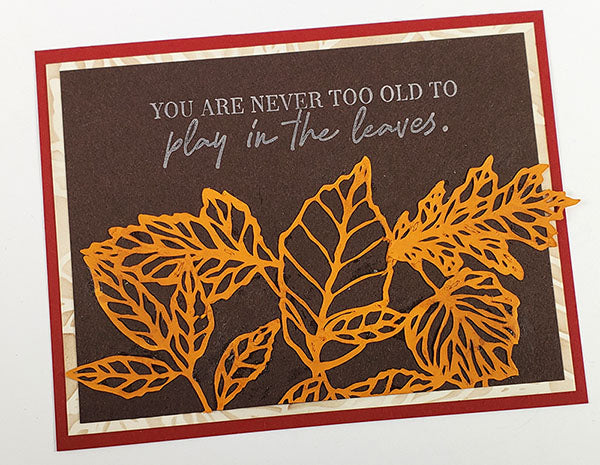
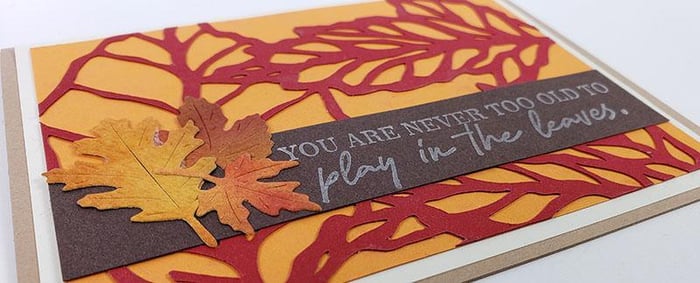
Use bookbinding glue in a needle-tipped applicator to adhere the collage onto a brown panel. (I like how the cut artwork extends past the edges just a bit.) Stamp sentiment in white pigment ink.
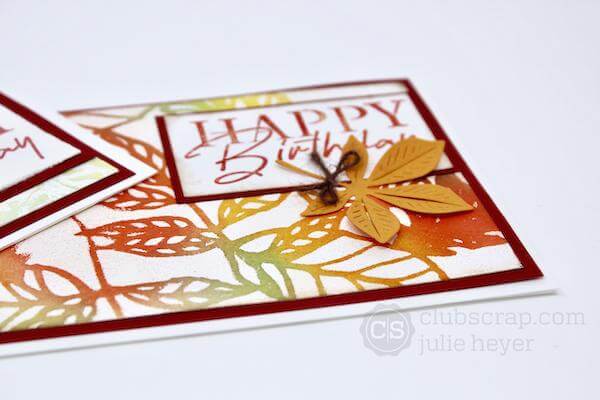
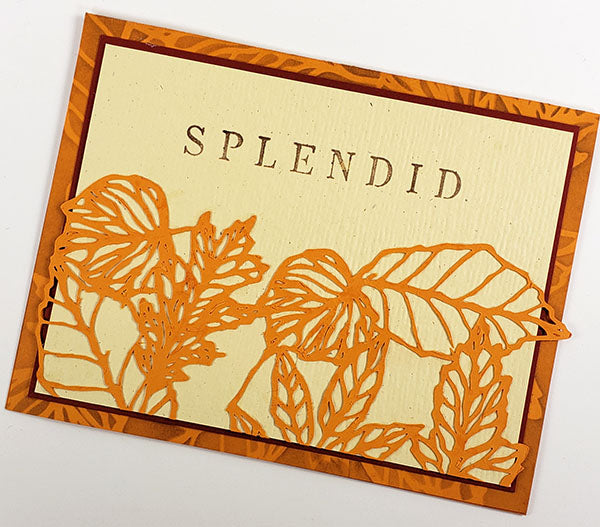
Adhere the other half of the cut artwork to an Ivory Texture panel. Stamp sentiment with Earth ink, mat with red and center onto a stenciled orange card base.
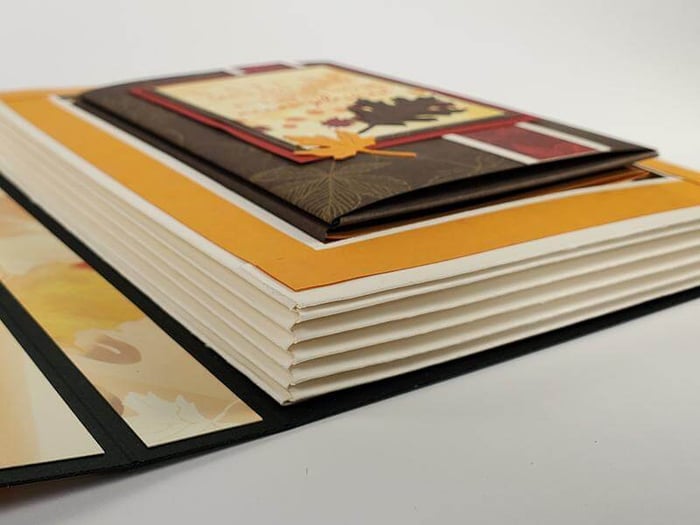
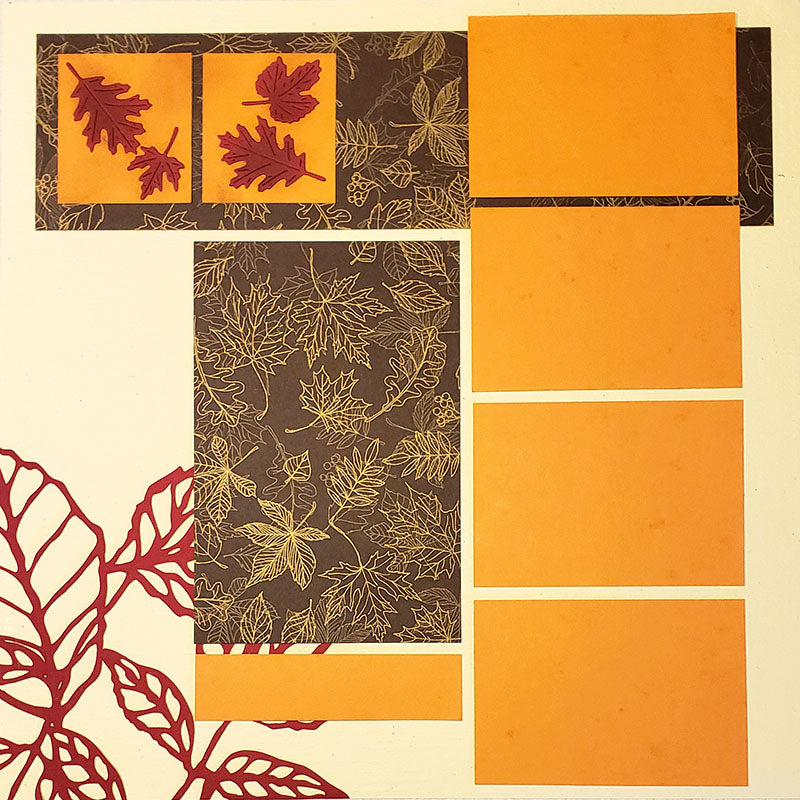
Next, I re-sized the leaf collage to 10.5" and cut a 12×12 Red plain. Initially I planned to center it onto a 12x12 as a background for a scrapbook page. However, it seemed a shame to cover it with mats and photos. Instead, I trimmed it to create a corner accent for the layout below.

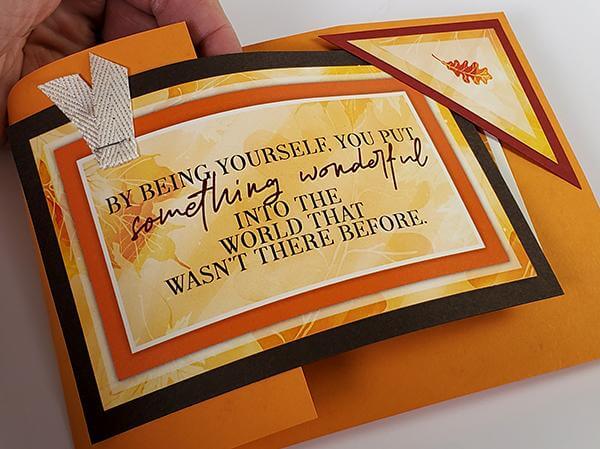
Another section decorates a card panel.
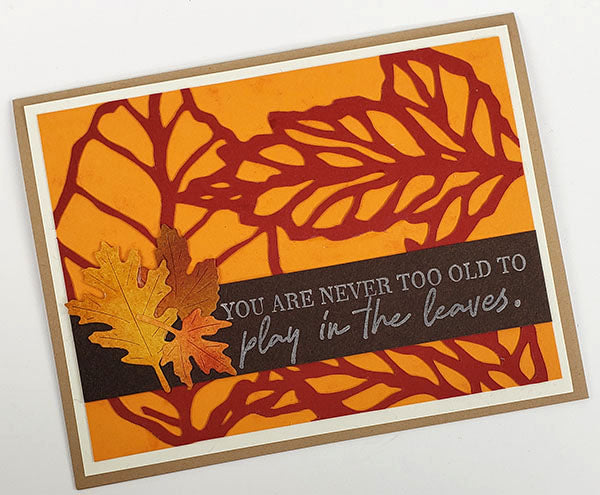
Finish the card with a stamped sentiment strip and die cut leaves.

If you have an electronic cutting machine (or a friend who has one), I hope you’ll give the Falling Leaves Collage Cut File a try!
Happy crafting!