
Jacqueline, Karen and I will pile into the truck tomorrow and make the eight-hour drive to Novi, MI, with a U-Haul. I'd love to have these Creative License pages completed with photos before we leave, but perhaps I should wait and scrapbook our adventures! Let's take a look at a few assembly details.
CREATIVE LICENSE DELUXE KIT
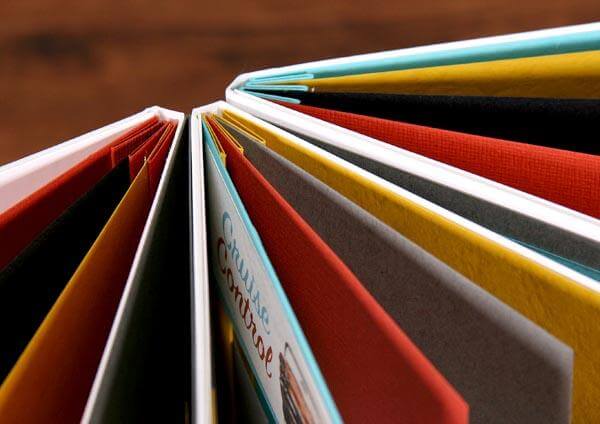
LAYOUTS 1 & 2
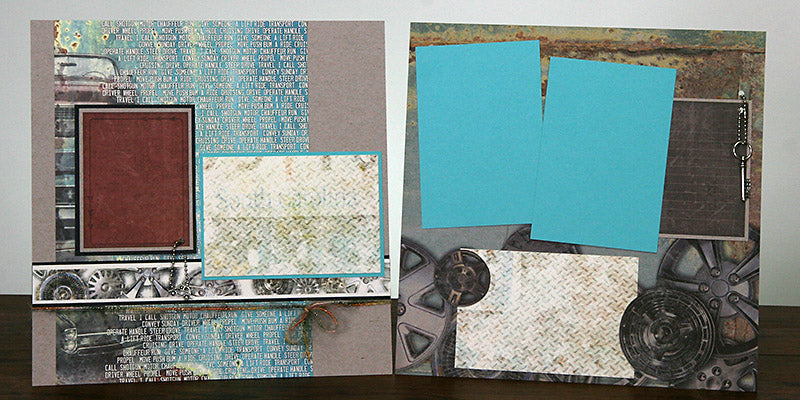
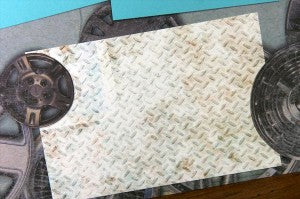
If you're feeling confident with your craft knife skills, make cuts along the edges of the hubcaps and slide the printed photo mat beneath.
LAYOUTS 3 & 4

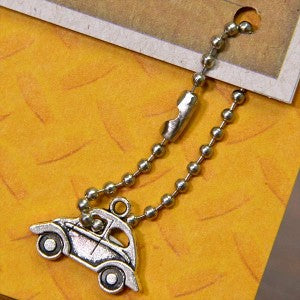
Loop the 3" silver ball chain through the window of the silver car charm, punch a hole in the lower right corner of the printed cutapart and attach the ball chain. Adhere the cutapart and car charm to the page with foam adhesive circles.
LAYOUTS 5 & 6
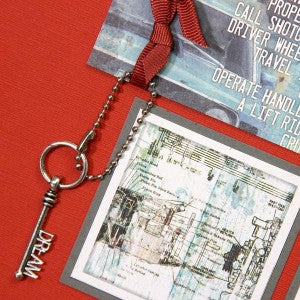
 Loop the ball chain around the large ring of the silver key charm and attach to the rust grosgrain ribbon. So cute!
LAYOUTS 7 & 8
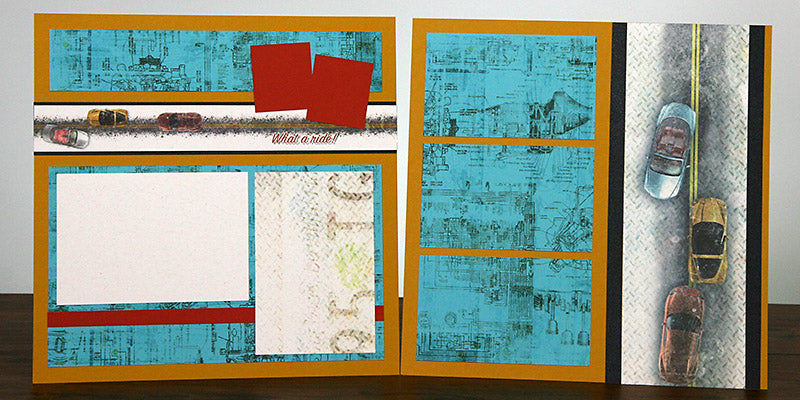
I "pulled a fast one" with the Rust border beneath the 4x6 vertical white mat on the left page. The 8.5" strip was trimmed into two pieces with the gap hidden by the mat.
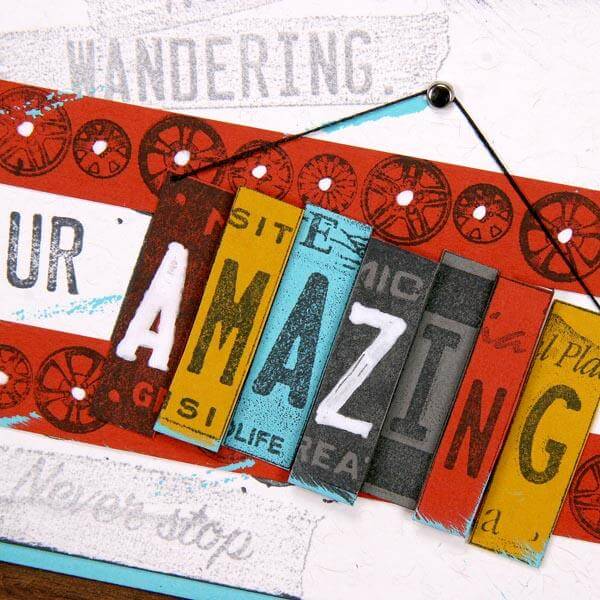
LAYOUTS 9 & 10
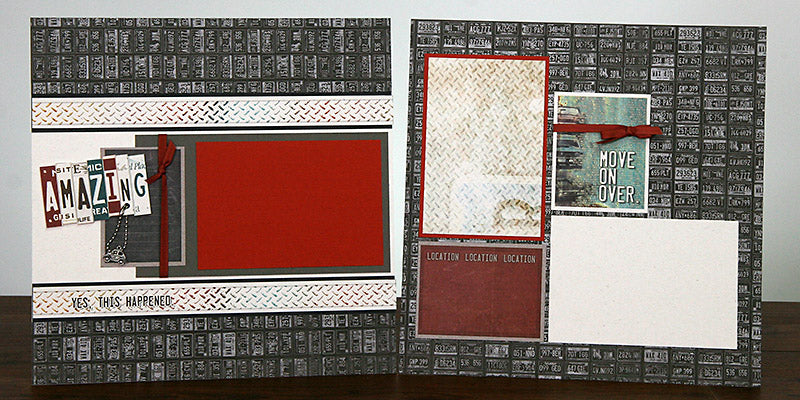
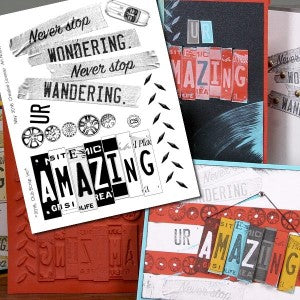
My favorite cutapart/artwork in this collection is the "Amazing" license plate title on the left. Trim the image from the cutapart and adhere with foam adhesive to make it pop. If you like the image, pick up the Art Nouveau stamp sheet and use it without limit!
LAYOUTS 11 & 12
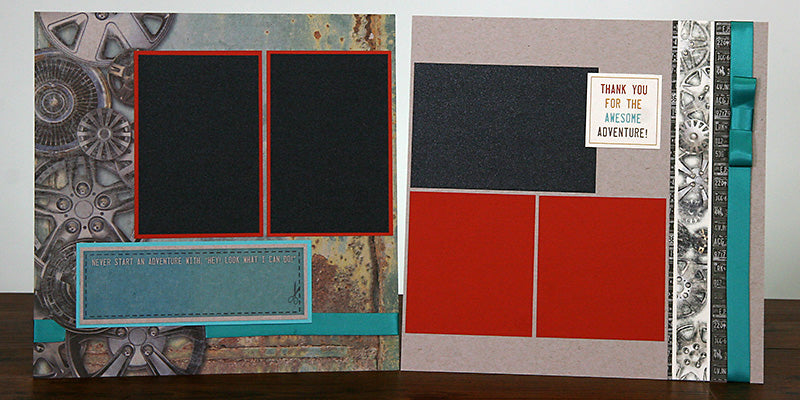
The kit comes with a generous portion of aqua satin ribbon. For the left side of the layout, make a cut along the left and right edges of the hubcap and slide the ribbon beneath.
LAYOUTS 13 & 14

There was a .5" strip from the 8.5x11 Aqua Print that could have been a "scrap", but I thought it made a nice anchoring element for this cutapart. Because you and I both know that scraps drive me crazy.

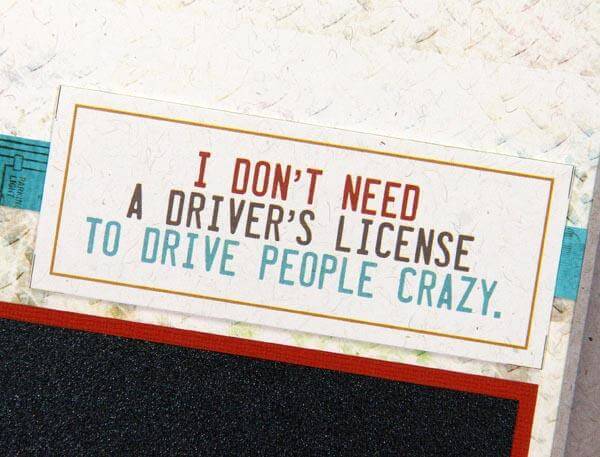
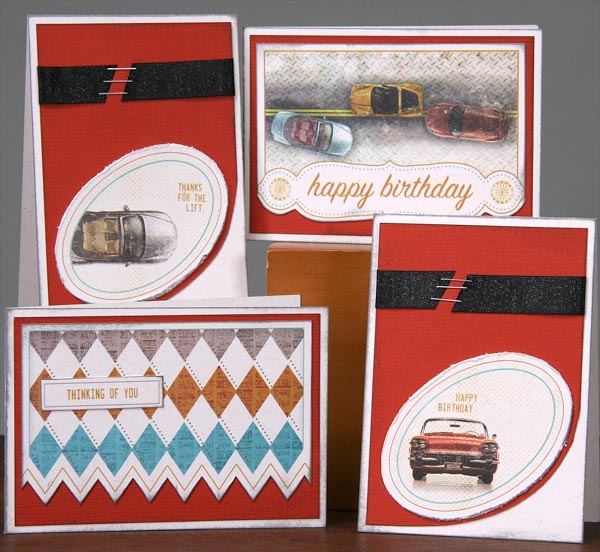
CREATIVE LICENSE GREETINGS TO GO
SET A
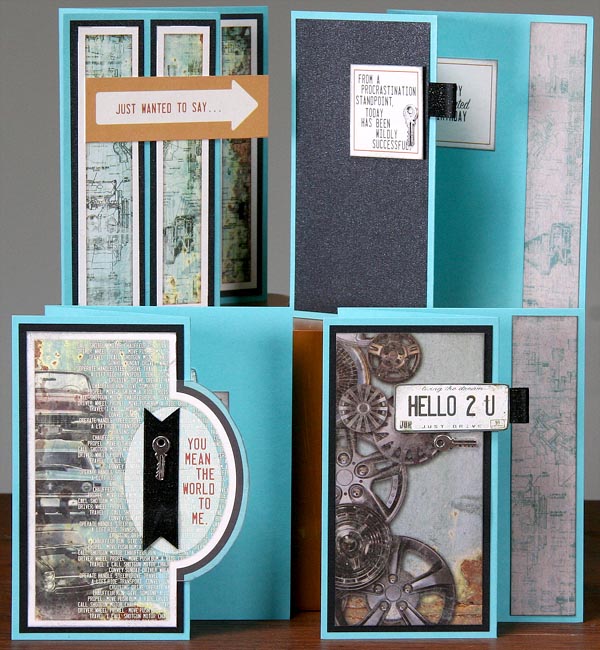
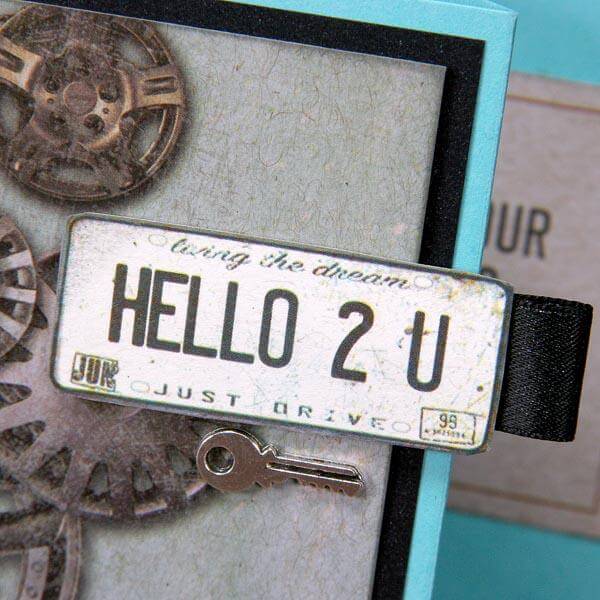
When scoring the z-fold cards, make the first score at 3", flip the paper over, and score at 6". This way, the "bump" of the score line will be on the inside of each fold. I love the sweet little silver keys included in the Greetings to Go kit. Adhere them with your CS® Glue Pen. Works like a charm!
SET B
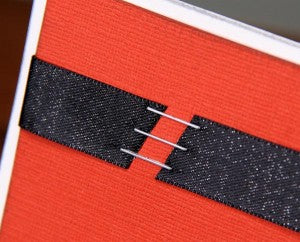
Just when you think you've utilized every possible way to attach a ribbon to a card, you come up with something new! Wrap the ribbon around the card panel and secure the ends on the back, cut a 1/2-inch opening in the ribbon, and staple it back together. (I used a small amount of adhesive to keep the ribbon in place while stapling.)
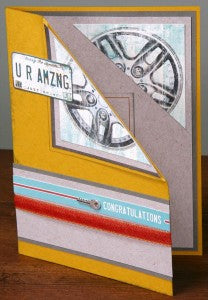
SET C

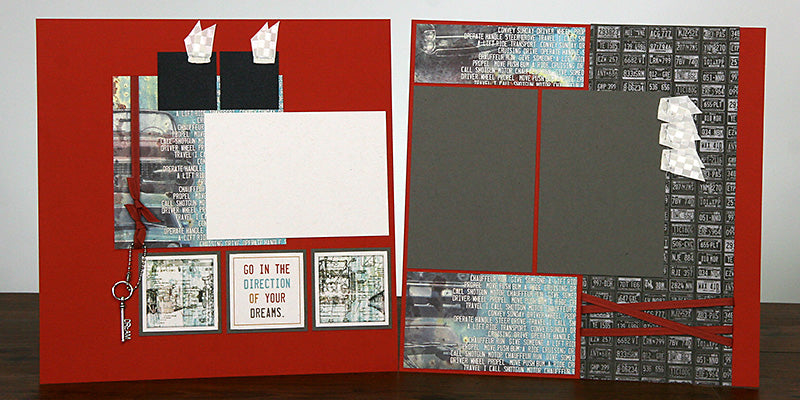
The folded triangle on each card can be created with a simple step. Open the card and adhere the triangle (included on the cutapart) into the upper left corner of the card.
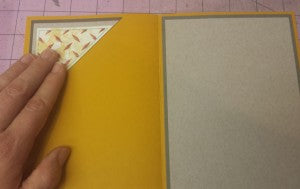
Fold back along the angled edge of the triangle and make a crease.
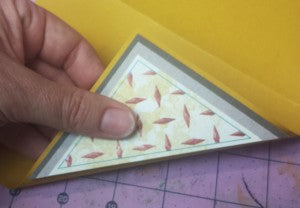
Use that handy trick on all four Yellow cards.
I can't wait to tell you more about the adorable album project tomorrow!
Tricia